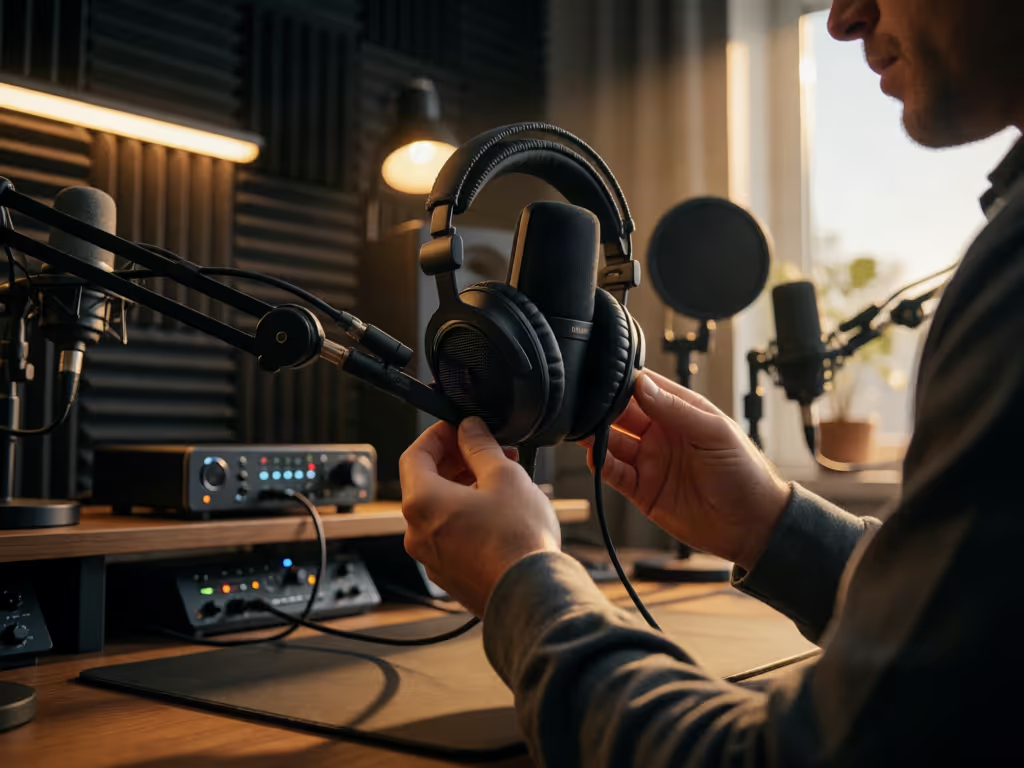
Hands-Free Podcast Microphone Headsets for Clear Commentary
By Luis Cabrera • 14th Sep
What to do
For spoken-word recording, use the evidence-backed checks in this guide rather than expecting it to identify a best headset: aim the microphone toward your mouth from above or below, wear headphones when recording remotely, verify the input and levels, and confirm the connection’s power requirements.
- Start with: Aim the microphone toward your mouth from above or below to help reduce plosive pops.
- Then: Wear headphones for remote sessions, confirm the intended microphone is selected instead of the computer’s built-in input, and check that levels do not clip.
Important: The available evidence does not show that headset microphones outperform desk microphones, identify or rank a best microphone type, or verify headset-specific compatibility, noise rejection, or wireless behavior.
If you are evaluating a podcast microphone headset, begin with recording techniques that also apply across microphone setups. For technique that applies across headset and desk setups, see this podcast mic positioning guide for practical ways to manage plosives and sibilance. This guide does not establish that a headset is suited to taking notes, giving demonstrations, or recording live commentary. Instead, it focuses on placement, monitoring, connection, and level checks. That approach is kinder to a tight budget than buying into a format first and solving basic setup problems later.
This tutorial stays deliberately practical. It covers microphone orientation, headphone use during remote sessions, basic sound checks, isolated tracks when a platform offers them, and the power distinction between USB and XLR setups. It does not claim that a headset will outperform a desk microphone, and it does not rank headset models.
Sequence upgrades, preserve value: first use the placement and preflight checks, then spend only where those checks reveal a real limitation.
Step 1: Define the recording checks your setup must support
Before comparing products or connection types, write one sentence describing the recording requirement you need to verify. For example:
- "I need headphones in place before remote recording."
- "I need to confirm the intended microphone input and avoid clipping."
- "Our platform needs to provide separate files for each co-host."
This keeps product comparison centered on specific recording checks rather than assumed headset use cases. The available evidence does not evaluate headset microphones for particular episode formats.
Do not turn that workflow choice into an unsupported sound-quality assumption. This guide does not compare headset microphones with desk microphones in untreated rooms, and it does not make claims about background-noise rejection, polar-pattern behavior, or computer compatibility. Treat those as items to verify in the documentation for the exact equipment you are considering.
Keep the first purchase boundary narrow
For a first setup, avoid planning an entire studio around unknowns. Decide only what you need to connect the microphone and record a clean, non-clipping signal. Leave room in the total cost of setup for the unglamorous pieces of a reliable routine: headphones, a stable cable path where applicable, and time to check settings before guests arrive. A guide to podcast mic accessories can help you decide which supporting pieces genuinely fit your recording routine.
I learned the value of that boundary years ago, helping a student newsroom turn a shoebox of mismatched mounts and one creaky arm into a usable four-mic roundtable. The lesson was not that every situation needs more hardware; it was that reusable pieces and a clear sequence beat a pile of hopeful purchases.
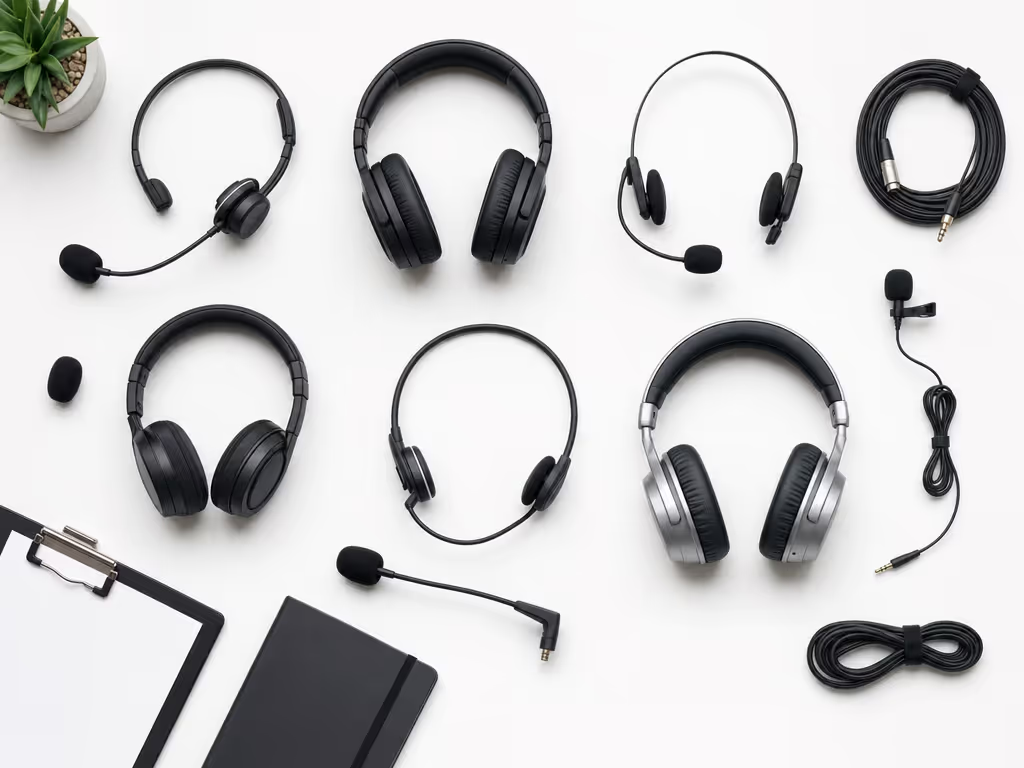
Step 2: Place the microphone to manage plosives
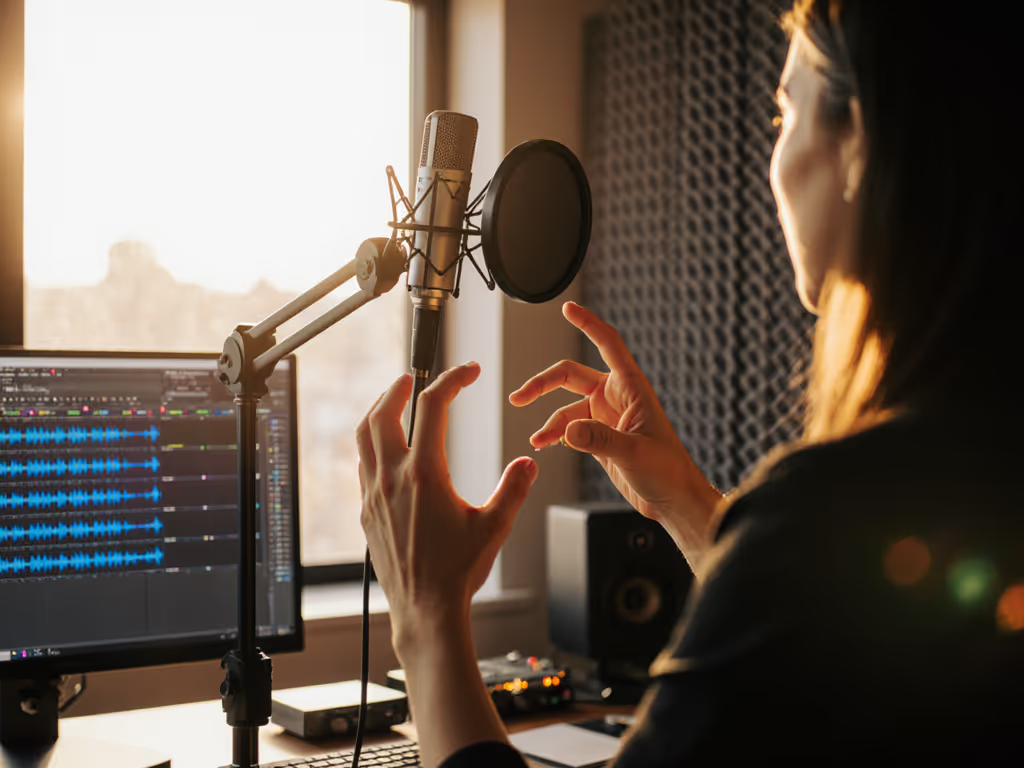
Start with the boom or microphone aimed toward your mouth from above or below, rather than directing it straight into the airflow from your mouth. Shure's general recording-technique guidance says this orientation minimizes popping caused by plosive consonants such as "p" and "t".
That is a small adjustment, but it addresses a problem that can otherwise consume editing time. Use it as your baseline placement rather than attempting to correct every pop afterward.
Use distance guidance carefully
Buzzsprout's remote-recording guidance suggests positioning yourself about 4 inches from the microphone. That is useful as a starting reference, not a universal headset-boom measurement. Buzzsprout's guidance does not establish an optimal distance for every boom, capsule, or pickup pattern.
A sensible process is:
- Begin with your microphone oriented from above or below the mouth.
- Use the 4-inch guidance only as a general reference point where your setup permits it.
- Speak normally through the introduction you actually use on your show.
- Check whether the recording level clips.
- If the level clips, adjust it and check again before recording.
The evidence supports the above- or below-mouth orientation to minimize plosive pops, but it does not establish a universal headset-fitting procedure.
Step 3: Use headphones for remote conversations
For remote podcast recording, Buzzsprout recommends wearing headphones and states that doing so reduces microphone bleed (audio from one participant appearing on another participant's track). This is especially worth making part of your standard host checklist before a guest joins. If your format alternates between solo episodes and interviews, compare solo vs. guest recording setups before standardizing your equipment and checklist.
Headphones do not solve every remote-recording issue, and this guide does not compare open-back and closed-back designs for this purpose. Still, the workflow is straightforward: put them on before the sound check, confirm you can hear the conversation, and then record.
Favor isolated tracks when they are available
If your recording platform provides a separate file for each co-host, Buzzsprout notes that those isolated tracks let you fix levels by speaker during editing. That is useful for a live commentary podcast with uneven voices: you are not trying to repair the entire conversation with one global adjustment.
It also gives a small team a more forgiving upgrade path. First use the above- or below-mouth orientation and complete the preflight checks. Then, when your recording process offers isolated files, use them to make speaker-by-speaker level adjustments. You are improving the system without discarding the routine everyone has already learned.
Step 4: Confirm the input and check levels before every session
The most disappointing recording failure is discovering that your software captured the computer's built-in microphone instead of the microphone you prepared. Buzzsprout specifically recommends confirming that the selected audio input is the microphone, not the computer's built-in input.
Use this quick preflight every time:
- Put on headphones for a remote session.
- Open the recording software's input settings.
- Confirm the selected input is the intended microphone.
- Speak at the volume you expect to use in the episode.
- Verify that the recording level is not clipping. For a deeper explanation of setting clean levels, use this podcast mic gain-staging guide alongside your preflight check.
Do this before the conversation begins, not after a polished intro or a guest's first answer. It is a small habit that protects the episode and reduces the temptation to buy replacements for what was actually a settings error.
Step 5: Choose the connection path without guessing about power
Connection choices can sound more mysterious than they are. Review the differences in USB vs. XLR microphones if you need help deciding which connection path fits your current workflow. The key distinction is power:
- USB microphones draw power through their USB connection and do not require phantom power.
- Condenser microphones require power for their active electronics. In an XLR condenser setup, the relevant interface control is typically labeled 48V.
- Dynamic microphones do not require phantom power because they generate a signal passively.
These are general connection principles, not instructions for every headset. Consult the documentation for the particular microphone and interface before connecting or enabling power. This guide does not define headset-specific USB standards, XLR wiring, direct monitoring behavior, wireless reliability, or device compatibility.
Build an upgrade path around what you can keep using
A USB route can simplify the power question because it draws power through USB. An XLR condenser route introduces the need to confirm the interface's 48V setting. That is enough information to plan the next decision without pretending the rest is universal.
If you later change connection formats, retain the parts of your process that do not depend on the connector: your placement cue, headphone routine, input check, level check, and per-host checklist. This is the frugal version of an upgrade path (each step solves a specific problem and keeps earning its place).
Step 6: Hand collaborators a one-page recording routine
Put these evidence-backed checks at the top of every session note:
- Wear headphones for remote recording.
- Aim the microphone toward the mouth from above or below.
- Confirm the recording software is using the intended microphone input.
- Speak at episode volume and make sure levels do not clip.
- Where separate tracks are available, keep each speaker on their own file for later level adjustment.
This does not promise perfect audio in every room, nor does it identify which microphone type is best for podcasting. This guide does not attempt to rank microphones. It gathers supported placement and remote-recording checks in one place so you can determine whether the next change should involve technique, monitoring, recording settings, or the connection path.
Your actionable next step
Before shopping, run the five-point preflight above in your next recording session. Write down what you can verify: microphone orientation, headphone use, selected input, non-clipping levels, and whether your platform can create separate files for each speaker. That short inventory turns a vague headset search into a focused decision, and helps you sequence upgrades so each piece keeps earning its place.
FAQ
What type of mic is best for podcasting?
The available evidence does not identify or rank a best microphone type for podcasting. Shure's general recording guidance supports aiming the microphone toward the mouth from above or below to minimize plosive pops. For remote podcast recording, Buzzsprout recommends wearing headphones, confirming that the microphone rather than the computer's built-in input is selected, and ensuring that levels do not clip. This guide does not claim that a headset will sound better than a desk microphone.
Do I need phantom power for a USB podcast microphone?
No. USB microphones draw power through the USB connection and do not require phantom power. For XLR setups, condenser microphones require power for their active electronics, while dynamic microphones do not require phantom power. Always follow the documentation for your exact microphone and interface.
Related Articles