ASL Interpreter Microphone Setup: Clear Audio, Open Signing
By Mei-Lin Zhou • 25th May
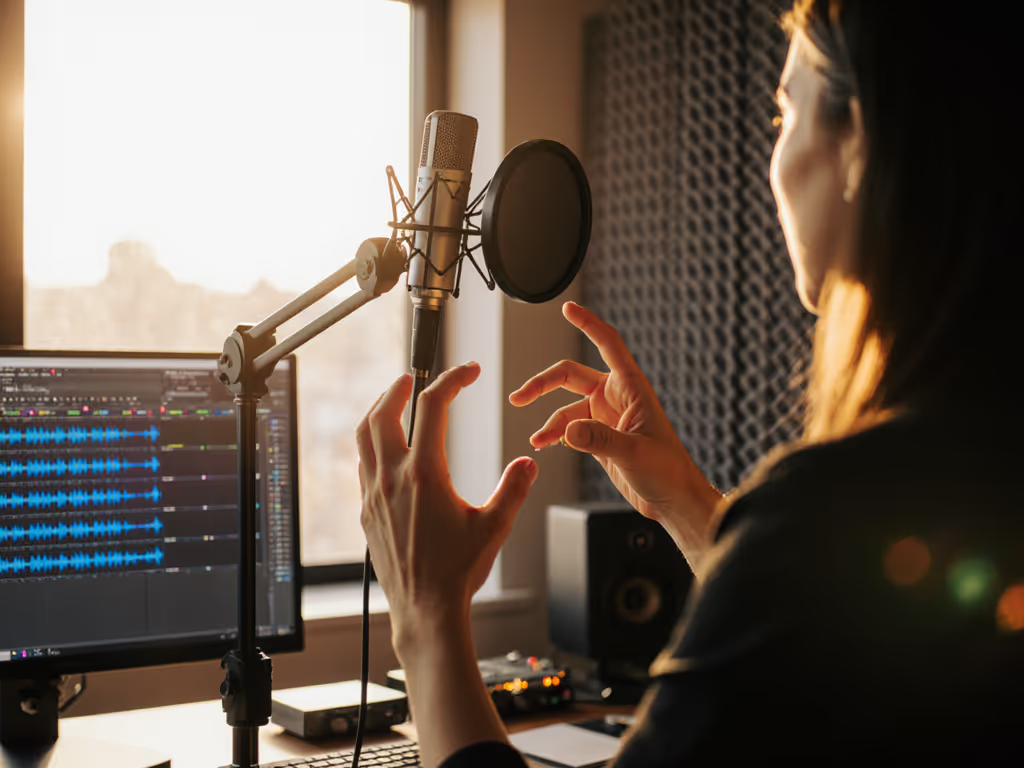
An ASL interpreter microphone setup has a harder job than most creator rigs: it has to deliver clean, reliable voice without stealing space from your hands, expressions, or camera framing. Your goal isn't just to be heard, it is sign language audio optimization that keeps the signing box open, the face visible, and the sound consistent even when you're moving.
In this guide, I'll walk you through a step-by-step, interpreter-focused setup that prioritizes:
- Interpreter-friendly mic placement that keeps your signing visible
- Low handling noise and desk resonance when you're expressive or animated
- Minimal plosives and room tone even in small, untreated rooms
- A repeatable layout so you can touch nothing, sound great across streams, classes, and events
Quiet hardware makes your voice the loudest thing in the room.
Step 1: Map your interpreting scenario and constraints
Before you touch a mic stand, define where and how you're interpreting.
Your layout decisions will change based on this.
Ask yourself:
- What's the main output?
- Live stream or webinar (Zoom, Teams, YouTube Live)?
- Pre-recorded lesson or course (ASL recording techniques for later editing)?
- In-room interpretation with a camera for recording?
- Who needs the audio most?
- Hearing audience listening to your interpreted voice.
- A hearing partner or presenter needing clear sign-to-voice interpretation.
- Captioning or transcription tools that need clean sign language audio capture.
- How much do you move?
- Seated, mostly in one place?
- Standing or stepping side-to-side while you sign?
- What's your room like?
- Small bedroom or office with hard walls and some echo.
- Shared office with HVAC, street noise, and computer fans.
If you:
- Move a lot (standing, big expressive work): favor a headworn or very stable boom arm that doesn't drift.
- Mostly sit in one spot: a boom arm with a side-address mic can give you great control over plosives and room noise.
You don't need to decide on exact gear brands now.
You just need to know how "anchored" your body is and how noisy your space is.
Everything else will build on that. If you need wireless freedom without video obstructions, see our wireless lav mic placement guide.
Step 2: Define your visual signing space first
Creators often start by asking, "Where should my mic go?"
For interpreters, the better question is, "Where is my signing box, and what must stay clear?"
Think in layers:
- Camera framing
- Aim for mid-torso to a bit above your head in frame.
- Leave space around your hands so signs at the edges aren't cut off.
- Face and eyes
- Absolutely nothing should block your mouth, cheeks, eyebrows, or eyes.
- Avoid mics or arms crossing directly in front of your face, even at the edge of frame.
- Hand and arm paths
- Sit or stand in your natural interpreting posture and do a few expressive segments.
- Note where your forearms, elbows, and hands travel.
- Any hardware inside that volume is a collision risk.
Now, mentally mark a "no hardware zone":
- The rectangular box your camera sees.
- Plus a bit of margin to each side for wide signs.
The mic will live just outside this visual space, either:
- Slightly below frame (coming up from under the camera), or
- Slightly to the side (off to your non-dominant hand), or
- Slightly above frame, angled down if your ceiling isn't too reflective.
You're designing visual space microphone positioning: audio that's close enough to sound intimate, but far enough and angled so it never fights your hands and expressions. For precise distances, angles, and plosive fixes, check our podcast mic positioning guide.
Step 3: Choose interpreter-friendly mic placement
Now let's place the mic so it serves your signing instead of limiting it.
This section assumes a typical creator dynamic mic on a boom arm, but the spatial logic applies to most mics.
3.1. Pick your side and angle
To reduce plosives, breaths, and blocking your face, avoid aiming the mic straight directly at your mouth.
Instead, think off-axis:
- Position the mic 6-10 inches from your mouth.
- Rotate it so it points at the corner of your mouth or just under your lower lip.
- Angle it 30-45° off to the side (like pointing from 10 o'clock or 2 o'clock relative to your face).
This does three things:
- Plosive control: Air from P/B/T sounds passes across the mic, not directly into it.
- Breath noise reduction: Less "wind" on the capsule when you're working hard.
- Open visuals: The body of the mic sits just out of the signing box and doesn't cut your face in half.
A mic you don't have to fight produces better performances and faster edits.
3.2. Decide: below, side, or above?
Below frame (upward angle)
- Mount the boom arm low, just out of camera view.
- Mic comes up toward your chin, angled up toward the corner of your mouth.
- Great if you sign high and want nothing near your upper face.
- Watch for desk resonance and keyboard noise; we'll fix that in Step 4.
Side of frame (horizontal angle)
- Mic sits just to your non-dominant side, capsule just outside the camera edge.
- Points toward your mouth at an angle, not blocking your nose or lips.
- Good balance of sound quality and totally clear hand space.
Above frame (downward angle)
- Boom arm above or behind your monitor, mic pointing down at your mouth.
- Keeps desk completely clear for signing.
- In small, reflective rooms, this can pick up more room tone from ceiling reflections, test it carefully.
Choose the one that:
- Keeps your hands and elbows free.
- Doesn't require you to lean toward the mic just to be heard.
- Stays out of your eye line so you can focus on the signer or camera.
Step 4: Control desk resonance and background noise
Interpreting is physical.
When you emphasize a point, your hands may tap the desk, chair, or armrests.
On a hollow desk, those taps can turn into low thumps that ruin otherwise clean tracks.
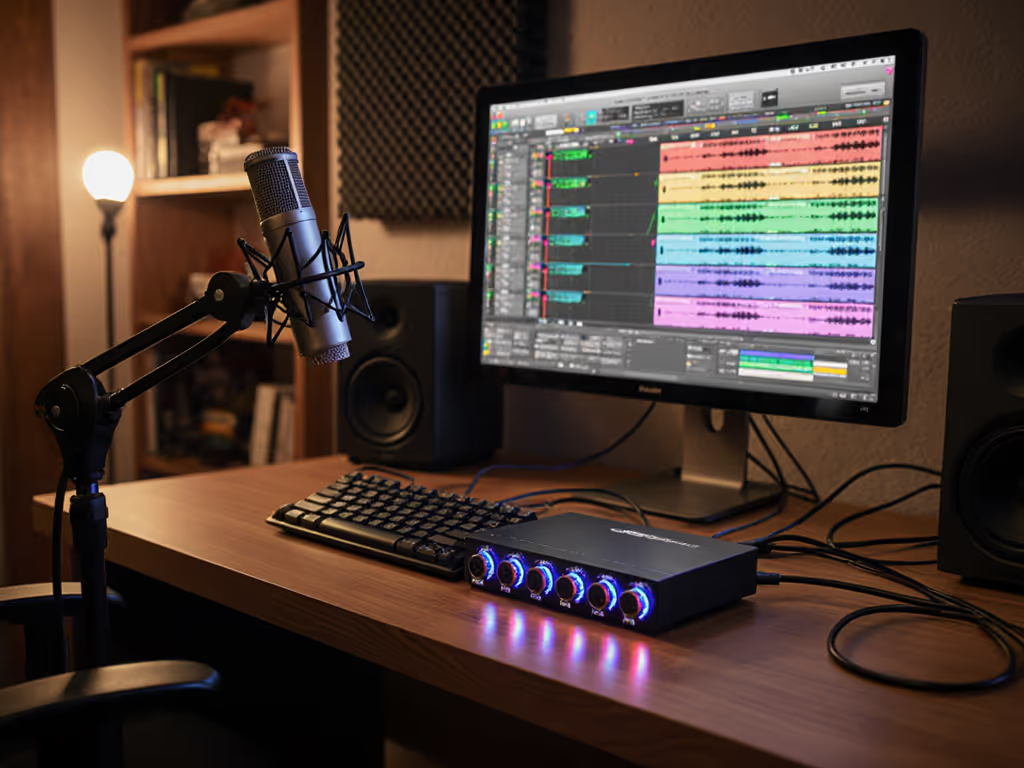
I once watched a simple hollow desk turn gentle taps into thunder through a sensitive mic on a rigid stand.
A compact dynamic on a damped arm, set off-axis and decoupled from the desk surface, turned the chaos into near-silence and cut the edit time in half.
That's the level of control we're aiming for.
4.1. De-couple the mic from the desk
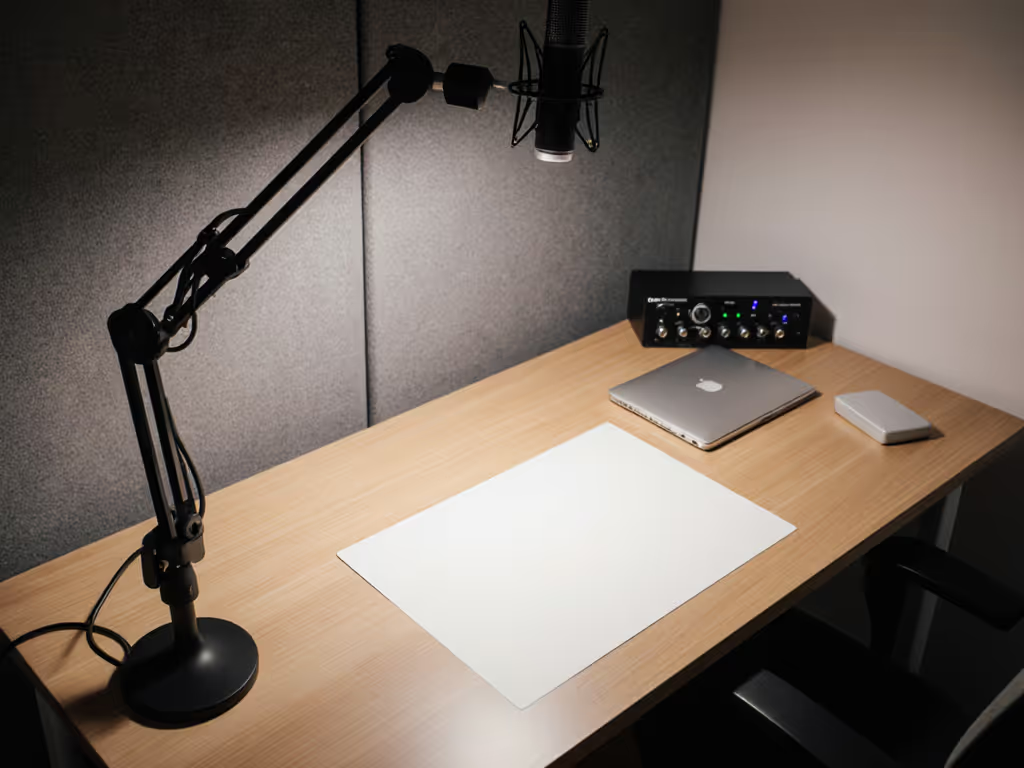
- Clamp the boom arm to the most solid part of the desk (near a leg or frame, not the flimsy middle).
- If your desk resonates when you knock it, add a thin rubber mat or folded cloth between the clamp and desk.
- Tighten joints on the boom arm so it doesn't squeak or sway when you move.
4.2. Isolate from common bump zones
- Keep the arm base away from where you rest your forearms.
- Don't mount the arm directly in front of your keyboard; choose the far corner.
- If you sign expansively, verify your elbows don't brush the arm.
4.3. Tame the room, minimally
You don't need advanced acoustics math.
Use simple, repeatable moves:
- Place soft material (curtains, clothes rack, blanket) behind the camera or behind you to absorb some reflections.
- Move noisy devices (PC tower, fan) off the desktop or farther from the mic's pickup side.
- If using a cardioid mic, aim its null (back) toward the loudest noise source.
These tweaks cut down room tone so your sign language audio capture is focused on your voice, not your HVAC. For a deeper dive on reflections and quick fixes in small rooms, read Room Acoustics for Podcasting.
Step 5: Dial in gain, distance, and tone
Once the mic is physically placed, it's time to set levels so you can work expressively without worrying about clipping or noise.
5.1. Fix your speaking distance
- Choose a distance in the 6-10 inch range.
- Sit or stand in your natural interpreting posture, hands ready.
- Without reaching for the mic, adjust the arm so the capsule arrives at that distance.
You want your body to be in control, not the hardware.
Your hands should move freely while your head and torso stay roughly in that "sweet spot."
5.2. Set gain for your loudest interpreting
- In your interface or USB mic control panel, start with gain at a safe middle setting.
- Interpret a high-energy segment like you would in a protest, concert, or intense briefing.
- Watch your meters:
- Peaks should land around -12 to -6 dB.
- Nothing should hit 0 dB or "clip."
If peaks are too high:
- Lower the gain slightly and repeat.
If your levels are very low even when you speak loudly:
- Raise gain until your energetic interpreting sits in that safe zone.
The goal is headroom for emotion without risking distortion. If you're unsure about levels, follow our podcast mic gain staging guide to set perfect peaks quickly.
Interpreters often surge in volume with the content; your setup has to anticipate that.
5.3. Check monitoring for comfort
- Use direct monitoring (on the mic or interface) if available to avoid latency.
- Keep headphone volume at a level where you can hear yourself clearly but not so loud that you over-whisper.
A quick rule: you should be able to sign and speak naturally without thinking about the mic.
If you feel yourself leaning in or backing away to "chase" the sound, re-adjust placement instead of changing your vocal habits.
Step 6: Make it repeatable: anchors, markers, and habits
To reduce retake risk, you want a setup you can sit down to, touch nothing, sound great.
That means creating physical anchors and tiny habits.
6.1. Mark your positions
- Put a small piece of tape where your chair legs go.
- Mark the front edge of your keyboard or desk where you rest your forearms.
- If needed, mark the boom arm pivot angle that lines the mic up with the corner of your mouth.
When you set up:
- Slide chair to marks.
- Place keyboard or notepad to marks.
- Swing the boom arm until it hits its mark.
You've just turned a 10-minute fiddle into a 10-second reset.
6.2. Create a pre-go ritual
Takes less than a minute:
- Sit or stand in position.
- Do 2-3 test phrases at normal and high energy.
- Glance at meters to confirm peaks around -12 to -6 dB.
- Check the camera framing: face, hands, and arms fully clear of the mic and arm.
If all four check out, you're ready.
Step 7: Fast pre-session checklist (zero-post mindset)
Here's a condensed, step-by-step checklist you can print or keep beside your monitor.
Before every session:
- Room & noise
- Fan/computer moved away or pointed back of mic at it.
- Soft surface (curtain/blanket/clothes rack) in at least one reflection path.
- Hardware & ergonomics
- Chair, keyboard, and boom arm lined up with your tape marks.
- Mic capsule 6-10 inches from your mouth, angled 30-45° off-axis.
- No hardware intruding into your signing box in the camera frame.
- Handling noise & resonance
- Boom arm clamped on a solid part of the desk with padding if needed.
- Quick test: tap the desk lightly where your forearms rest and listen; if it's loud, adjust placement or padding.
- Gain & monitoring
- High-energy test passage; meters peaking around -12 to -6 dB.
- Headphones comfortable; you can hear yourself but not so loud that you change your natural voice.
- Short test recording
- Record 20-30 seconds of typical interpreting.
- Play it back: listen specifically for plosives, breaths, thumps, and room echo.
- Adjust placement, not performance, to fix issues.
Quiet hardware makes your voice the loudest thing in the room.
Your next actionable step
For your very next stream, class, or recording, don't overhaul everything.
Pick one of these to implement:
- Move your mic off-axis to the corner of your mouth and repeat the gain setup.
- Redefine your signing box on camera, then reposition the mic outside that space.
- De-couple your boom arm from a hollow desk with padding and a sturdier clamp point.
Once that feels natural, add the tape markers and mini checklist.
Within a few sessions, you'll have an ASL interpreter microphone setup that gives you clean, consistent, low-effort sign language audio optimization, so you can focus on the message, not the hardware. When you're ready to choose specific gear, see our ASL interpretation microphone picks for unobstructed video and clear voice.
Related Articles