Hands-Free Headset Microphones for Podcast Recording
By Jakob Steiner • 17th Sep
What to do
A headset microphone is a practical podcast choice when hands-free use, repeatable mouth-to-mic placement, and headphone monitoring matter more than finding a universally superior microphone.
- Start with: Place the boom beside the mouth and roughly 45 degrees off-axis. Record a short test containing normal speech and plosive-heavy words, then adjust the boom rather than immediately adding gain.
- Then: Monitor on headphones for excessively high or distorted recording levels and signs that the speaker has drifted too far from the microphone.
- Important prerequisite: Confirm the recording software selected the headset or intended interface, not the built-in laptop microphone. If your setup uses XLR, consult the exact headset's documentation before enabling 48 V.
Important: A headset can make positioning more repeatable, but it does not eliminate microphone technique or guarantee better noise rejection, sound quality, or plosive control than every desk microphone.
A hands-free microphone podcast setup can be a practical option when you need a repeatable voice position and headphone monitoring. For creators sorting through equipment for podcast recording, the useful question is not whether a headset is universally "better" than a desk microphone. It is whether a boom kept in a repeatable position near your mouth will solve more problems than it creates in your room and workflow.
When repeatable mouth-to-mic placement and headphone monitoring matter, a headset can be a practical option. Its useful contribution is repeatable placement: once you find a comfortable boom position, you can use that position again for later recordings.
Minimum viable chain, maximum focus: a correctly positioned headset, headphone monitoring, the right recording input selected, and a short test before every session.
What a headset microphone actually solves
A headset combines two separate jobs: getting the microphone close to the speaker and giving that speaker a way to monitor the session. The close boom supports repeatable placement, while the headphones let the speaker monitor the session.
Consistent distance means more predictable gain
As a general placement principle, moving a microphone farther from the mouth requires more gain to maintain level. More gain raises the voice, but it also raises whatever the mic captures from the environment: HVAC, keyboard clicks, and other competing sound.
A boom positioned close to the mouth can support repeatable placement between recordings. That is useful because you can mark the boom's comfortable position and repeat it every episode.
That does not mean every headset will outperform every desk mic in a noisy or reflective room. Distance, angle, and gain still matter. The defensible advantage is repeatable placement (not a blanket promise of room rejection).
Headphone monitoring catches problems while they are fixable
Monitoring is not a cosmetic extra. Listening on headphones during recording can reveal a level that is too high or distorted, as well as a speaker who has drifted too far from the microphone. In remote sessions, headphones also avoid the straightforward problem of guest audio playing through speakers and being picked up again by the local microphone.
This matters when you are listening for another speaker's response, referring to material on screen, and changing posture during a session. A headset keeps microphone and headphone monitoring in the same recording setup.
Where headset mics require discipline
The mistake is treating a headset as a technique-free solution. Its boom can make placement easier to repeat, but distance and angle still affect gain requirements and plosive impact.
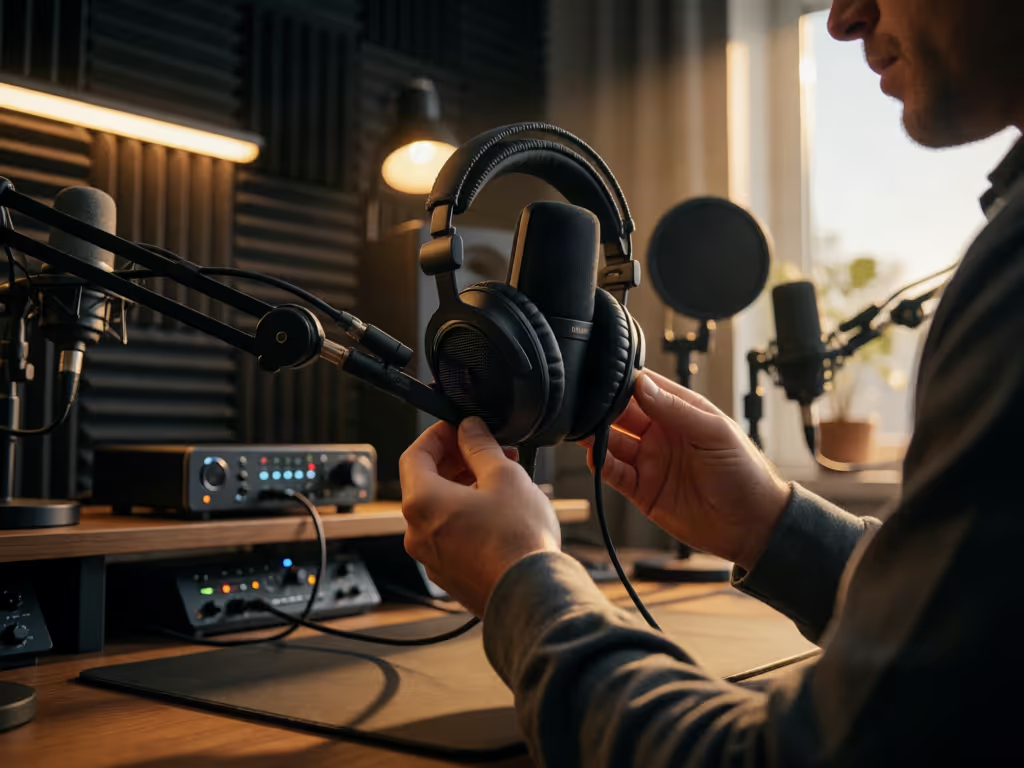
Put the boom beside the mouth, not in front of it
Start by positioning the boom so you speak across the capsule rather than directly into it. General microphone positioning guidance recommends roughly a 45-degree off-axis angle: it directs breath past the capsule and can reduce plosive impact.
With a headset, make small adjustments rather than swinging the boom away. If it is too close or aimed directly at the breath path, direct breath can still create plosive impacts. A podcast producer who has worked with headset recordings specifically flags plosives as a potential drawback and recommends moving the boom so it is not too close to the mouth.
Use a short test, not a guess. Say the opening of your show, a few energetic sentences, and a line with deliberate plosive sounds. Listen through the headset. If consonants pop, shift the boom slightly to the side and re-test. If the voice becomes weak, do not immediately chase it with more gain; first restore a sensible, consistent boom position.
Treat the recording space as part of the chain
A close, steady microphone position can reduce the need to push gain. FIFINE notes that the extra gain needed for a more distant microphone also raises competing sounds such as HVAC and keyboard clicks. It does not establish how the headset will perform in every room. For practical ways to improve an untreated space, see this guide to podcast room acoustics.
Clean capture beats trying to rescue an unsuitable raw track later. Capture clean, commit early, and keep sponsors breathing between words.
Choosing a headset for the job, without chasing a universal "best"
There is no single best microphone for every podcast. Microphone selection is subjective, and multiple factors affect suitability. For an unspecified headset, the available information may not establish the behavior of the exact model.
Use these decision filters instead:
- Choose hands-free for repeatable placement. A headset is a sensible candidate when keeping the microphone position repeatable matters to your recording workflow.
- Choose it for operational simplicity, not assumed sound isolation. A close boom can require less gain than a more distant microphone, but that does not establish better noise rejection for every headset.
- Use a test recording to refine placement. Record your natural introduction and a line with deliberate plosive sounds. If breath hits are obvious, move the boom slightly to the side and re-test.
- Use headphones to check the supported warning signs. Monitor for excessively high or distorted recording levels and for moments when the speaker has moved too far from the microphone.
- Keep the upgrade path honest. A headset that fits your current workflow can be a good choice even if you later add a separate microphone for seated studio sessions. Do not buy today's tool based on an imagined universal future chain.
A practitioner's experience suggests headsets can spare beginners some common positioning errors associated with more advanced microphones used poorly. That is a reasonable reason to test one, but it remains a practitioner's view rather than a universal performance result.
Connection, power, and preflight checks
If your setup uses XLR, consult the exact headset's documentation before enabling 48 V.
The general rule for conventional microphone chains is straightforward: USB microphones receive power through USB and do not need phantom power; condenser microphones using XLR need phantom power for active electronics, while dynamic microphones do not require it. Those are technology-level rules, not a shortcut for identifying an unspecified headset.
For this setup, gain staging begins with microphone distance: moving a microphone farther from the mouth requires more gain to compensate. Set a comfortable speaking level, deliver your loudest realistic line, and monitor for distortion. A close, stable boom position helps you avoid setting the input around an occasional lean-away rather than your normal speech.
Five-minute preflight for every episode
- Wear the headset exactly as you will during the show.
- Place the boom beside the mouth and angle it off-axis.
- Record a short plosive and sibilance test.
- Listen on headphones for excessively high or distorted recording levels and check whether the voice sounds too far from the microphone.
- Confirm the recording software has selected the headset or intended interface (not the built-in laptop microphone).
- Repeat the same gain and boom position for each host who uses the same kit.
That is chain discipline: no elaborate correction plan, just a raw track that begins in a usable place.
FAQ
How do I mic a podcast with a headset?
Keep the boom near the side of the mouth, angled so you speak across it rather than directly into it. Make a short test recording containing normal speech and plosive-heavy words, adjust the boom if breath hits are obvious, monitor on headphones, and verify the correct input device before the full session.
Is a headset microphone a practical podcast option?
It can be a practical hands-free option when consistent mouth-to-mic distance and headphone monitoring matter. Before the full session, make a short placement and plosive test, then monitor for excessively high or distorted recording levels and for the speaker moving too far from the microphone.
The practical next step
Do not start by hunting for a mythical "best" podcast mic. Record a short passage with the headset and, if relevant, repeat it with the built-in laptop microphone. Published practitioner examples show that this comparison can be made, but they do not establish a fixed improvement for every headset.
Use the headset recording to refine boom placement. Include normal speech and a plosive-heavy line, then move the boom slightly to the side if direct breath creates obvious impacts. Monitor for excessively high or distorted levels and for moments when you move too far from the microphone.
If problems persist, use this guide to troubleshoot common microphone issues before replacing the headset. If it reveals plosives, adjust placement before replacing gear. Further exploration should be guided by placement and plosive checks you can reproduce (not by a spec-sheet argument detached from your workflow).
Related Articles