How to Store Your Podcast Mic: Protection Guide
By Nora Adeyemi • 20th Apr
Introduction
Your microphone is the foundation of your show's credibility. Whether you're recording weekly episodes or taking seasonal breaks, microphone storage protection isn't just about preventing visible damage, it's about preserving the clean, confident sound your audience trusts. Many first-time podcasters learn this the hard way: a mic left loose on a desk, cables crimped in a drawer, or weeks exposed to dust and humidity can introduce handling noise, signal degradation, or worse, silent failure mid-recording. This guide walks you through practical microphone storage solutions and long-term mic maintenance strategies that fit seamlessly into a beginner's workflow.
FAQ: Essential Microphone Storage & Protection
What exactly can go wrong if I don't store my mic properly?
Microphones are precision instruments. Even minor damage can alter your voice's character or introduce unwanted noise. Here's what's at stake:
Internal damage: Dropped mics, crushed diaphragms, or jostled capsules can shift frequency response, so suddenly your warm, intimate voice sounds thin or boomy. The microphone may still power on, but it no longer sounds like itself.
Cable and connector wear: Coiled too tightly or bent sharply, XLR and USB cables develop internal breaks that cause crackling, intermittent signal loss, or complete failure. A damaged cable means you're troubleshooting during a live session instead of hitting record.
Corrosion and humidity damage: Microphones stored in damp basements or humid bathrooms absorb moisture, which corrodes internal electronics and connectors. Over weeks, this degrades signal quality and can cause permanent failure. If humidity is a concern where you live, use our humidity and corrosion guide to prevent moisture-related hiss and damage.
Dust and debris: Dust settling inside the mic capsule dulls the high-frequency clarity your voice depends on. Dust in connectors introduces noise and intermittent dropouts.
For someone counting on a repeatable setup, each of these failures forces you back to square one (troubleshooting instead of creating).
How should I physically store my microphone between sessions?
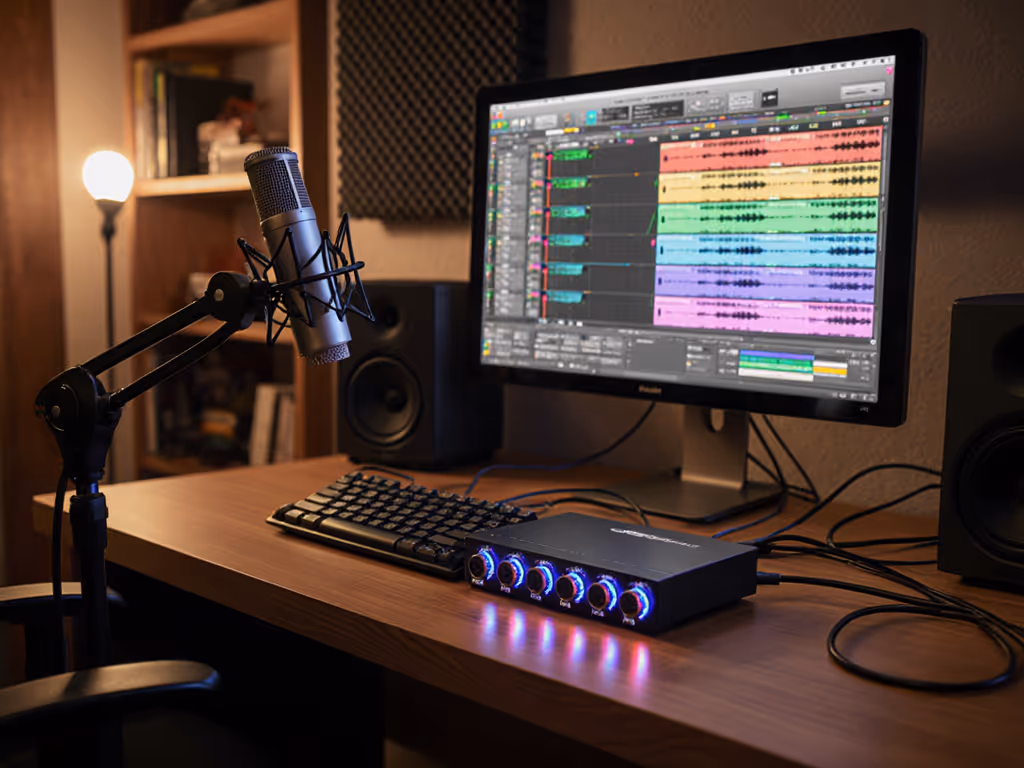
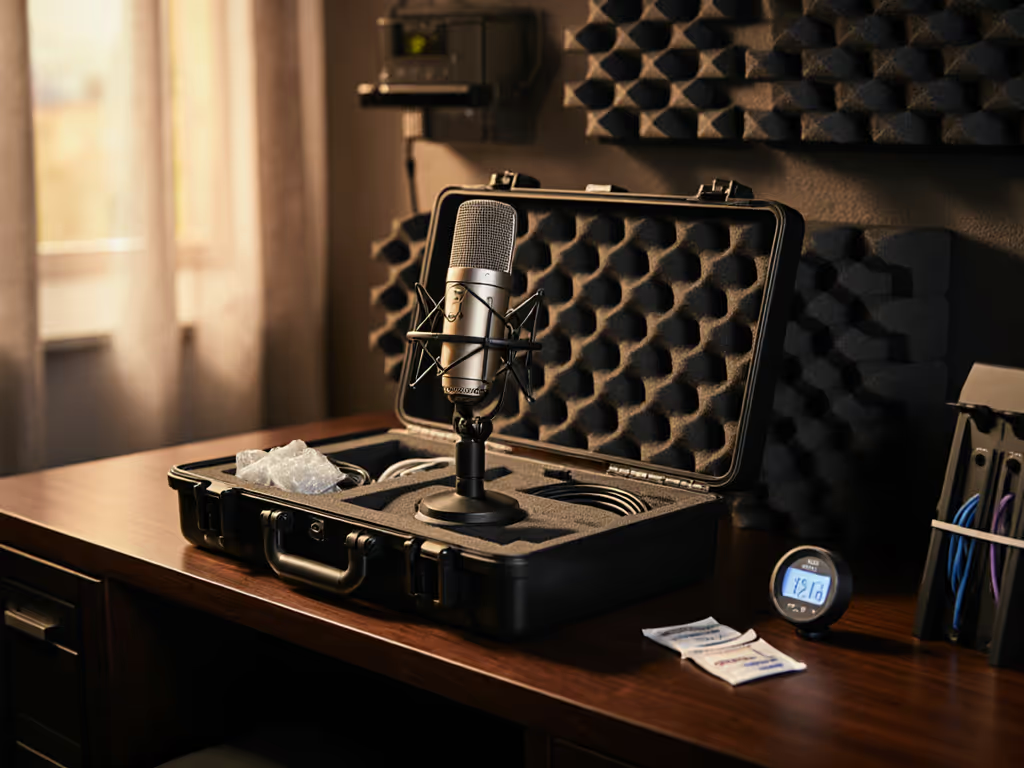
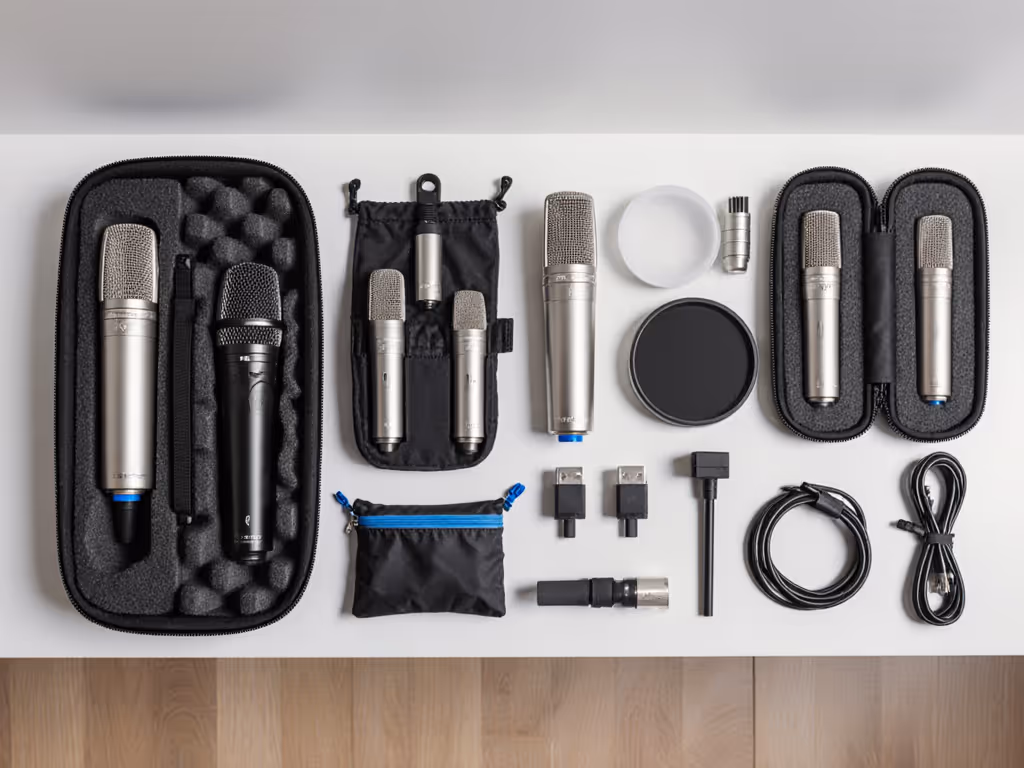
Use a sturdy, padded case or protective stand as your first line of defense. Think of this as your microphone's home between takes. A padded case works best because it absorbs bumps, shields from dust, and fits neatly on a shelf or under your desk. If you travel or record on the road, see our road-tested microphone protection guide for transport-safe packing and quick field checks.
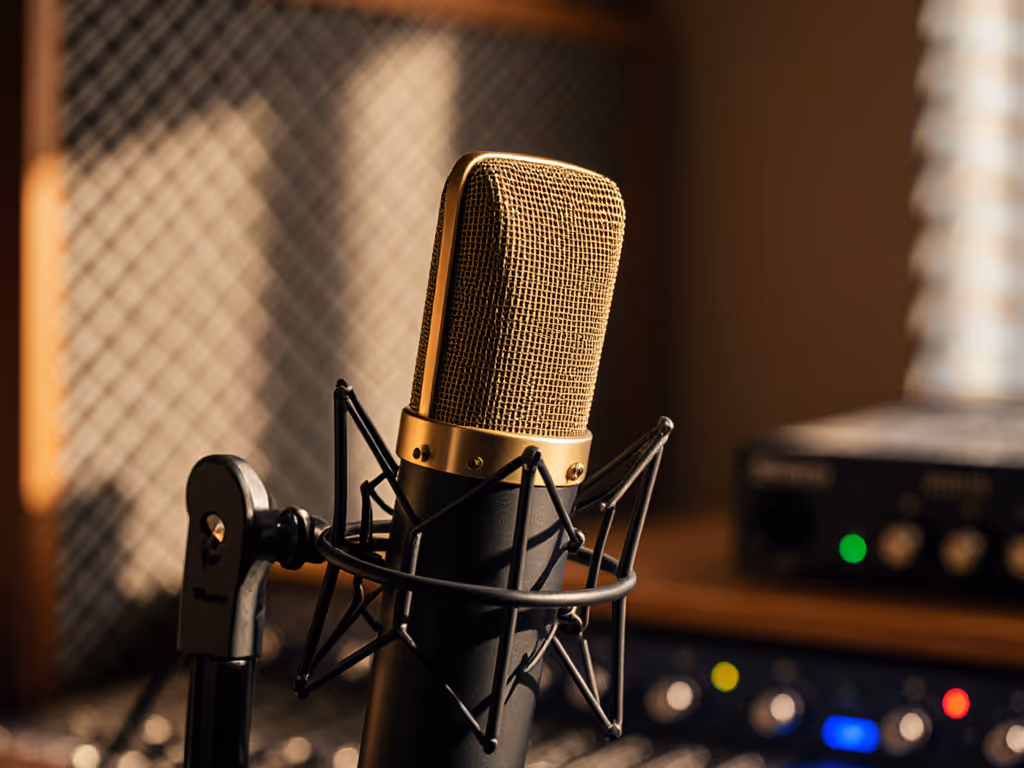
If you're storing the mic on its boom arm or shock mount (which is common), drape a soft microfiber cloth over it or use a cable bag to shield it from dust. Just ensure the mic isn't in a high-traffic area where it could be knocked over.
Key principle: Position your microphone storage away from:
- Heating vents and AC units (temperature and humidity fluctuations)
- Windows (UV exposure fades materials and can damage components)
- Kitchens and bathrooms (moisture and steam)
- Shelves above water sources or near liquids
- High-traffic zones where someone might bump or knock it
A bedroom closet, office cabinet, or desk shelf in a climate-controlled room works perfectly. The goal is a quiet, dry, temperature-stable space.
What's the right way to coil and store cables?
Cable care is often overlooked, yet a single crimped XLR or USB cable can sabotage an entire recording. Here's how to handle them:
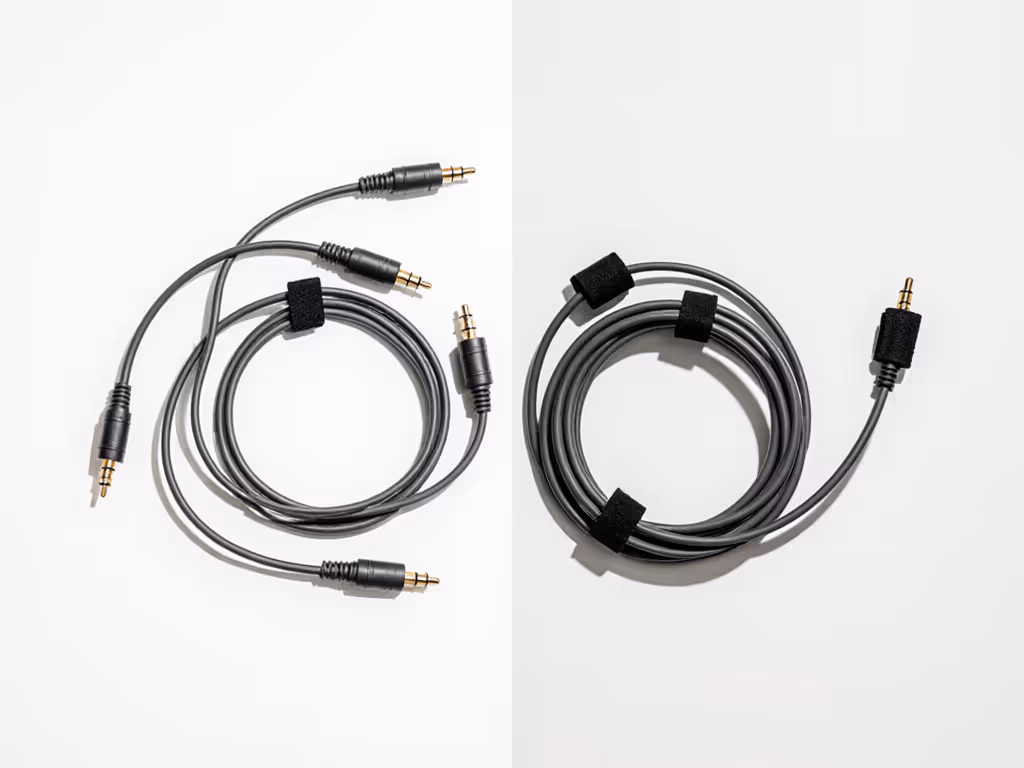
Avoid tight coils and sharp kinks. These compress internal conductors and cause signal loss or complete failure. Instead, use loose loops secured with velcro ties. Think of rolling a rope loosely rather than wrapping it tightly around your hand.
Cables should coil to roughly the diameter of a dinner plate, no tighter. This gives internal wiring the breathing room it needs.
Storage best practice: After each session, coil cables separately and store them in a small pouch or zip bag, away from the microphone itself. This isolation prevents tangling and reduces the chance of a cable getting snagged or bent when you're reaching for the mic.
If you use an audio interface, wrap its USB cable separately from XLR cables. Different cable types have different fragility thresholds, and segregating them prevents one damaged cable from knocking out your entire chain.
How do I protect my microphone during longer breaks (off-season or hiatuses)?
Off-season mic care requires a bit of intentional prep, but it takes only a few minutes before you pack things away.
Before storing for weeks or months:
-
Power off and cool down: Let your mic sit unpowered for 10-15 minutes. This allows any residual charge to dissipate and temperature to stabilize.
-
Inspect and wipe: Use a soft, dry microfiber cloth to gently wipe the capsule, grille, and all connectors. Don't press hard; just remove surface dust. For connectors, a lightly compressed cloth works, avoid moisture.
-
Coil cables and store in a dedicated bag: Use that loose-loop technique we covered. A small cable pouch or zippered bag keeps everything organized and protected.
-
Store in a moisture-control environment: If your storage area is damp, toss a silica gel packet into the case or bag. This absorbs excess humidity and prevents corrosion. Replace the silica gel every 2-3 months if you're in a particularly humid climate.
-
Document your settings: Before you power down for the last time, photograph your gain knob position, interface settings, and any EQ or routing notes. When you return, these photos become your zero-post reference, letting you rebuild your repeatable setup instantly.
This intentional transition (rather than yanking cables and tossing the mic in a drawer) ensures your microphone emerges from storage sounding exactly as it did when you put it away. Before your next season, quickly check for microphone firmware updates to fix quirks and improve reliability.
Should I store my pop filter and shock mount separately?
Yes. These accessories are tough but benefit from deliberate organization.
Pop filters: Store them flat or standing upright in a clean area. The mesh should never be compressed or bent. If your pop filter has a metal bracket or clip, secure it gently to prevent wobble. Many people store pop filters flat in a shallow bin or on a shelf.
Shock mounts: These are robust, but if they have rubber components or springs, keep them in a dry environment. Don't stack heavy objects on top of them. A small box or zippered pouch works well. If your shock mount is attached to your boom arm, ensure the arm is also in a stable, dust-free spot. Don't hang it from a nail where vibrations can stress the mount.
Organized accessory storage means no hunting for pieces when you're ready to record again. Everything stays compatible and ready.
How often should I check my stored equipment?
If you're storing gear for more than a month, do a quick inspection every 4-6 weeks.
Open the case, visually scan for any dust accumulation, and gently rotate the microphone to ensure it moves freely. Check that the silica gel (if present) isn't saturated with moisture, if it looks wet or discolored, replace it. Quickly press cables between your fingers to ensure no new kinks have developed. This five-minute wellness check catches issues before they become problems.
For active setups, gear you use weekly, you rarely need a formal check. Just be mindful of the coiling and placement habits after each session.
What's a storage checklist I can use before packing away my mic?
Here's a repeatable, zero-post checklist:
Before Powering Down
- Record a short test clip to confirm everything sounds as expected
- Photograph your gain knob, interface settings, and any markings (mic distance, arm angle)
- Note any firmware version or software version in use
Before Storing
- Power off the mic and interface; allow 10-15 minutes to cool
- Gently wipe mic capsule, grille, and connectors with a dry microfiber cloth
- Disconnect all cables carefully; do not yank or pull sharply
- Coil each cable in a loose loop (dinner-plate diameter); secure with velcro tie
- Place cables in a separate pouch or bag
- Pack mic in a padded case or protective cover
- Pack pop filter and shock mount in a small box or zippered pouch
- Add silica gel packet (if needed for humidity control)
- Store in a cool, dry, dust-free area away from sunlight and temperature extremes
- Set a reminder to check equipment in 4-6 weeks
When Ready to Record Again
- Retrieve all equipment; inspect visually for dust or damage
- Recreate your setup using the photos you took
- Coil cables loosely and reconnect the signal chain: microphone → XLR → interface → USB → laptop
- Power up and run a gain test at the recorded level
- Record a short 30-second test clip to confirm sound matches expectations
Why This Matters for Your Podcast
When your microphone is protected, stored intentionally, and ready to go, you eliminate a major source of anxiety. You're not wondering if a cable is damaged. You're not discovering your mic sounds different because moisture got inside. You're not hunting for the right settings because you forgot them.
Microphone storage protection is really about protecting your confidence.
A well-maintained mic that sounds exactly as it did last week means you can focus entirely on your story, your guests, and your delivery, not on technical troubleshooting. That's when your voice breathes. That's when the audio becomes invisible, and the message becomes unforgettable.
Your Next Step
Pick one habit to start today: either invest in a padded case if you don't have one, or coil your cables properly for the next session. Practice that loose-loop cable coil on one cable, then add the others. Next time you pack away, you'll already know how. After three sessions, it's automatic.
When your storage routine is automatic, your setup is repeatable. For a plan to keep gear performing for years, read our microphone lifespan guide. When your setup is repeatable, your voice is trusted. Green lights, not perfect waves.
Related Articles