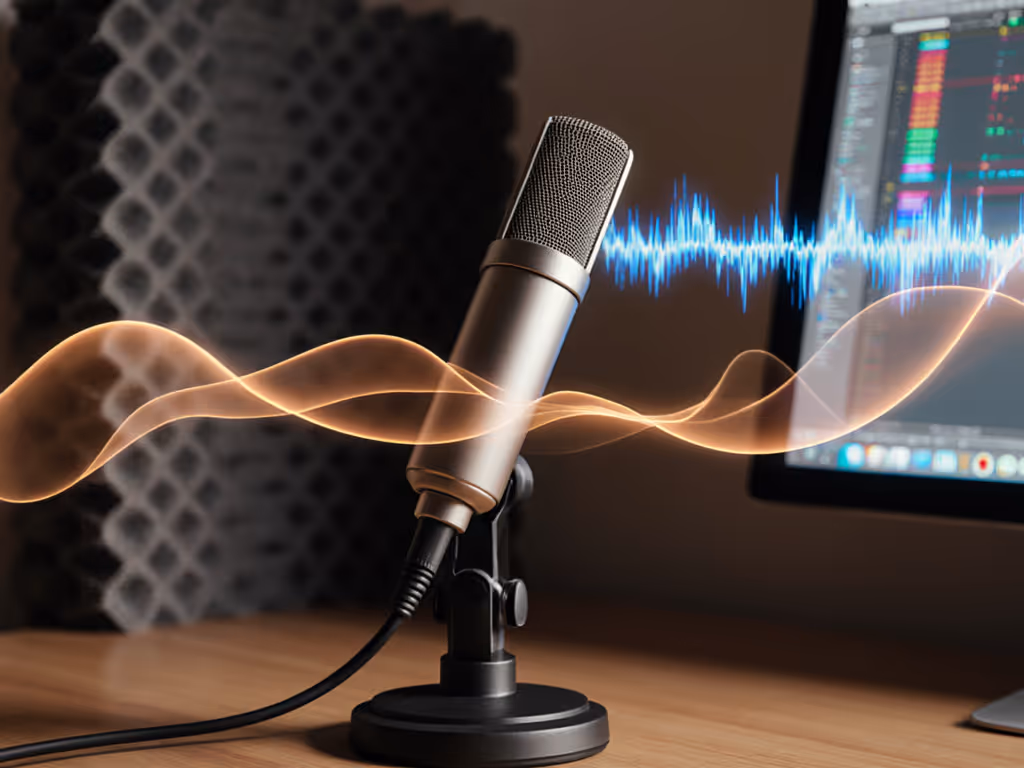
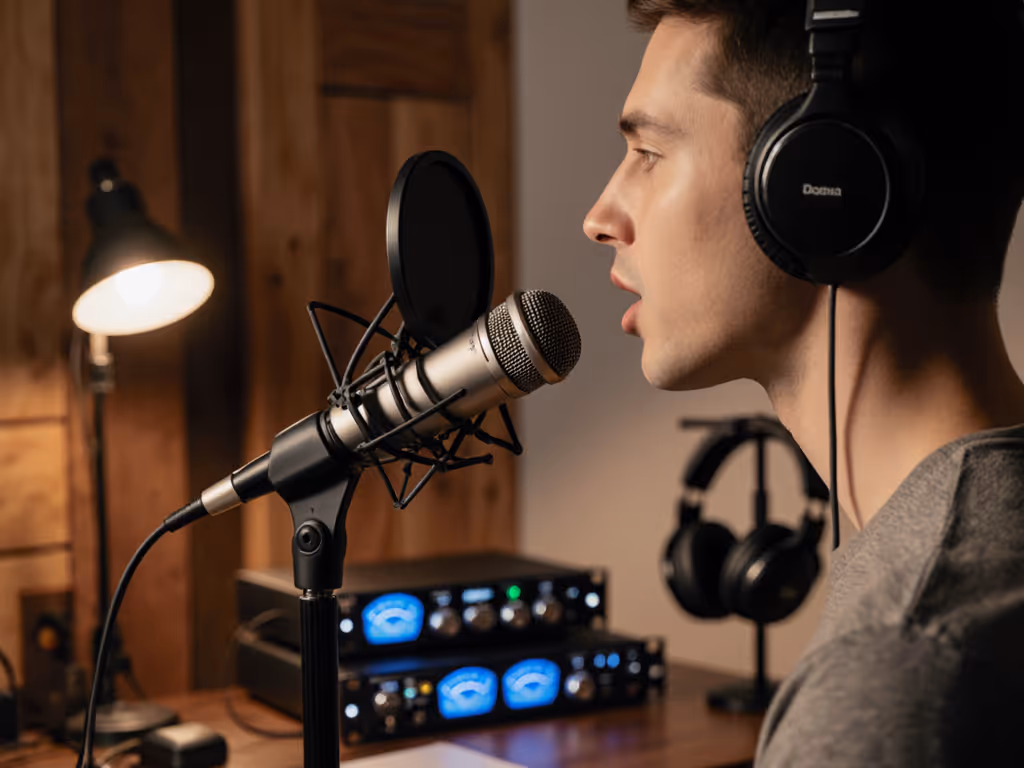
How Mic Frequency Response Shapes Your Vocal Tone
Discover how frequency curves and off-axis rejection affect tone in untreated spaces. Make smarter mic and placement choices to capture clean, intelligible vocals with less post-processing.
Let’s cut through the reverb: room acoustics for podcasting isn’t about transforming your space into Abbey Road. It’s about strategic, budget-conscious tweaks that make your microphone room treatment work with your existing gear, not against it. As a former nonprofit producer who built a four-mic newsroom setup from a shoebox of mismatched mounts, I’ve seen how cheap fixes often backfire. But smart acoustic choices? They compound. Today, we’ll map a frugal path to clear audio that works before you hit record (no fancy interfaces or returns required).
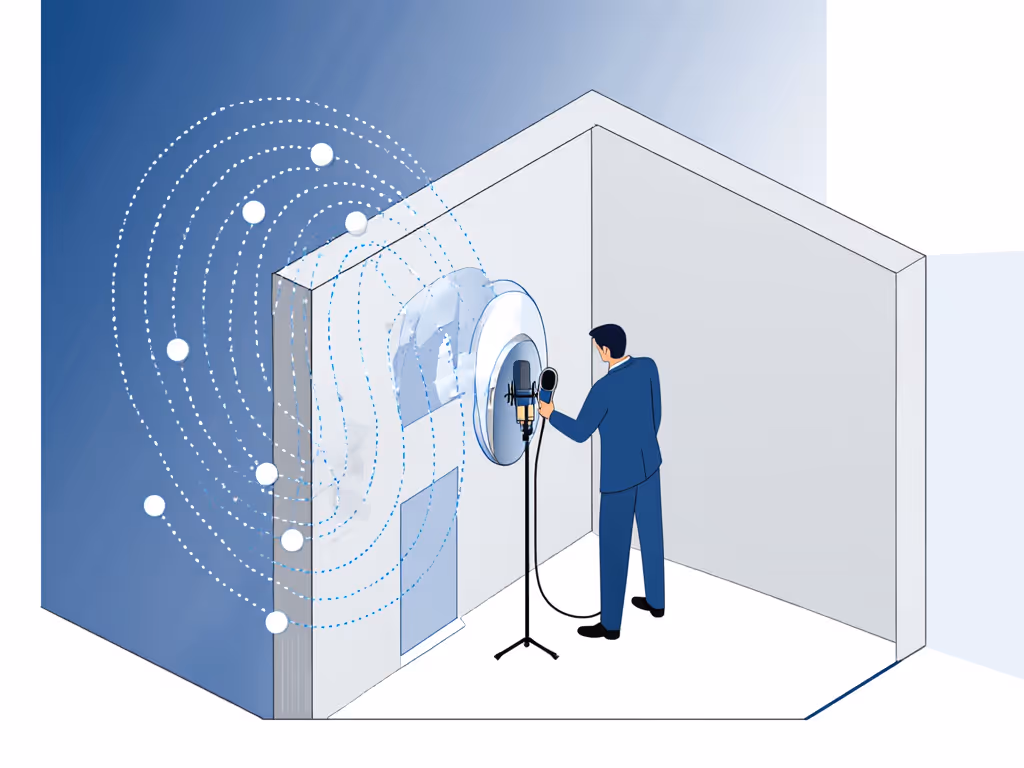
Most podcasters fixate on mics while ignoring their biggest audio liability: untreated walls. Here’s the room reality: condenser mics (even budget USB models) amplify room reflections. That "hollow" sound in your recordings? It’s bouncing off parallel surfaces, not your technique. The fix isn’t magic; it’s physics. And crucially, DIY acoustic treatment delivers 80% of pro results for under $100 if you target the right spots.
Spend once where it compounds: A $50 foam panel in the correct spot beats $300 worth plastered randomly.
Before buying anything, do this:
Why this works: You’re targeting treatments where they yield highest price-to-performance. No guesswork. For me, this revealed why my early recordings sounded "thin" despite a $200 mic; untreated ceiling reflections were drowning out my voice’s warmth.
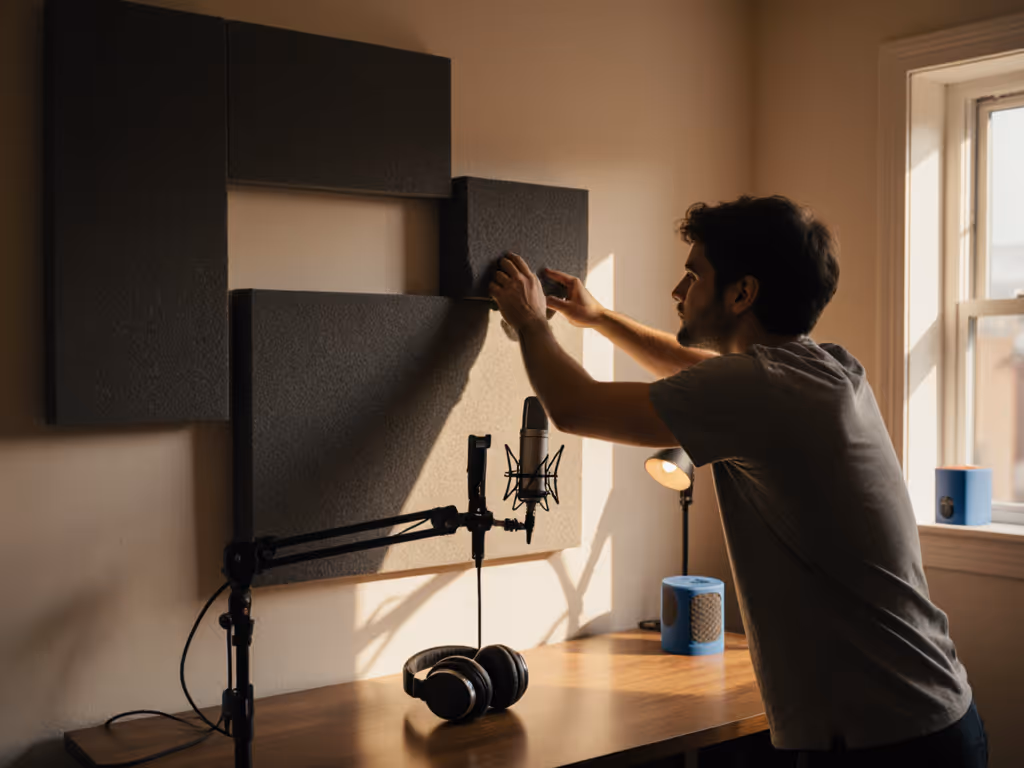
Forget covering every wall. Focus on reducing echo in recordings at these critical zones:
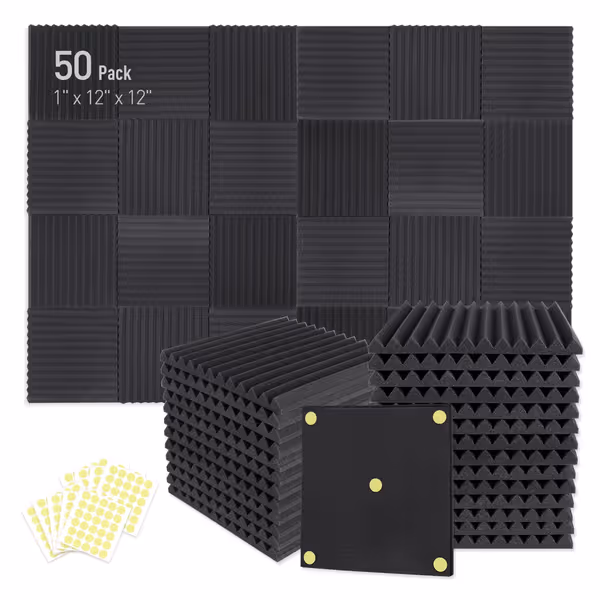
Pro tip: When the student newsroom handed me that shoebox of mounts, we hung Focusound’s wedge panels only at reflection points, not full walls. The $57 kit (with adhesive) covered our four-mic grid by reusing mounts semester after semester. Note: Skip foam if you have carpets or curtains; it is redundant. Measure twice; stick once.
Bass frequencies (below 300 Hz) cause "muddy" audio but need dense materials. Professional bass traps cost $100+ each, which is overkill for beginners. Try this instead:
"Why preamp quality matters less than you think": A Focusound-treated room reduced interface hiss by letting me lower gain 6 dB, avoiding the need for a $100 Cloudlifter. Prioritize treatment before upgrading gear.
Here’s where most creators blow budgets: treating acoustics as an afterthought. Map your upgrade path before buying gear:
| Stage | Focus | Budget | Reusable Parts |
|---|---|---|---|
| USB Now | Reflection control | $50-$100 | Panels, mounts, pop filters |
| XLR Later | Bass management | $75-$150 | Same panels + corner traps |
When transitioning to XLR, reuse your acoustic panels. They work identically. The newsroom’s $50 initial investment covered both phases because we skipped "starter" foam that wouldn’t scale. Total cost of setup drops 30% when treatments outlive gear swaps.
Remember: That shoebox of mismatched mounts taught me gear churn solves nothing. But when you spend once where it compounds (by placing treatments that survive mic upgrades), you stop fighting reverb and start capturing voices. Your next episode’s audio will thank you.
Room acoustics for podcasting isn’t a luxury. It’s the price-to-performance secret that turns ramen-budget setups into sponsor-ready sound. Audit your room this week. Then record, really record, what your voice can do.
Discover how frequency curves and off-axis rejection affect tone in untreated spaces. Make smarter mic and placement choices to capture clean, intelligible vocals with less post-processing.
Fix plosives, sibilance, and desk rumble by stabilizing your setup, placing the mic 6–10 inches away, angling it 20–30° off-axis at upper‑lip height, and confirming with a 90‑second test. Get cleaner raw recordings and spend less time editing.
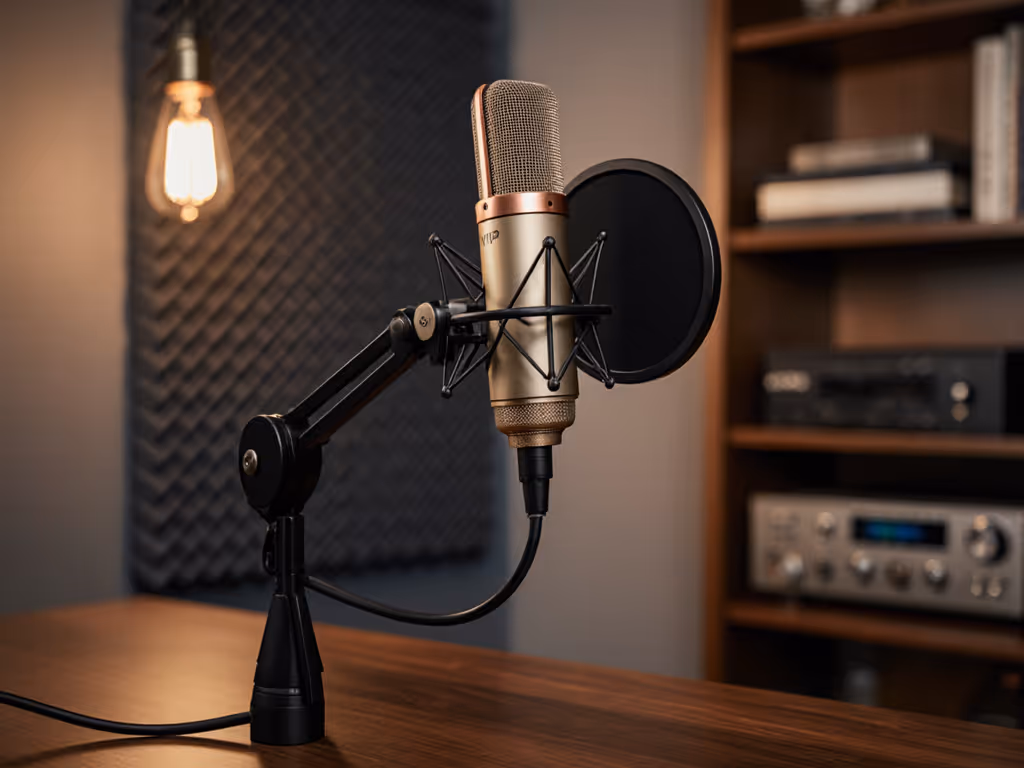
Fix desk resonance, plosives, and handling noise by choosing the right accessories and setting them up properly. Get clear steps for shock mounts, dual-layer pop filters, and boom arm placement to achieve cleaner audio with less editing in real rooms.
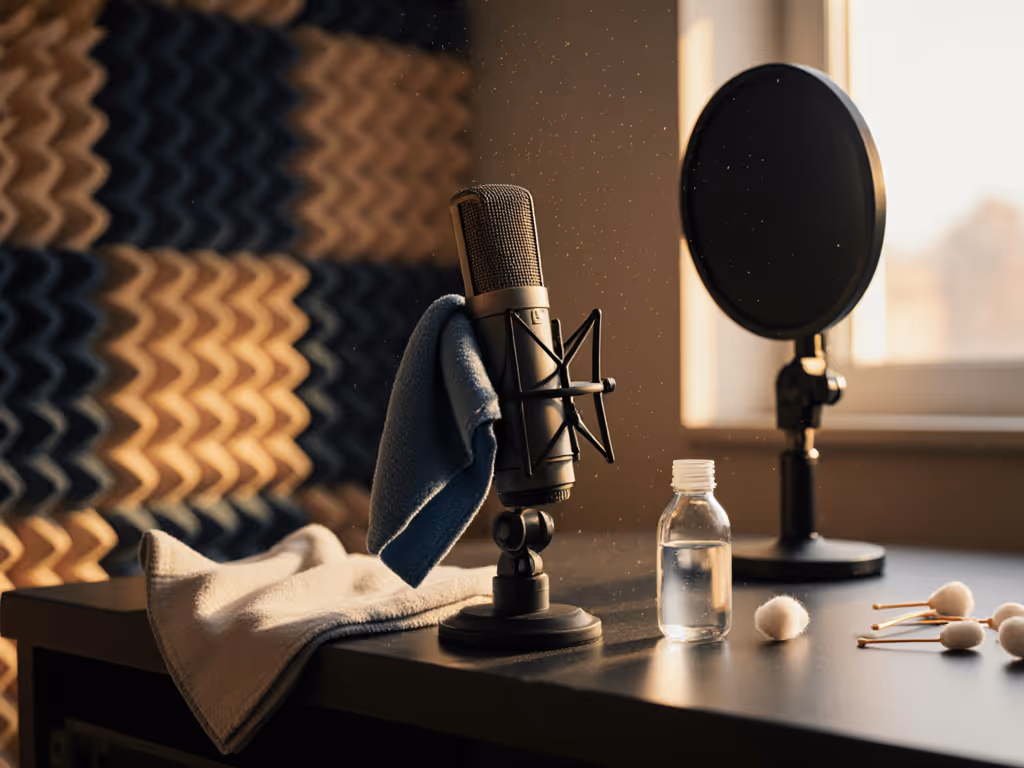
A practical mic-care protocol - weekly checks, deep-clean steps, storage tips, and quick troubleshooting - helps podcasters prevent noise, protect components, and maintain consistent, broadcast-quality sound with less editing.