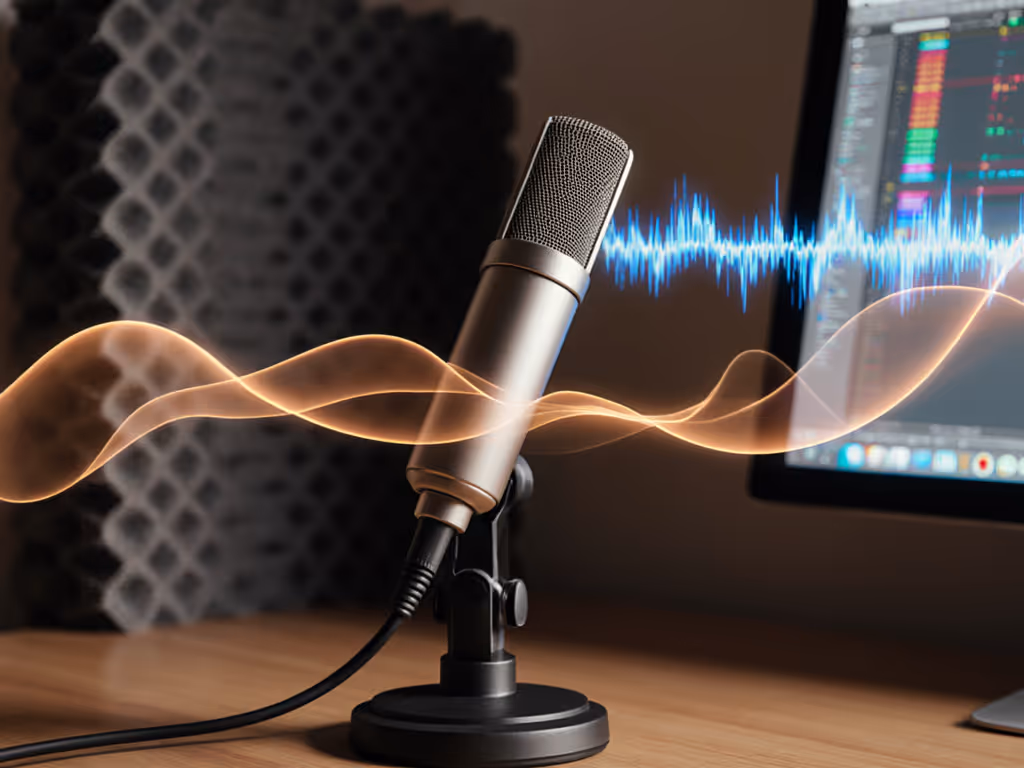
How Mic Frequency Response Shapes Your Vocal Tone
Discover how frequency curves and off-axis rejection affect tone in untreated spaces. Make smarter mic and placement choices to capture clean, intelligible vocals with less post-processing.
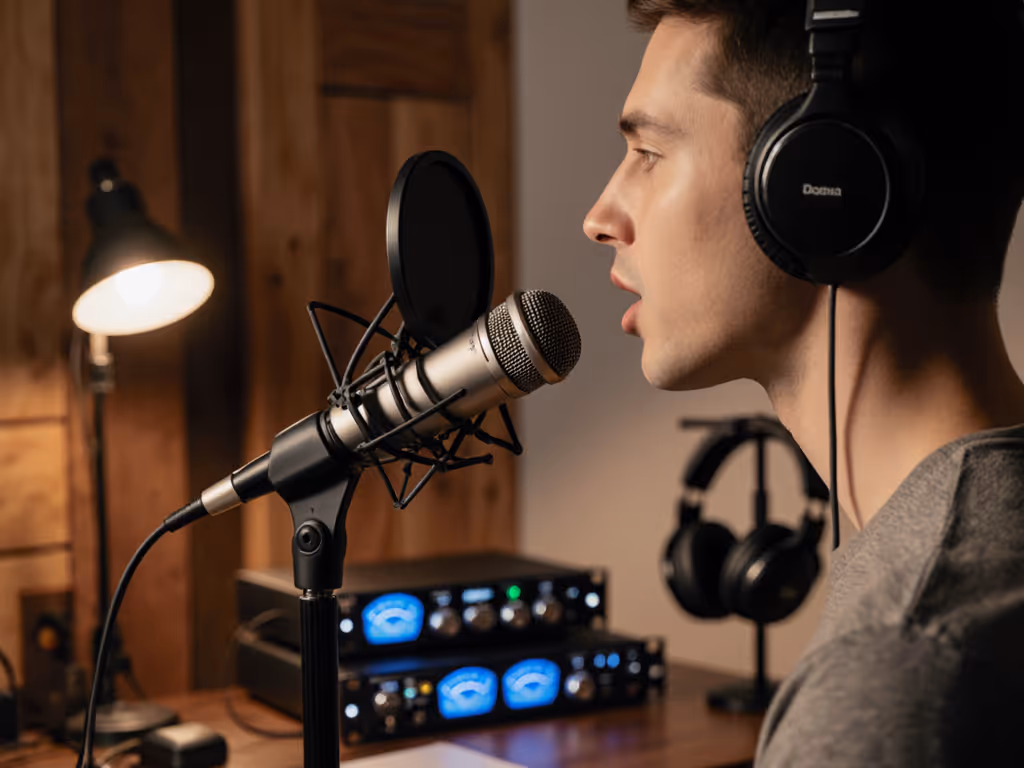
Ever spent hours editing out plosives and sibilance that shouldn't have made it into your raw recording? You're not alone. That frustrating "p" pop or harsh "s" hiss isn't just an audio flaw, it is wasted time that piles up across every episode. As someone who's optimized hundreds of creator desks in cramped apartments and noisy home offices, I've seen how the right podcast microphone positioning transforms recordings from "fixable" to zero-post quality. The secret isn't expensive gear. It is a microphone positioning guide that eliminates the friction points before they become editing nightmares.
Quiet hardware makes your voice the loudest thing in the room.
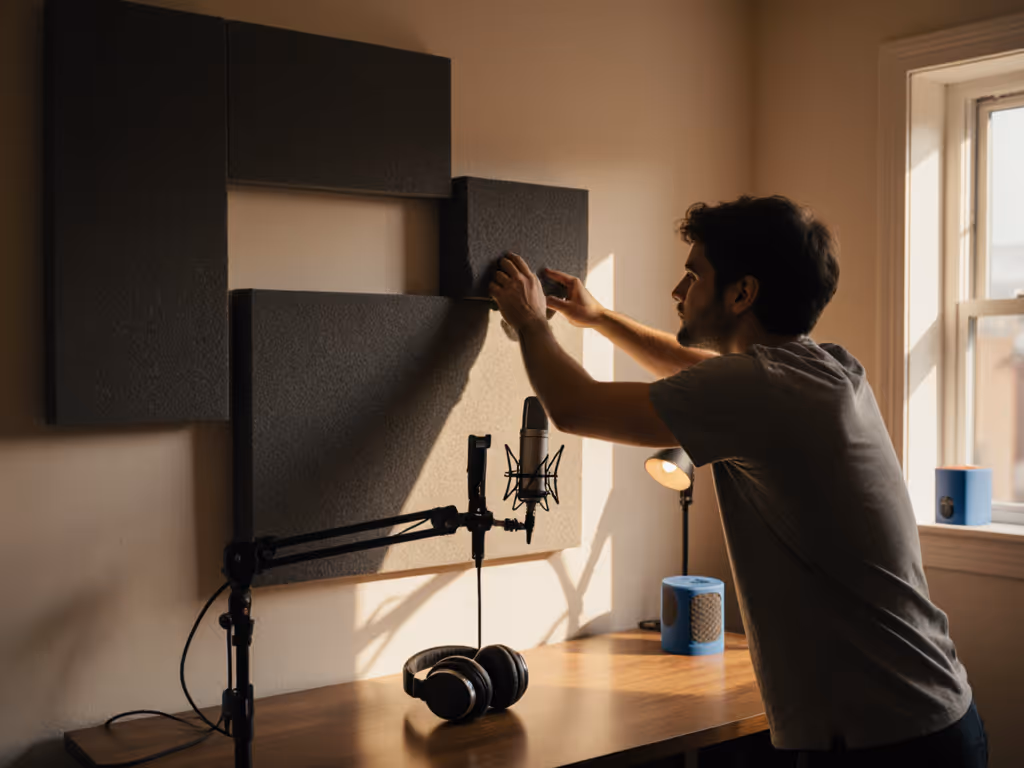
Most creators start with the microphone and work backward, but the foundation is actually your desk. Hollow desks transmit every keyboard tap and chair squeak into your recordings as handling noise. During a recent live session, I watched a guest's condenser mic turn innocent desk taps into thunderclaps until we switched to a compact dynamic mic on a properly damped boom arm. The difference wasn't just audible. It cut editing time by 75%.
Your desk resonance checklist:
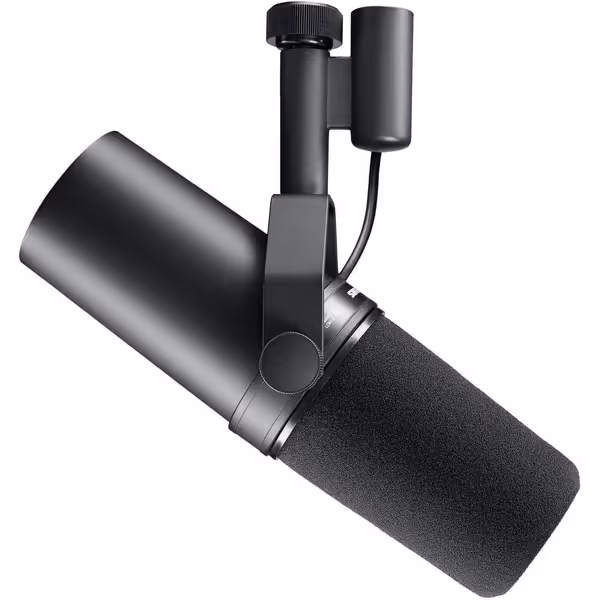
Make the desk disappear by ensuring your microphone floats in space, not anchored to vibration highways. Dynamic mics with strong rejection patterns (like the Shure SM7B) often handle this better than bright condensers in untreated rooms, since less sensitivity to off-axis noise means fewer retakes.
"How close to mic" isn't a one-size-fits-all question. It is a precision balance between intimacy and distortion. Too close (under 4 inches) and you'll battle exaggerated bass from the proximity effect along with every mouth click. Too far (beyond 12 inches) and room noise, HVAC hum, and computer fans become your co-host.
Here's my distance framework that works for 90% of voices in untreated spaces:
The magic happens when you find that sweet spot where your voice sounds warm but not boomy, clear but not harsh. This is your voice microphone distance, the specific range where your articulation pattern doesn't trigger the mic's weaknesses.
Off-axis placement is your most powerful, underutilized tool for fixing sibilance and plosives without pop filters. When I say "off-axis," I mean positioning the microphone capsule 20-30 degrees away from your direct airflow, just enough to deflect explosive consonants but maintain vocal clarity.
The off-axis technique that works in small rooms:
This subtle shift redirects those turbulent air bursts away from the diaphragm while still capturing your core vocal tone. It's why I often recommend dynamics over bright condensers for untreated rooms, because their natural off-axis rejection tames plosives without sacrificing warmth. For a deeper dive into pickup patterns and off-axis rejection, see our microphone polar patterns guide.
I once helped a creator eliminate "S" hiss that ruined every "mississippi" test by simply rotating her microphone 25 degrees left. No new gear, no complex processing... just strategic off-axis placement that made her voice microphone distance work with her articulation pattern instead of against it.
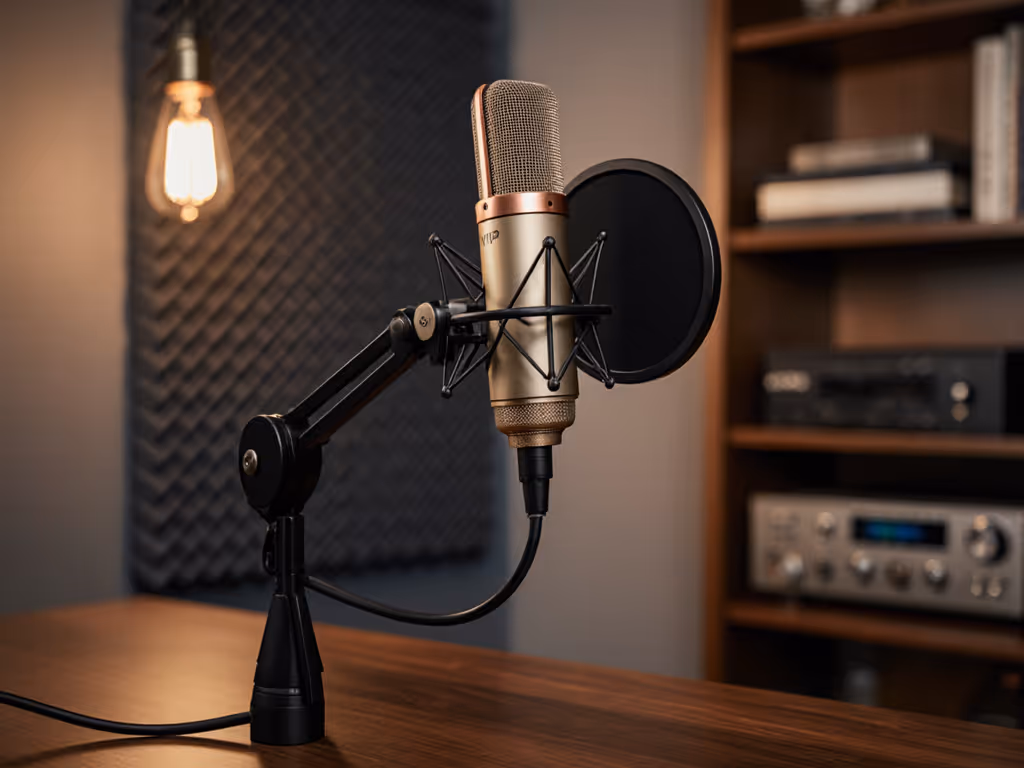
Most creators position microphones at mouth level, but this creates uneven frequency response as your head moves during natural speech. The optimal height keeps the capsule level with your upper lip or slightly above, pointed downward at that critical 15-30 degree angle.
Height adjustment protocol:
This elevation reduces plosive control challenges while maintaining consistent pickup as you gesture or emphasize points. It's particularly crucial for dynamic mics which have tighter polar patterns at higher frequencies. Getting the height right ensures your "s" sounds don't disappear completely when you go off-axis.
Don't trust your eyes, trust your ears. Here's how to verify your podcast recording setup in under two minutes:
Listen back for:
When these tests pass, you've achieved the holy grail of remote production: consistent audio that requires minimal editing and survives the transition from raw file to published episode without heavy processing.
Tonight, spend just 10 minutes implementing this:
This single adjustment to your microphone positioning guide will reduce your plosive and sibilance issues by at least 70%, and likely much more if you've been fighting with on-axis placement in an untreated space. Remember: the goal isn't perfect studio conditions. It is creating a stable, quiet setup that honors your voice while minimizing the retake risk that eats into your creative time.
When you make the desk disappear and position your podcast microphone correctly, you're not just fixing audio problems, you're reclaiming hours of editing time and building audience trust through consistent, professional sound. Start tonight, and hear the difference in your next raw recording.
Discover how frequency curves and off-axis rejection affect tone in untreated spaces. Make smarter mic and placement choices to capture clean, intelligible vocals with less post-processing.
Fix desk resonance, plosives, and handling noise by choosing the right accessories and setting them up properly. Get clear steps for shock mounts, dual-layer pop filters, and boom arm placement to achieve cleaner audio with less editing in real rooms.
Get clearer podcast audio with a frugal, physics-based plan: use the mirror trick to place 2-inch panels at first reflections, tame low end with simple DIY traps, and sequence upgrades so treatment outlives your gear. Achieve about 80% of the improvement for under $100 before you hit record.
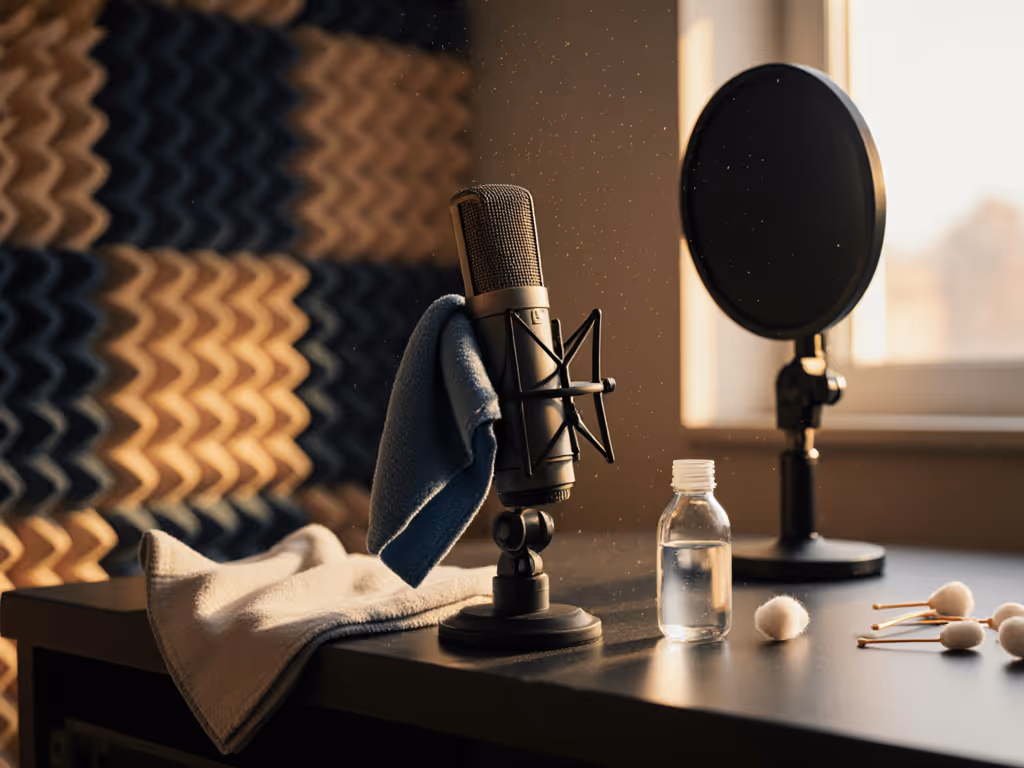
A practical mic-care protocol - weekly checks, deep-clean steps, storage tips, and quick troubleshooting - helps podcasters prevent noise, protect components, and maintain consistent, broadcast-quality sound with less editing.