Consistent Classroom Audio: Teacher & Student Mic Setup
By Nora Adeyemi • 2nd Jan
That moment when a student finally raises their hand after minutes of silence, only for their question to vanish into a sea of classroom echo, it shouldn't happen. As a podcast starter mentor who's guided dozens of educators through their first recordings, I've seen how podcast studio microphone setups can transform hesitant whispers into clear learning moments. Forget perfect acoustics; your goal is educational video audio that works now in your actual classroom. Because confidence starts with a repeatable setup that sounds good without editing wizardry. Small, repeatable wins turn scary red lights into green.
Why Your Classroom Audio Fails (And How to Fix It)
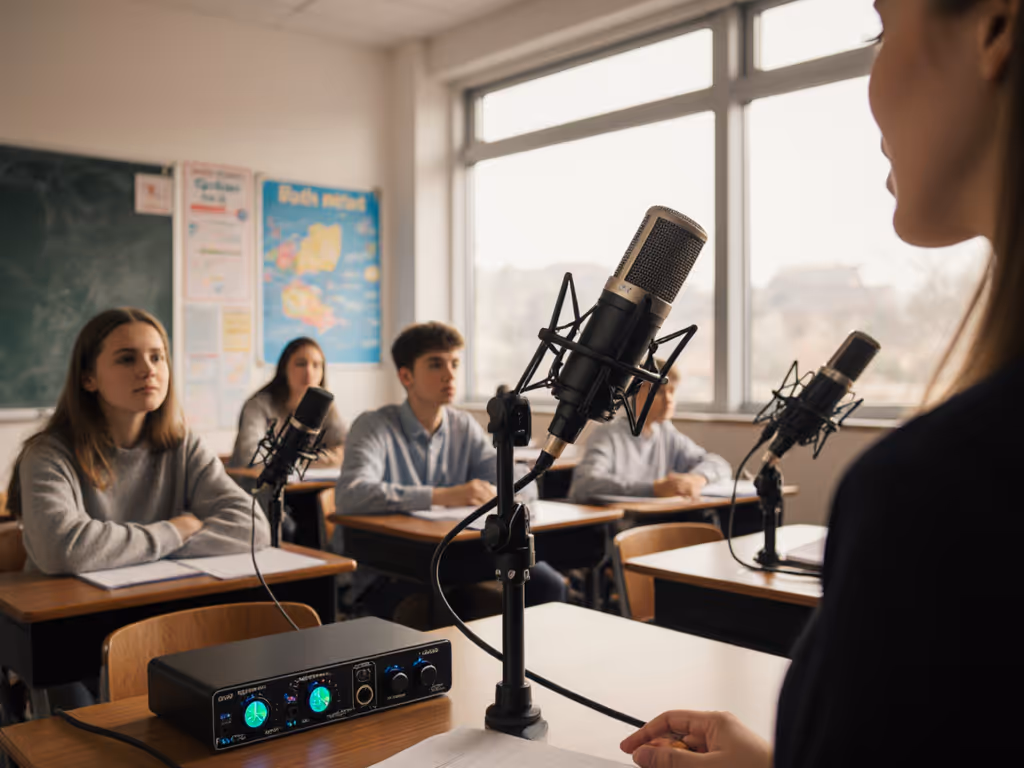
Teachers often cram microphones onto crowded desks or mount them near humming projectors, then wonder why voices drown in reverb. Your room isn't silent (chalkboards scrape, vents hum, kids shuffle), but you don't need a soundproof studio. For practical fixes that tame echo and reverb fast, see our room acoustics for podcasting guide. You do need a strategy that works with your space, not against it. Remember that educator who once clutched her mic like an ice cream cone, peaking every laugh? We set a pop filter, angled off-axis, locked distance with a fist-width trick, and enabled direct monitoring. Her next take was clean, shoulders dropped, and suddenly, the story breathed.
Step 1: Room Choice Isn't Optional (It's Your Secret Weapon)
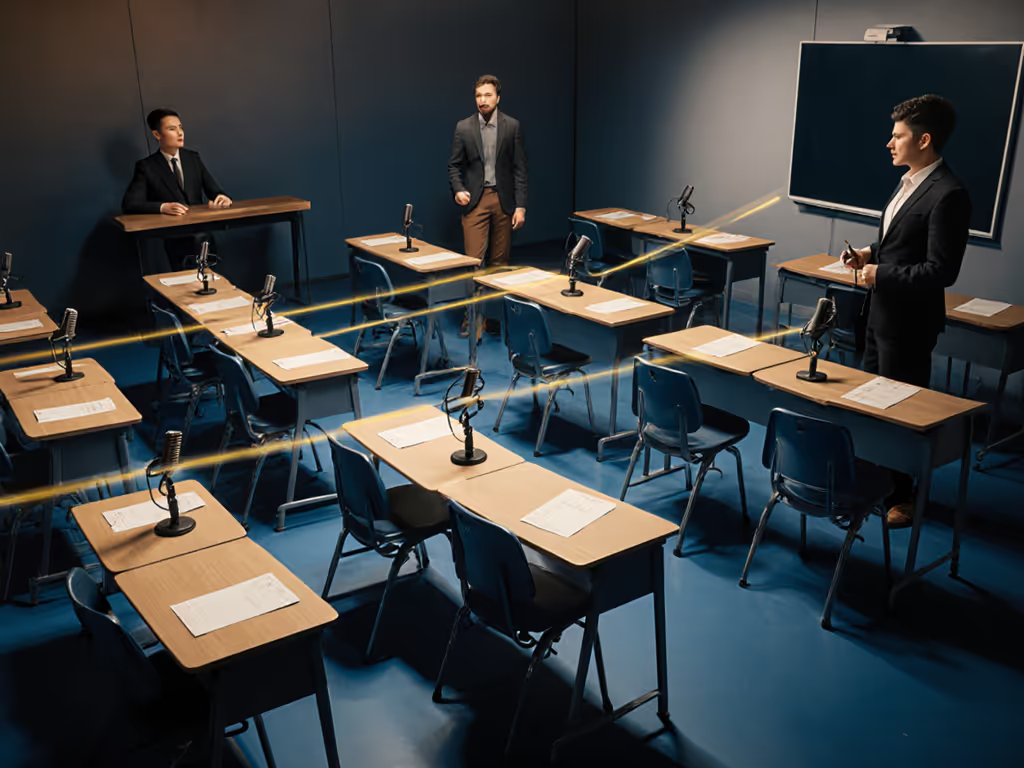
Skip the lecture hall for recording. Find a smaller, softer space (a quiet corner of the library, an empty classroom with curtains, or even a closet lined with sweaters). Hard surfaces (whiteboards, windows, desks) bounce sound; soft fabrics absorb it. Your teacher microphone setup lives or dies here.
Pro Tip: Place your recording station against the longest wall in the room. Sound waves travel farther before bouncing back, reducing echo. Never record in the center of the room.
Checklist:
- ✅ Move away from HVAC vents and windows
- ✅ Hang blankets or towels behind the mic if no soft furnishings exist
- ✅ Close doors to hallways (even cracked doors leak noise)
Step 2: Pick Your Microphone Battles Wisely
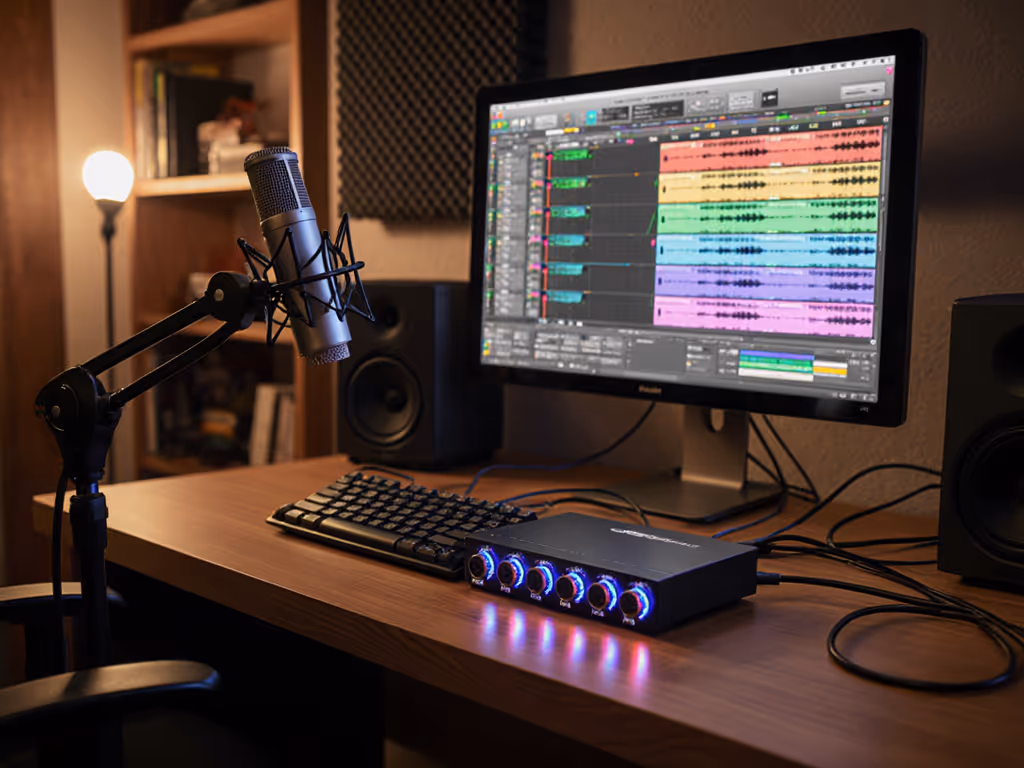
Forget studio-grade condensers that amplify every dropped pencil. For classrooms, USB podcast studio microphone setups win for three reasons:
- Direct monitoring lets teachers hear themselves instantly (no laggy software monitoring)
- Onboard gain knobs simplify adjustments when kids get rowdy
- Zero-post audio is possible record clean tracks without editing
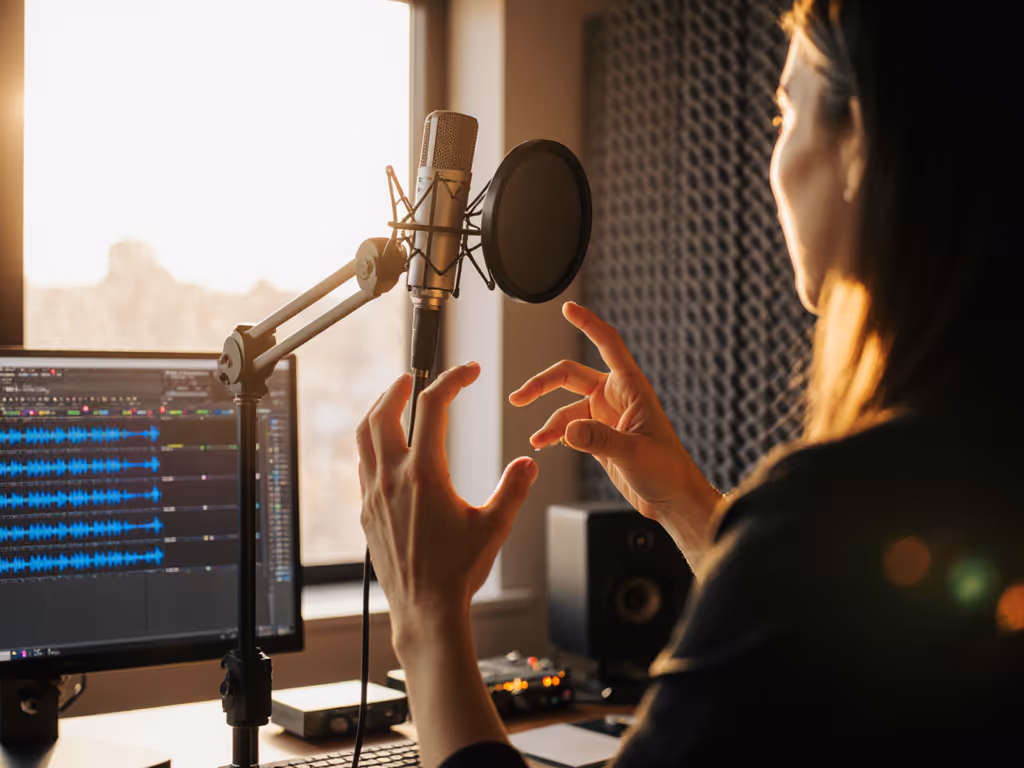
Choose dynamic USB mics over condensers. They reject background noise better in chaotic rooms. If you're unsure which type fits your space, read our dynamic vs condenser mics guide for untreated rooms. Position it just off-axis from your mouth to dodge plosives ("p" and "b" sounds), no pop filter needed if you angle it 30 degrees upward toward your chin.
Student Question Capture Made Simple
For Q&A sessions, pass a second USB mic to the student speaker. Train them to hold it like a "hot cup of tea" (not an ice cream cone!), keeping it 1 fist-width from their mouth. No wireless systems, cable drag causes handling noise. Let them practice answering one question while you adjust the gain knob until their voice peaks around -6dB. You'll capture 90% of questions clearly without post-production witchcraft.
Step 3: Lock Down Your Physical Setup (The Fist-Width Rule)
Your lecture hall recording quality tanks when mic placement drifts. For advanced tips on angles and distance, see our mic positioning guide to fix plosives and sibilance. Create a repeatable setup with these anchors:
- Distance: Use your fist as a ruler. Close enough that your knuckles touch the mic head, but not so close your breath blasts it. Exactly one fist-width.
- Height: Mount the mic above eye level on a boom arm. Angled down toward your mouth reduces desk thumps and makes students feel less "interviewed".
- Pop filter? Skip it for classroom lectures. Instead, tape a rubber band horizontally across an embroidery hoop and stretch a nylon stocking over it ($2 DIY fix).
Step 4: Gain & Monitoring The Confidence Builder
Here's where most educators panic: watching levels spike when they laugh. But with USB mics, you control this live:
- Plug headphones directly into the mic's output (not your computer)
- Speak at your loudest teaching volume
- Turn the gain knob up until you hear faint distortion
- Turn it down 1 click, done
This "zero-post" sweet spot ensures clean audio whether you're whispering or projecting. For detailed steps to set levels without clipping, follow our podcast mic gain staging guide. Direct monitoring is non-negotiable; if you hear delay, your USB mic likely has a 0ms latency button, press it. Green lights, not perfect waves. That's the mantra for real classrooms.
Step 5: Handle the Unpredictable (Student Questions)
When a shy student asks a question, don't grab the mic for them (that introduces handling noise). Instead:
- Coach them: "Hold it like you're holding a bird, not too tight!"
- Keep your mic always at fist-width distance from your mouth
- If they're too quiet, you adjust the gain knob, not the student
- For handheld use: mount a $5 clip-on phone holder to the mic stand. Students slide their phone in to hold it steadily
Your Action Plan for Next Week
Stop sacrificing audio quality for "good enough". Tomorrow, pick one classroom audio pain point and fix it:
- Do this now: Test your mic in two rooms a large lecture hall vs. a small nook. Record 30 seconds in each. Listen for echo (reverb) and background noise. Room choice matters more than gear.
- Then do this: Practice the fist-width distance trick while saying, "Today we'll explore how sound travels." Film it. If your breath blasts the "p" in "explore", angle the mic slightly off-axis.
- Finally: Enable direct monitoring and adjust gain while a colleague asks a question. Capture it clean on the first take. To keep sessions consistent week to week, try our podcast reference tones calibration guide.
Consistent educational content audio isn't about flawless rooms, it's about building repeatable habits that work within your reality. When your students hear themselves clearly, they'll speak up more. When your recordings need zero editing, you'll teach more freely. That's how classrooms transform into confident learning spaces.
Green lights, not perfect waves. Start small. Win repeatable.
Related Articles