Vintage Aesthetic Podcast Microphones: Smart Buyer’s Guide
By Luis Cabrera • 21st May
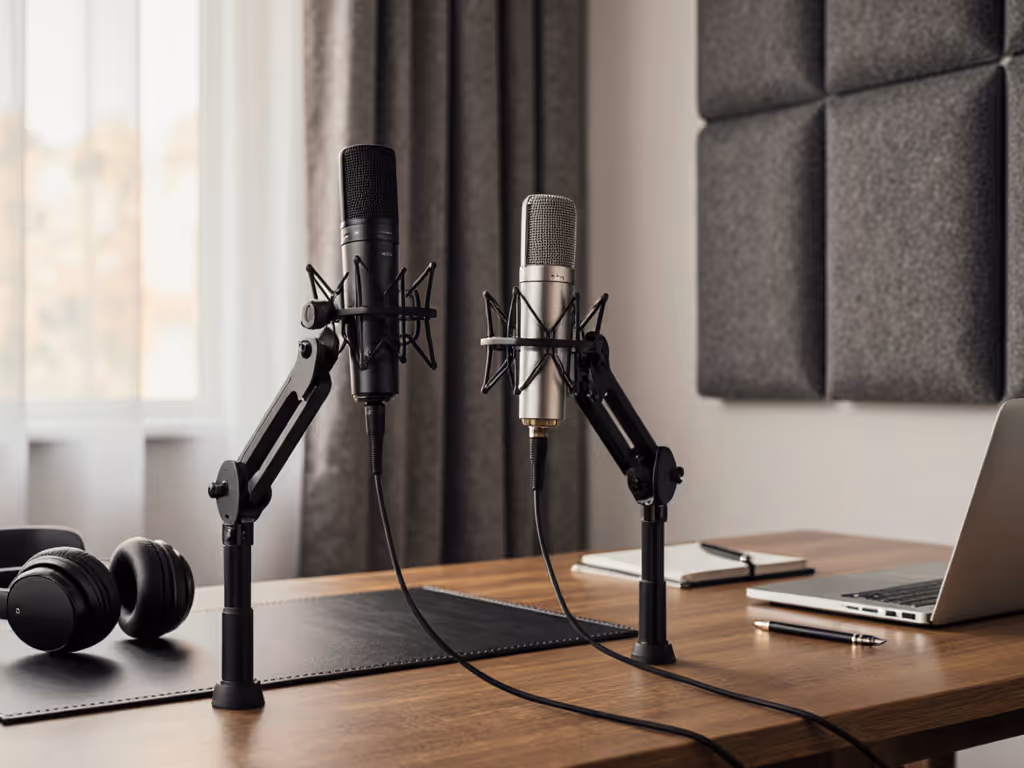
If you're drawn to vintage aesthetic podcast microphones and charming retro style podcast mics, you're probably trying to balance two competing needs: looking great on camera while sounding reliable in a less-than-perfect room. You don't just want a prop; you want a mic-chain that makes your voice sound warm, close, and confident without forcing you into hours of post.
In this guide, I'll walk you step-by-step through choosing, comparing, and sequencing vintage-style options so you avoid buyer's remorse. We'll look at real-world behavior in echoey bedrooms and small offices, then map clear upgrade paths (from USB to XLR) so your "cool-looking mic" is also your best podcast gear investment.
Sequence upgrades so each piece keeps earning its place.
Step 1 - Start With Your Room Reality (Not the Aesthetic)
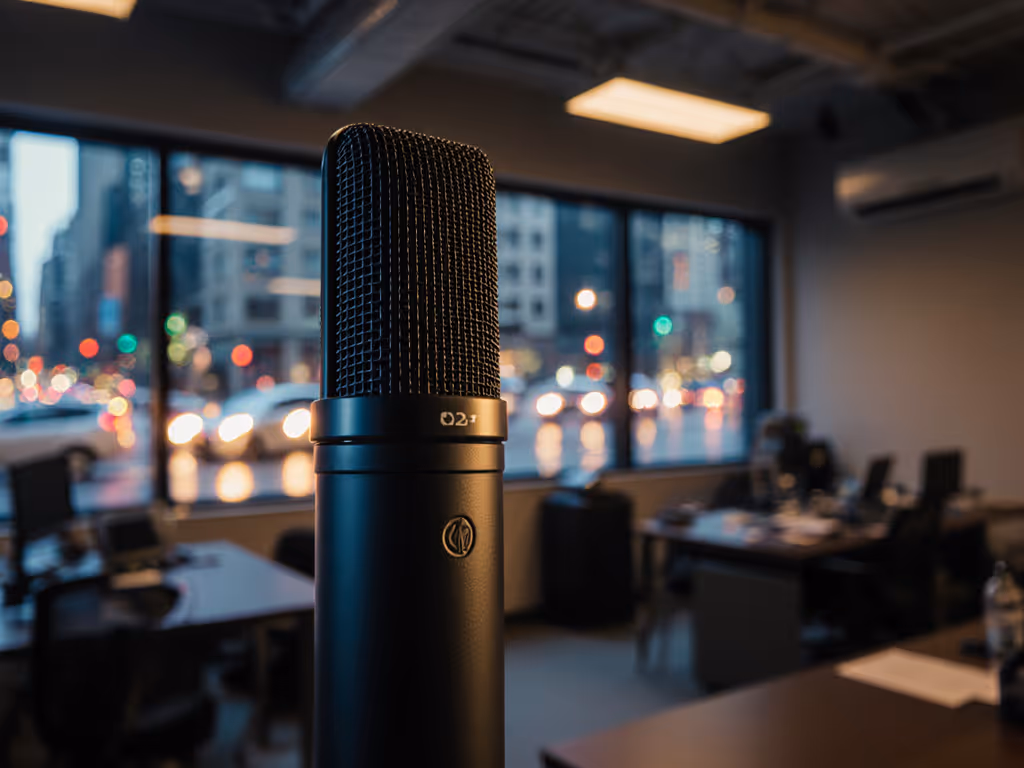
Before we even touch specific mics, pin down what your room is really like. For practical fixes, see our room acoustics guide. This will decide whether certain vintage design audio equipment helps you, or exposes every reflection.
Ask yourself:
-
How lively is the room?
Clap once. If you clearly hear a sharp echo, your room is live and reflective. Think: bare walls, hard floors, windows. -
What's making noise?
- Computer fans under the desk
- Street noise through a window
- HVAC, fridge, or neighbors These matter more than whether the mic looks 1950s.
- Where will the mic sit?
- On-camera, slightly off to the side?
- Just out of frame, higher and angled down?
- On a small desk stand (classic "broadcast desk" vibe)?
Dynamic vs. Condenser for Real Rooms
For most podcasters and streamers in untreated spaces:
-
Dynamic mics usually win.
-
Better practical rejection of room noise.
-
More forgiving of HVAC, keyboard taps, and street noise.
-
You work closer to the mic, which boosts voice vs. room.
-
Condensers can sound detailed and airy, but:
-
Pick up more room tone and background noise.
-
Often require more treatment or heavy noise reduction.
Most of the podcast microphone recommendations below lean toward dynamics, especially if you're chasing a classic radio vibe with minimal editing. For a deeper breakdown, see dynamic vs condenser mics for untreated rooms.
Step 2 - Decide: USB Now, XLR Later (or Jump Straight to XLR)
Think of this as planning your upgrade ladder, not just buying a mic. Not sure which path fits your workflow? Read XLR vs USB microphones to choose confidently.
USB Vintage-Style Mics
Pros:
- Simple: plug into your computer, select in your DAW/streaming app.
- Often include headphone jacks for latency-free monitoring.
- Great for solo creators and remote guests.
Cons:
- You're locked into that mic's internal preamp and converter.
- Harder to scale to multi-mic setups.
- If you outgrow it, you can't reuse the "interface" part.
XLR Vintage-Style Mics
Pros:
- You can upgrade mics, interfaces, and preamps independently.
- Easier to match multiple hosts with the same mic model.
- Interfaces offer better routing, loopback, and metering.
Cons:
- Higher initial total cost of setup (mic, interface, cables, arm).
- Slightly steeper learning curve.
If your budget is tight now but you know you'll upgrade, aim for:
Spend once where it compounds
That often means either:
- A USB mic that also has XLR (true hybrid), or
- Jumping straight to a good XLR dynamic and a modest but reliable interface.
I once helped a student newsroom do exactly this: a couple of USB dynamics now, XLR dynamics later, reusing arms and mounts both times. No wasted parts, no "drawer of regrets."
Step 3 - Pick Your Aesthetic Lane
"Vintage" can mean wildly different looks. Clarifying the look you want narrows the field fast.
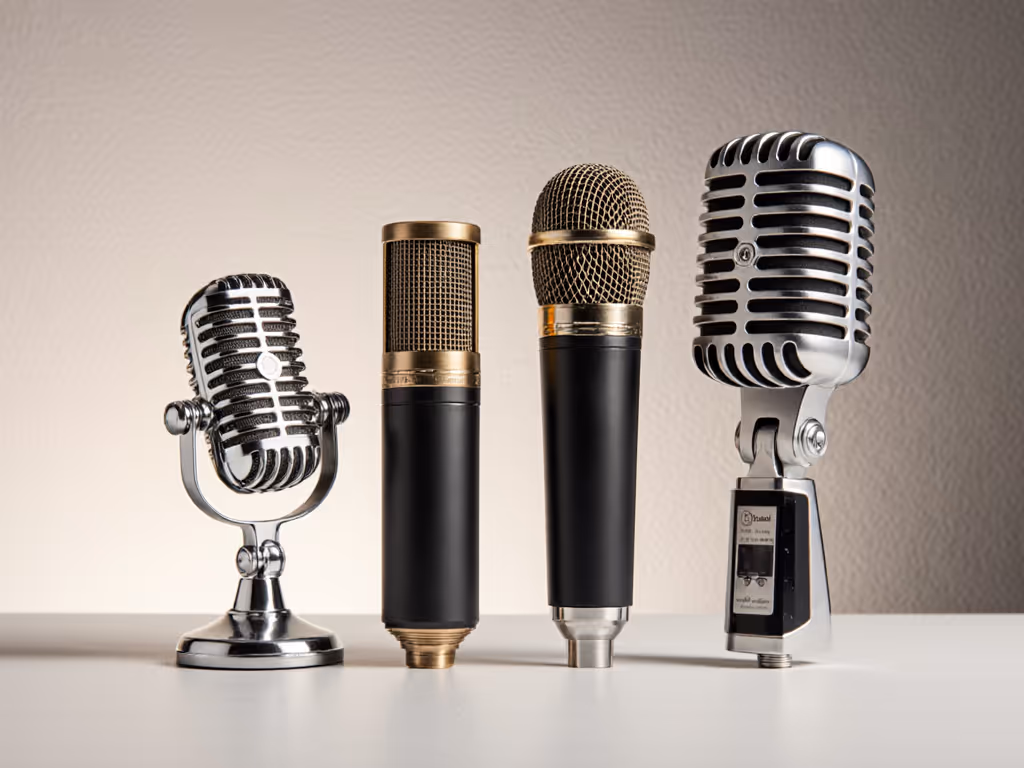
1. Chrome "Elvis" Stage Mics
Think: classic 1950s rock-and-roll silhouette.
Pros:
- Instantly recognizable, highly "retro" on camera.
- Great for music-centric shows or themed channels.
Cons:
- Often designed for live performance, not spoken-word nuance.
- Awkward to position just out of frame; they're meant to be seen.
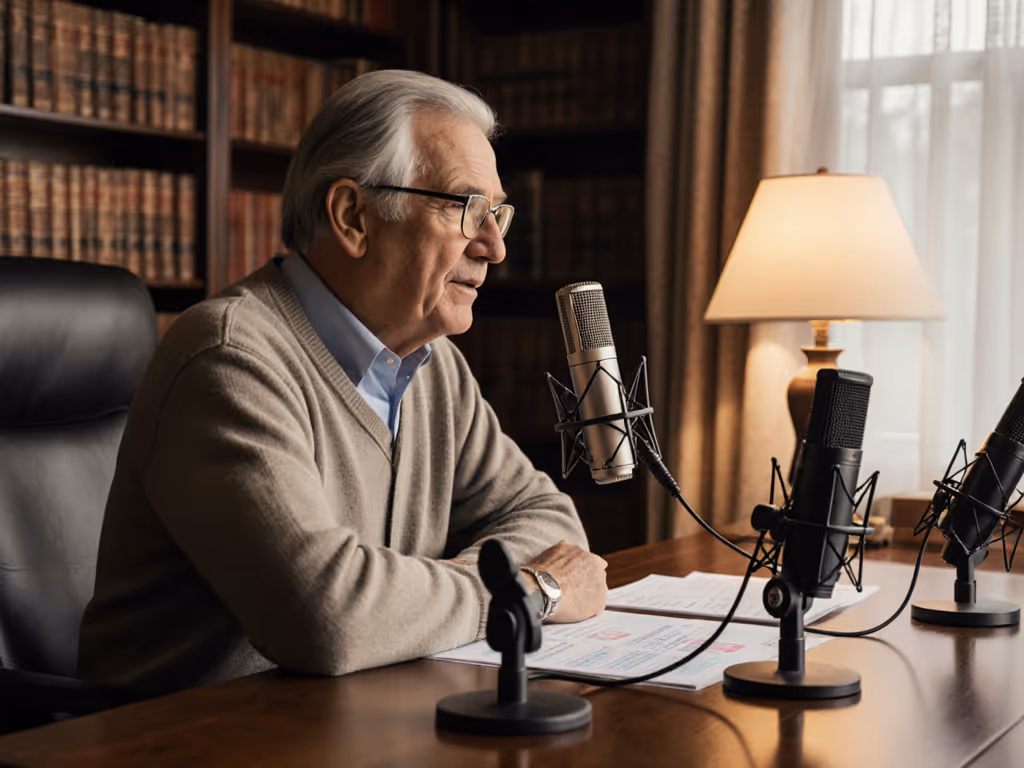
2. Broadcast Cylinders (Radio Station Classics)
Long body, side-address dynamic mics, what you picture in an old-school radio station.
Pros:
- Strong pro broadcaster vibe.
- Many of the best voice dynamics live in this category.
- Easier to mount on boom arms and keep the body out of your face.
Cons:
- Larger; can block your face if mounted too high.
- Need a decent arm and shock mount to avoid desk thumps.
3. Compact Desktop Retro Mics
Rounded chrome or colored shells on small desk stands, think 1960s office broadcast mic.
Pros:
- Adorable on camera; easy to place on a table.
- Some USB versions are truly plug-and-play.
Cons:
- Desk stands mean more keyboard noise and thumps.
- Getting close enough for rich tone can block your shot.
Keep this aesthetic decision in mind as we walk through specific retro style podcast mics below.
Step 4 - Match Mic Behavior to Your Voice & Space
Now, translate spec sheets into real-room behavior.
Polar Pattern (Cardioid vs. More)
For podcasting, cardioid should be your default:
- Focuses on sound from the front.
- Rejects most sound from behind (great for computer fans and windows).
- Side rejection helps with co-host bleed.
Avoid mics that push you toward omnidirectional use in bad rooms. Multi-pattern mics are flexible, but omni will reveal every reflection.
Proximity Effect & Tone
"Vintage" usually implies warm, full low-mids. That warmth comes from proximity effect when you work close on a dynamic cardioid.
- If your voice is thin or bright, a mic with strong proximity effect can add welcome body.
- If your voice is boomy or bassy, too much proximity can turn into mud.
Look for review notes like:
- "Good chesty warmth without mud" if you're bright.
- "Controlled low end, not overly bassy up-close" if you're already deep.
Output Level & Interface Gain
Dynamic mics vary in output. If you use an entry-level interface (Focusrite Solo/2i2, Motu M2, etc.):
- Aim for mics with moderate to high output so you're not maxing gain.
- You want your preamp knob well below full, with your loudest speech peaking around -12 to -9 dBFS.
Lower-output legends (like some broadcast dynamics) can need 55-60 dB of clean gain, which cheaper interfaces can struggle with without hiss. That's when inline preamps (Cloudlifter, FetHead) enter the conversation, but we'll aim to pick mics that keep you out of that rabbit hole if possible.
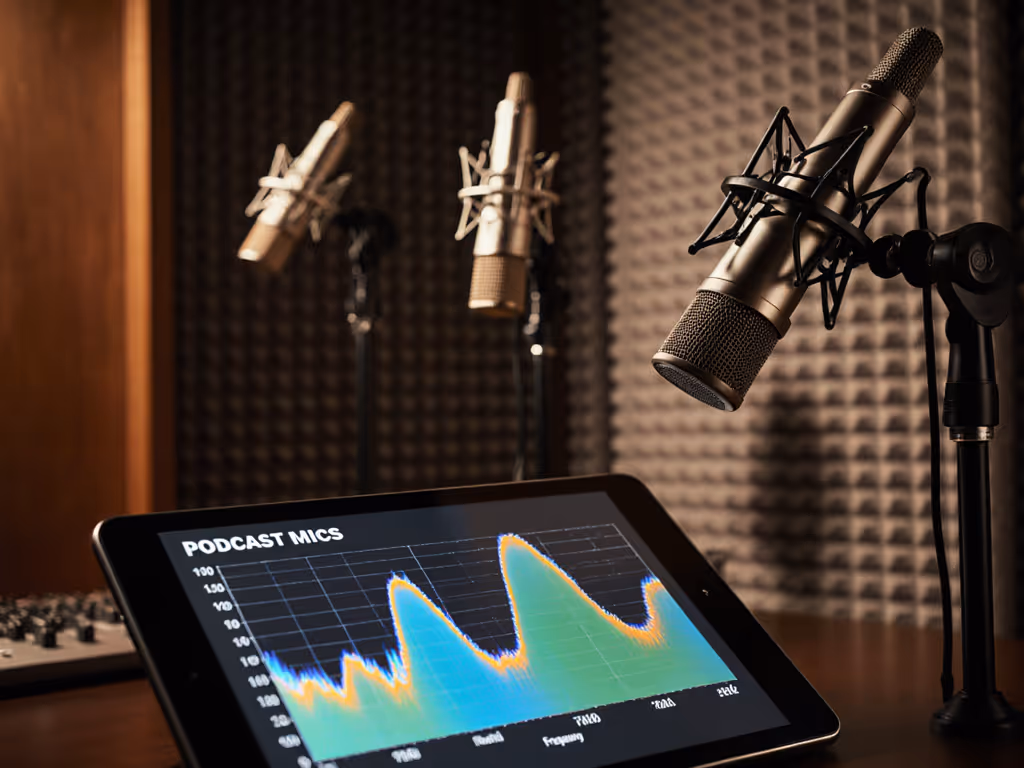
Step 5 - Comparing Popular Vintage / Retro Podcast Mics
Let's walk through a few commonly considered options, with a focus on:
- Room rejection
- Voice-friendliness
- Aesthetic
- Upgrade path
This isn't a collector's list; it's a price-to-performance comparison grounded in real, imperfect rooms.
Path A - USB Retro Style Podcast Mics (All-in-One)
1. Blue Yeti (USB Condenser, Multi-Pattern)
Look: Vintage broadcast cylinder with a modern twist. Stands tall on a desk; very recognizable.
Sound & Behavior:
- As a condenser, it's detailed but unforgiving in reflective rooms.
- Cardioid mode sounds solid up close, but at typical Zoom-call distances it captures a lot of room tone.
- Multi-pattern is handy for occasional round-table or two-person use, but omni/figure-8 will exaggerate room problems. If you're weighing the Yeti today, compare it in our Blue Yeti vs newer USB mics shootout.
Pros:
- Strong vintage-broadcast visual.
- Convenient hardware gain knob and headphone volume.
- Widely supported; tons of tutorials.
Cons:
- Not ideal for noisy or echoey spaces; often demands heavy noise reduction.
- Desk stand transmits keyboard and mouse noise easily.
- No XLR, you can't carry its preamp forward.
Best for: treated rooms, soft furnishings, and creators who prioritize look and convenience over maximum isolation.
2. Samson Meteor Mic (USB Condenser, Chrome Desktop)
Look: Super retro. Chrome, compact, and folds into its own little three-legged stand.
Sound & Behavior:
- Also a condenser; more sensitive to room and handling noise than a dynamic.
- Close use can sound warm and smooth, but stepping back quickly exposes your space.
Pros:
- Perfect small-desk retro accent; extremely portable.
- Dead simple to use, plug in and go.
- Budget-friendly.
Cons:
- Desk stand picks up desk bumps; a small isolated pad is almost mandatory.
- Not a long-term solution if you plan to scale to XLR multi-mic shows.
- Again, no XLR path.
Best for: laptop-on-the-road creators who want a charming, travel-friendly look and are willing to record close and speak softly.
3. Shure MV7 (USB/XLR Dynamic, Broadcast-Inspired)
Look: Modern broadcast dynamic with a subtle vintage vibe. Cylindrical body, end-address, looks at home in a radio or podcast studio.
Sound & Behavior:
- As a dynamic, it rejects room noise better than the condensers above.
- Cardioid-only, tuned for spoken word with a gentle presence boost.
- Close use yields classic, intimate podcast tone; backing off dulls the voice but keeps room reasonably controlled.
Pros:
- Hybrid USB + XLR equals an excellent upgrade path.
- Built-in headphone jack for direct monitoring; easy for non-technical guests.
- More forgiving in noisy rooms than Yeti/Meteor.
Cons:
- Needs a boom arm for best ergonomics; a desk stand is rarely ideal.
- USB software features (processing, EQ) vary by platform.
- Not the cheapest, but you're buying two paths in one body.
Best for: creators who want one mic that can start as a simple USB solution, then plug into an interface later. This is one of the few vintage-ish podcast mics that fits a staged upgrade plan cleanly.
Path B - XLR Vintage-Aesthetic Dynamics (For Interfaces)
Moving to XLR means buying (or already owning) an audio interface. But remember, you'll reuse that interface with every mic you own.
4. Shure 55SH Series II (XLR Dynamic, "Elvis Mic")
Look: Peak vintage. Chrome, grille fins, the whole 1950s stage aesthetic.
Sound & Behavior:
- Dynamic cardioid, but voiced more for stage than for ultra-precise spoken word.
- Off-axis rejection is decent, but not on par with modern broadcast dynamics.
- Tonally, it can sound a little mid-forward and less extended in the highs.
Pros:
- If you want unmistakable vintage visuals, this is it.
- Built-in stand mount; feels solid and durable.
- Works with typical interfaces; output isn't extremely low.
Cons:
- Ergonomics for podcasting can be awkward; it's designed to be seen, not hidden.
- Tonality isn't as neutral or forgiving as modern broadcast mics.
- Limited adjustability in mount angles compared to typical broadcast yokes.
Best for: on-camera hosts where the mic is part of the show's identity, music history, retro talk shows, who are comfortable working the mic quite close and centering it in the shot.
5. Audio-Technica AT2040 (XLR Dynamic, Broadcast Cylinder)
Look: Black, side-address broadcast cylinder, classic radio style without being flashy.
Sound & Behavior:
- Dynamic hypercardioid with strong background noise rejection.
- Tuned warm with a controlled top-end; helps tame bright, sibilant voices.
- Proximity effect is present but not out of control.
Pros:
- Great price-to-performance for spoken word; works well on affordable interfaces.
- Included yoke mount makes boom arm use straightforward.
- Off-axis rejection is strong, making it well-suited to untreated rooms.
Cons:
- Hypercardioid pattern means you must speak into it consistently; turning your head off-axis dulls the tone quickly.
- Requires a decent boom arm and shock isolation for best results.
Best for: podcasters and streamers who want classic broadcast visuals and a forgiving sound in noisy, reflective rooms, without RE20 pricing.
6. Electro-Voice RE20 (XLR Dynamic, Classic Broadcast Legend)
Look: Iconic broadcast cylinder; if you've seen a radio DJ in a movie, you've probably seen this mic.
Sound & Behavior:
- Dynamic cardioid with Variable-D design that controls proximity effect.
- Smooth low-end, clear but not harsh highs; handles sibilance and plosives well.
- Off-axis response is even, so room reflections sound less strange.
Pros:
- Industry-standard for voice; extremely forgiving across many vocal types.
- Excellent off-axis behavior; co-hosts sound more natural if they drift.
- Visually screams "real studio."
Cons:
- Higher street price; pushes the budget for first-time buyers.
- Output is on the low side; budget interfaces may benefit from an inline preamp.
- Heavier; needs a sturdy boom arm.
Best for: long-term, studio-focused shows where audio is central to your brand, and you're willing to invest once and keep it for a decade.
Quick Comparison: Which Path Fits You?
If you want maximum simplicity and a vintage-ish look:
- Start with Shure MV7 via USB.
- Add an interface later and switch to XLR using the same mic.
If you want maximum isolation and broadcast vibe on a budget:
- Go straight to AT2040 + modest interface + boom arm.
If the mic itself is your visual brand:
- Choose Shure 55SH if you want the Elvis chrome stage look.
- Choose RE20 if you want the classic radio-cylinder aesthetic with pro-level sound.
In all these cases, the goal is the same: warm, clear, intimate sound with minimal editing, not just a cool shell.
Step 6 - Build a Reusable Hardware Ecosystem
This is where a lot of creators accidentally waste money. Arms, mounts, and filters feel like afterthoughts, but they're the parts you can reuse across multiple mics for years.
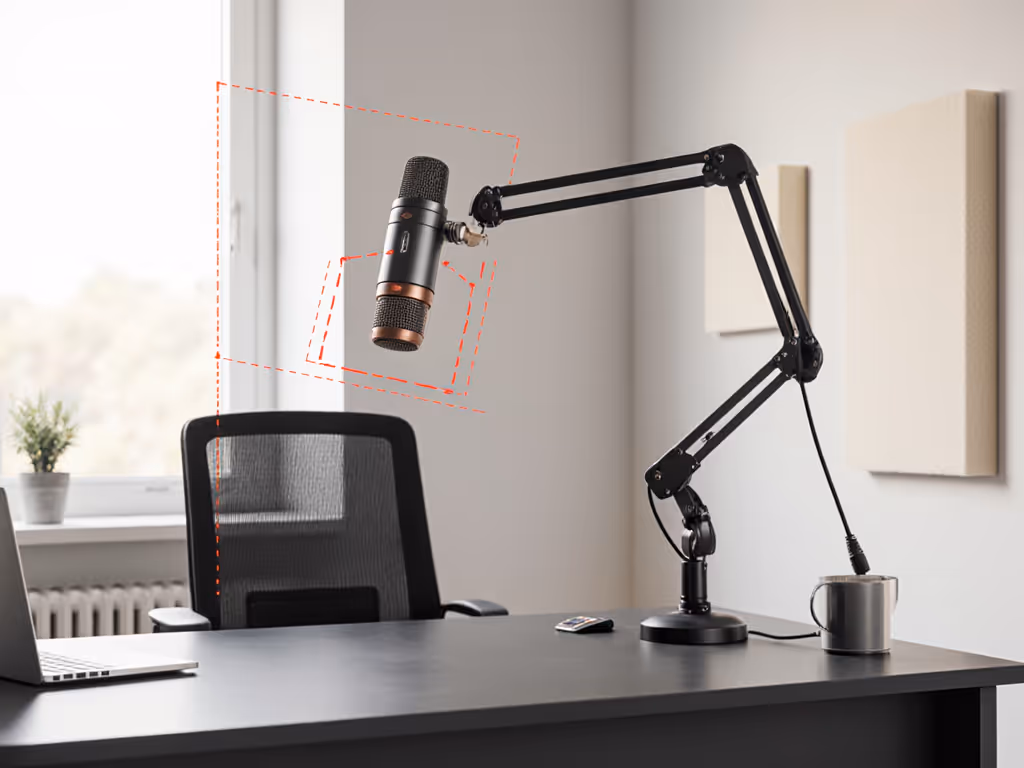
Boom Arms & Stands
- Prioritize a stable boom arm with good tension and quiet movement.
- Make sure it comfortably supports heavier mics like the RE20.
- Clamp it to the side of the desk, not directly in front of your keyboard.
Shock Mounts & Isolation
- Many broadcast mics (AT2040, RE20) have yoke mounts that help, but a dedicated shock mount or at least a desk isolation pad will reduce low-frequency thumps.
- If you must use a desk stand (Meteor, 55SH on a tabletop), put a dense foam or rubber pad under it.
Pop Filters & Windscreens
- Layering a foam windscreen with a thin pop filter can dramatically reduce plosives for close-up speaking.
- For vintage-looking mics, choose low-profile pop filters or those that clamp to the arm instead of covering the mic's design entirely.
When you're mapping your budget, think in terms of total cost of setup over 2-3 years. A $70 arm that survives three upgrades is cheaper than a $30 arm you replace twice.
Step 7 - Setup & Technique: Make Your Vintage Mic Sound Modern-Good
You've picked your mic and hardware. Now the step-by-step to dial it in so you're not chasing fixes in post. Then fine-tune placement with our podcast mic positioning guide to kill plosives and sibilance.
1. Placement
- Distance:
- Dynamics (MV7, AT2040, RE20): 2-4 inches from your mouth with a pop filter.
- Condensers (Yeti, Meteor): 4-8 inches, but expect more room tone.
- Angle:
- Aim the capsule slightly off-axis (around the corner of your mouth) to reduce plosives.
- Keep the mic just below your nose level so it doesn't block your eyes on camera.
- Height & Arm:
- Arm coming from the side, not the front, keeps the mic out of your keyboard's direct path and out of the frame center.
2. Gain & Monitoring
- Set levels:
- Speak at your normal loudness and set input gain so peaks hit around -12 to -9 dBFS.
- If you're maxing your interface gain and still too quiet, you likely chose a very low-output dynamic; consider an inline preamp.
- Direct monitoring:
- On USB mics, enable direct (hardware) monitoring if available to avoid distracting latency.
- On interfaces, mix some input signal into your headphones using the monitor knob.
3. Basic Room Tweaks (Fast Wins)
- Record facing a closet of clothes or bookshelves rather than a bare wall.
- Throw a thick blanket over the desk and under the mic stand to cut early reflections.
- Turn off loud fans during recording where possible.
These simple moves often reduce your need for aggressive noise reduction, which keeps your voice more natural.
4. Multi-Host Consistency
If you're matching multiple setups:
- Use the same mic model when possible (e.g., two AT2040s).
- Match distance and angle for each host; mark arm positions with tape.
- Align interface gain so everyone peaks in the same range.
This keeps loudness and tone consistent across voices so you're not fixing one host in every episode.
Summary & Final Verdict: Which Vintage Path Should You Take?
Let's boil this down to practical choices based on your situation.
If You Want Plug-and-Play with a Vintage Vibe
- Shure MV7 (USB first, XLR later) is the smart pick:
- Dynamic capsule suits untreated rooms far better than most USB condensers.
- Broadcast-inspired look works on camera without being gaudy.
- USB now, XLR later, true staged upgrade path.
Choose this if you're starting solo, want simplicity, and plan to grow into a more complex setup.
If You Want the Best Cost-Effective XLR Broadcast Look
- Audio-Technica AT2040 hits the sweet spot:
- Strong isolation and warm tuning for typical home offices.
- Classic radio-cylinder aesthetic.
- Friendly output level for mainstream interfaces.
Pair it with a solid entry-level interface and decent boom arm and you've got a backbone that can scale to a small studio.
If Aesthetic Is Everything and the Mic Is Your Logo
- Shure 55SH for the full chrome stage retro fantasy.
- Electro-Voice RE20 if you want the serious broadcaster look and long-term, premium sound.
These make the most sense when you're building a brand where the microphone is part of your on-screen identity.
Whatever path you choose, treat your setup like a sequence, not a single purchase. Aim for vintage aesthetic podcast microphones that both look right and hold up sonically in your real room. Build around re-usable arms, mounts, and interfaces so you can rotate mics without rebuilding everything.
When in doubt, remember: Spend once where it compounds. Focus on a mic that matches your voice and room, plus hardware you won't want to replace. That's how you get a vintage-inspired rig that sounds modern, confident, and consistent, episode after episode.
Related Articles