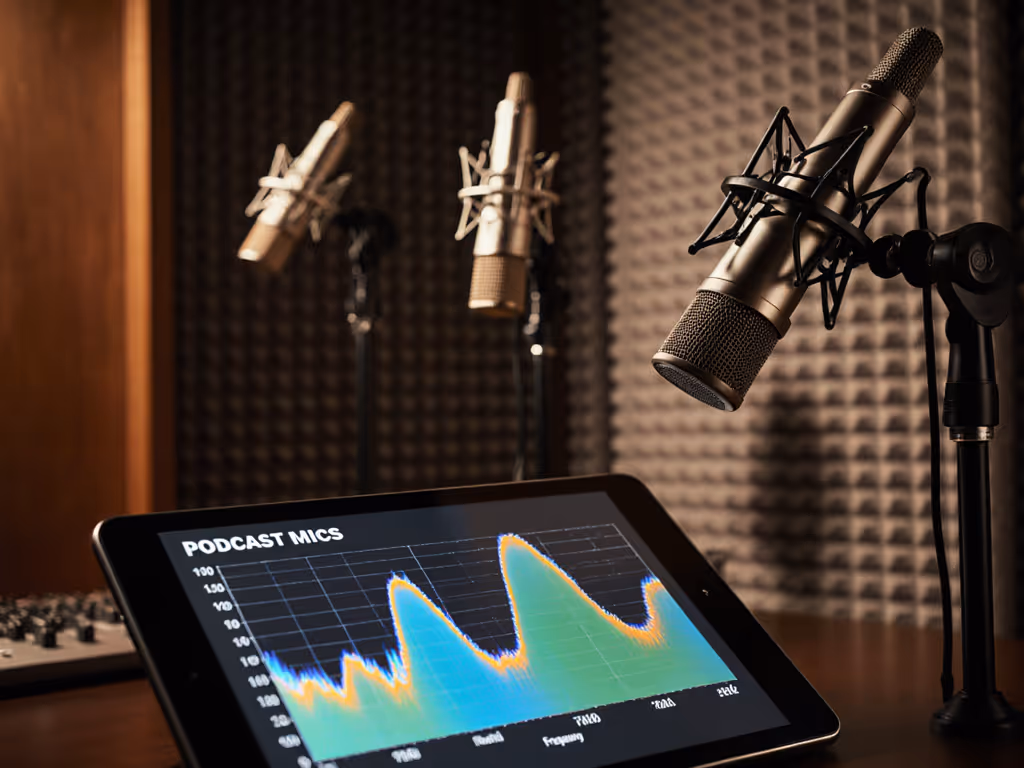
Cheap Podcast Microphones With On-Mic Controls Compared
By Luis Cabrera • 17th May
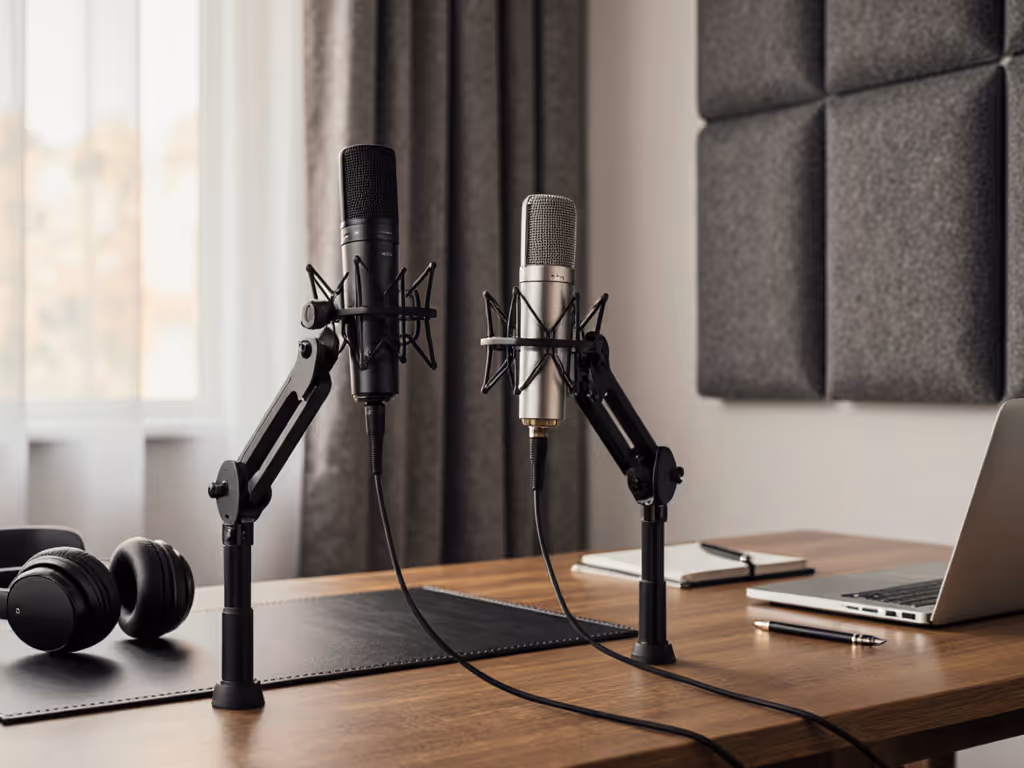
For most creators, the right cheap podcast microphone isn't just the one that "sounds best in a vacuum." It's the one whose on-mic controls quietly solve your real problems: fast muting when the dog barks, setting gain without opening yet another app, and hearing yourself clearly without fighting latency. This is where mic controls for creators matter as much as raw sound quality.
In this guide, we'll compare two very different but realistically priced USB podcast microphones with on-mic control options, and put those controls in the context of:
- Noisy or untreated rooms
- Editing time you actually have
- Future upgrade paths (USB now, XLR later)
You'll see how the controls on each mic change your daily workflow, not just the spec sheet. New to the differences? See our XLR vs USB microphones guide.
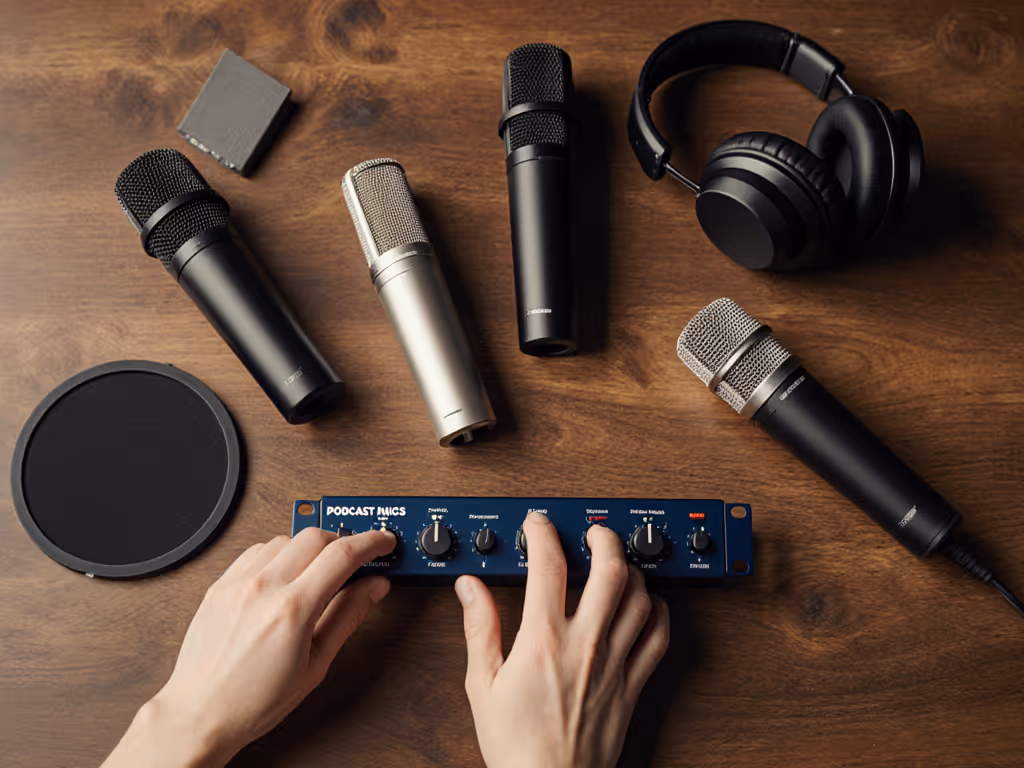
What Counts as a "Cheap" Podcast Microphone Today?
"Cheap" is relative. In creator budget terms, I'd break it down like this:
- Entry budget: $40-$100 - basic USB mics, often with a mute button and gain knob, but inconsistent quality and flimsy stands.
- Smart budget: $120-$200 - better capsules, lower noise, and more reliable build. This is where you start getting real physical interface microphones with useful monitoring controls.
- Stretch budget: $200-$300 - not "cheap" in absolute terms, but if the mic replaces other gear (like a separate interface or heavy post-processing), the total cost of setup can still beat cobbling together cheaper bits.
The two mics we'll focus on sit in the Smart and Stretch ranges. They're not impulse buys, but they're the kind of purchases that don't get replaced every six months.
Why On-Mic Controls Matter in Real Rooms
If you record in a bedroom, office, or shared space, you're already juggling:
- Computer fans, HVAC, neighbors, or street noise
- Zoom or Riverside or OBS
- Notes, chat, and maybe a co-host
The last thing you need is to dive into a software mixer every time something changes.
On-mic controls address several real-world pain points:
-
Instant, reliable mute A physical mute (button or tap) beats hunting for a tiny icon in a browser tab. For live streams, interviews, or calls with clients, this is non-negotiable.
-
Gain you can actually see and feel If your mic is too quiet, you raise levels in post and bring up hiss. To set safe levels fast, follow our gain staging guide for podcasters. Too hot, and you clip and can't fix it. A hardware gain control (or at least clear visual metering) keeps levels in the sweet spot.
-
Monitoring without latency Direct headphone monitoring from the mic lets you hear yourself with zero latency, so you don't talk slower or stumble because of echo. On-mic volume and monitor mix controls matter a lot more than another RGB light strip.
-
Tactile feedback podcast gear vs touchy software Knobs give tactile feedback: you can grab them without looking. Touch panels can be fine, but only if they're simple and predictable. Complex multi-gesture strips are a common failure point on cheaper gear.
When you're comparing mics, don't just ask "does it have DSP?" or "does it sound like an SM7B?" Ask: which controls are on the mic, which are in software, and which settings stay saved inside the hardware? That's the real on-mic controls comparison that affects your day.
The Control Types That Actually Change Your Workflow
Let's quickly map control types to actual benefits:
1. Mute
- Hardware button / tap: Immediate, works in any app, easy muscle memory.
- Software-only mute: Depends on the app; easy to mis-click.
If you ever talk while someone else is speaking (interviews, co-hosts, calls), prioritize a reliable hardware mute.
2. Gain Control
- Hardware gain knob on the mic: Great for quick tweaks, but easy to bump if poorly placed.
- Gain set in software, stored on the mic: You set it once, the mic "remembers" even when you move to another device. Very powerful if the implementation is solid.
For most podcasters, "set-and-forget" gain that lives on the mic is ideal. It keeps sessions consistent and lets non-technical collaborators use the same rig without thinking about levels.
3. Headphone Monitoring & Mix
- Headphone jack on the mic with volume knob: direct, latency-free, essential for USB setups.
- Monitor mix control (mic vs computer audio): lets you balance your own voice against remote guests or playback.
This is where physical interface microphones shine; they're a mic and mini-interface in one box.
4. Onboard DSP and Presets
Some mics add:
- EQ "tilts" or basic tone presets
- Compression and limiting
- Noise reduction / denoiser
- De-plosive tools (like a digital pop filter)
The key question: Does the mic store the DSP settings on board? If yes, you get consistent sound no matter which app or computer you use.
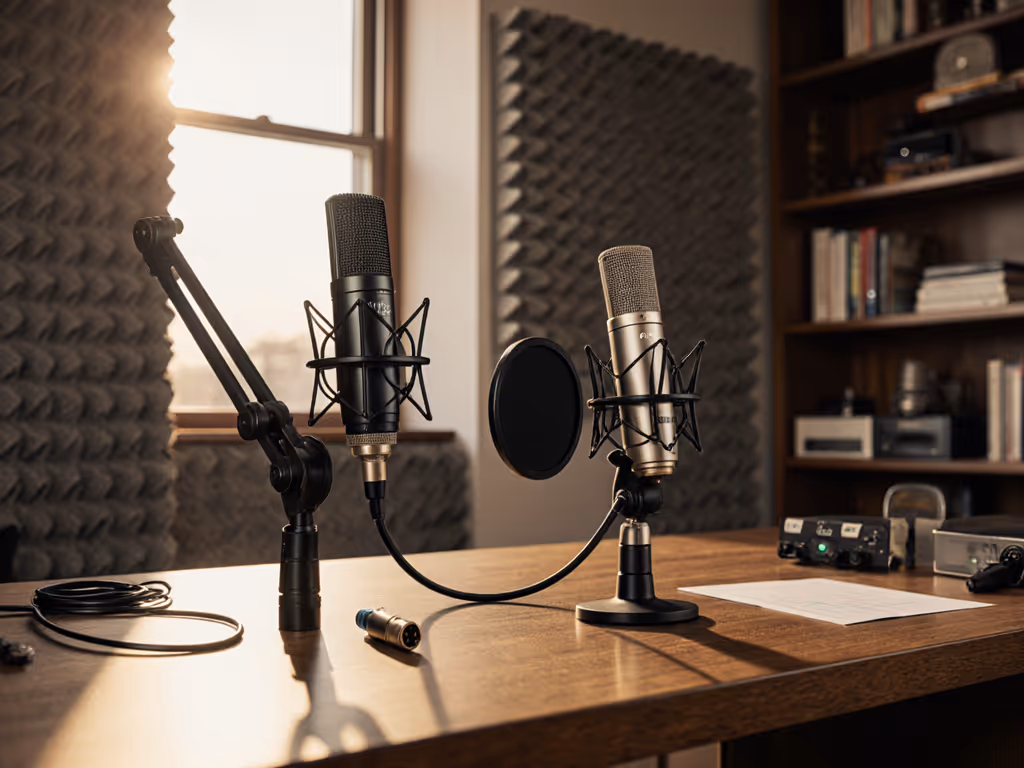
Option 1: RØDE NT-USB+ - Simple, Polished Control for Quieter Rooms
The RØDE NT-USB+ sits right in that Smart budget zone, with a street price around $157. It's a USB condenser podcast microphone with just enough physical control to keep the workflow simple.
What it is:
- Large-diaphragm USB condenser mic
- Cardioid pattern aimed at a single voice
- 24-bit / 48 kHz audio via USB-C
- Zero-latency headphone output
- Includes a detachable pop filter and desktop stand
On-mic controls & monitoring
On the mic body you get:
- A headphone volume knob
- A monitor mix control (your voice vs computer audio)
Gain and processing are managed via RØDE Central software, including:
- APHEX-branded processing (Aural Exciter, Big Bottom, etc.)
- High-pass filtering and subtle dynamics
Once set, these processing options can run on the mic itself, so you don't need the software open every time. That's crucial for a "set it once, use it everywhere" workflow.
The biggest omission is a physical mute button. Several users specifically wish it had one.
If your main need is an easy, plug-and-play podcast microphone for a relatively quiet room, the NT-USB+ does a lot of things right: low self-noise, good clarity, and a built-in pop filter that tames many plosives.
Where it fits in a frugal upgrade path:
- You can start with the included desk stand.
- Later, add a decent boom arm and shock mount (which will work with other mics too).
- If you eventually go full XLR interface, the mic won't follow you, but all the accessories will. That's the kind of reuse that keeps your total costs down.
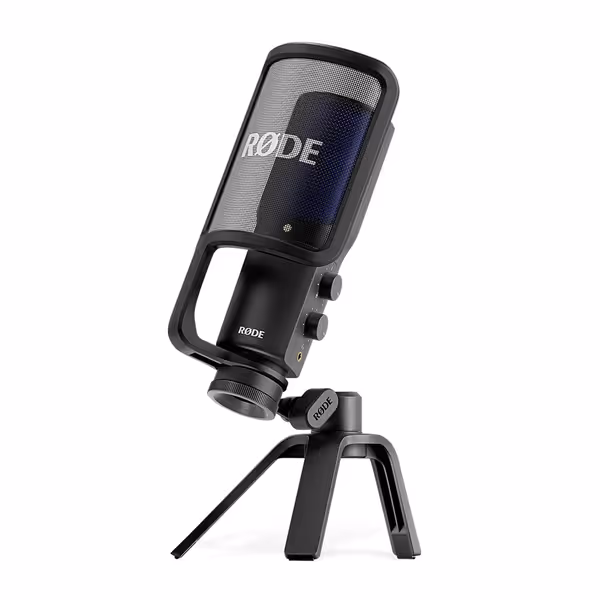
RØDE NT-USB+ Microphone
Studio-quality USB mic with easy setup for pristine recordings.
$179
ConnectivityUSB-C (24-bit/48kHz) compatible with computers, tablets, and smartphones
ConnectivityUSB-C (24-bit/48kHz) compatible with computers, tablets, and smartphones
Pros
Studio-grade sound quality with ultra-low-noise preamp
Zero-latency monitoring with powerful APHEX audio processing built-in
Includes pop filter & desktop stand for immediate use
Cons
Background noise performance can be mixed for some users
Customers find this microphone delivers studio-quality sound that makes voices sound deeper and crystal clear, while being solidly built and easy to set up. They appreciate its functionality for podcasting and music recording, and consider it excellent value for the price. The background noise performance receives mixed feedback - while some report minimal background noise, others mention constant hum around 440 Hz.
Customers find this microphone delivers studio-quality sound that makes voices sound deeper and crystal clear, while being solidly built and easy to set up. They appreciate its functionality for podcasting and music recording, and consider it excellent value for the price. The background noise performance receives mixed feedback - while some report minimal background noise, others mention constant hum around 440 Hz.
Room reality: As a condenser, the NT-USB+ is more sensitive. In a softly treated office it sounds open and detailed. In a hard, noisy bedroom, it will hear more fan noise and room reflections than a dynamic mic. If your space is echoey, fix the room first with our room acoustics guide. You can mitigate that by:
- Getting the mic closer (a fist away from your mouth)
- Pointing the "dead" side toward the noisy part of the room
- Adding even minimal treatment (a rug, a filled bookcase behind you)
If you're comfortable with a little room-sound and want maximum clarity with minimal fiddling, this is the "cheap but not flimsy" route. Simple, dependable, and easy to live with.
Option 2: Shure MV7+ - Hybrid Workhorse With Deep On-Mic DSP
The Shure MV7+ is a dynamic hybrid USB/XLR microphone designed to bring the vibe of the SM7B into a more compact, creator-friendly package. Its street price (around $269) pushes the boundary of "cheap," but it pays you back in control and flexibility.
What it is:
- Cardioid dynamic mic (50 Hz-16 kHz)
- Dual outputs: USB-C and XLR
- Built-in headphone jack for direct monitoring
- Includes foam windscreen and USB-C cable
- Metal build with an integral yoke mount
From independent reviews and Shure's own materials, a few traits stand out:
- Over XLR, the MV7+ has a supportive low-end, mid-focused but pleasant tone, and a smooth top end.
- Over USB, the voicing is slightly different, and some reviewers call it more "processed" or "congested" in the mids, but the built-in DSP can help you tailor it.
On-mic controls & LED panel
The MV7+ has a full-color LED touch panel on top that:
- Acts as a live level meter
- Lets you tap anywhere to mute the mic instantly
Earlier MV7 models had fiddly touch strips for level control. On the MV7+, those have been simplified; muting is the primary touch function. This is actually a plus for many users: fewer accidental level changes during a live show, and a clear, easy-to-hit mute.
For creators, that tap-to-mute plus visual metering is exactly the kind of tactile feedback podcast gear that prevents embarrassing moments.
Deep DSP and the MOTIV Mix app
Paired with Shure's free MOTIV Mix desktop software, the MV7+ unlocks a serious DSP toolkit:
- Auto Level Mode that adapts gain based on your distance and speaking volume
- Real-time Denoiser that reduces room and background noise
- Digital Popper Stopper that tames plosives without a bulky pop filter
- Voice Isolation Technology to keep your voice forward in noisy environments
- Reverb modes (Plate, Hall, Studio) mostly for music/creative use
- Compressor, limiter, EQ, and sound signature presets
A key point confirmed by reviewers: the DSP settings are stored on the mic itself. Configure your sound once, and the MV7+ carries those settings into any app or computer, even without MOTIV Mix running.
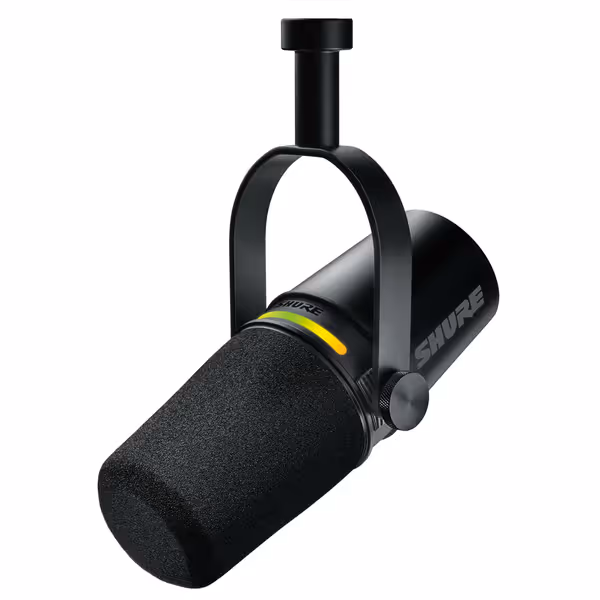
Shure MV7+ Podcast Dynamic Microphone
Achieve broadcast-quality sound effortlessly, even in imperfect rooms.
$299
ConnectivityUSB-C & XLR Outputs
ConnectivityUSB-C & XLR Outputs
Pros
Voice Isolation Technology & Real-time Denoiser for clear audio in noisy rooms.
OBS Certified, Auto Level Mode, and Digital Pop Filter simplify setup.
Dual USB-C/XLR for seamless upgrade path & versatile recording.
Cons
USB connectivity receives mixed user reviews.
Customers find the microphone's sound quality excellent, with voices coming through super clear, and appreciate its all-metal construction and working well with WFH Teams calls. Moreover, they consider it a great budget XLR mic that's easy to set up and offers good noise cancellation. However, the USB connectivity receives mixed reviews.
Customers find the microphone's sound quality excellent, with voices coming through super clear, and appreciate its all-metal construction and working well with WFH Teams calls. Moreover, they consider it a great budget XLR mic that's easy to set up and offers good noise cancellation. However, the USB connectivity receives mixed reviews.
Why this matters for noisy rooms
In an untreated or noisy room, dynamic mics already have an advantage. For deeper context, see dynamic vs condenser mics in untreated rooms. Add:
- Cardioid pickup with good off-axis rejection
- Voice Isolation
- Real-time denoiser
- A digital pop filter
... and you get far cleaner raw tracks without aggressive post-processing. For many creators, this means you can retire the heavy noise-reduction plugins that were mangling your audio.
USB today, XLR tomorrow
The hybrid output is where the MV7+ really plays the long game: If you're comparing hybrids, check our USB-XLR microphone roundup for future-proofing.
- Start via USB-C (no interface needed). The mic behaves like its own compact interface with direct monitoring.
- Later, add an XLR interface (plug the same mic into a better preamp and converters when you upgrade). The mic doesn't become redundant.
Sequence upgrades so each piece keeps earning its place. In a world full of churned-through "internet's favorite mic" purchases, that's real value.
Head-to-Head: Controls, Sound, and Upgrade Paths
Let's line up the on-mic controls comparison in practical terms.
1. Mute & Panic Control
-
RØDE NT-USB+
- No physical mute. You'll rely on software mute in your recording app or a hardware button on a keyboard/interface.
- For live creators who need to cough or handle surprise background noise, this is the main weakness.
-
Shure MV7+
- Tap-anywhere touch mute on the LED panel.
- Bright, easy-to-read meter helps you confirm you're actually muted.
Verdict: If live streaming, remote calls, or panel shows are core to your work, the MV7+'s mute is a real workflow win.
2. Gain, Levels, and Loudness Consistency
-
NT-USB+
- No hardware gain knob; you set gain in your OS or DAW.
- Once set, levels are fairly stable as long as you keep your mic distance consistent.
- APHEX processing can add perceived loudness without crushing dynamics.
-
MV7+
- Auto Level Mode continuously adjusts gain based on your distance and volume.
- This helps a lot with co-hosts or guests who drift off-mic or vary in speaking level.
- You can also set gain manually via MOTIV Mix and let the mic remember it.
Verdict: For one disciplined host, same setup every time, both are fine. For multiple voices or looser mic technique, MV7+ Auto Level is a big time-saver.
3. Monitoring and Latency
- Both mics provide:
- A headphone jack on the mic
- Zero-latency monitoring
- On-mic headphone volume control
The NT-USB+ adds a clear monitor mix knob. The MV7+ exposes mix control via Shure's ecosystem and is designed to integrate with streaming tools (it's OBS-certified), but in day-to-day use, both will give you reliable monitoring with no perceptible delay.
4. Room Noise and Off-Axis Rejection
-
NT-USB+ (Condenser)
- Captures more room tone and high-frequency detail.
- In a treated room, that can sound more expensive.
- In a small, reflective office, you'll hear more environmental noise.
-
MV7+ (Dynamic + DSP)
- Naturally less sensitive to distant noise.
- Add Voice Isolation and real-time denoiser, and it does far more to clean up messy rooms at the recording stage.
Verdict: In a noisy apartment or shared office, the MV7+ is the safer bet. In a reasonably quiet, soft-furnished room, the NT-USB+ can sound more open.
5. Total Cost of Setup and Upgrade Path
RØDE NT-USB+ path (USB-only):
- Mic: ~$157
- Decent boom arm & basic shock mount: ~$60-$100
- Optional light treatment (panels, rug): $50-$100
You're all-in around $220-$350, with the mic acting as your interface. If you later move to XLR, you'll buy a new mic and interface, but you'll reuse the arm, shock mount, and treatment.
Shure MV7+ path (hybrid USB/XLR):
- Mic: ~$269
- Boom arm (it comes with a yoke, but you'll still want an arm): $60-$100
- Optional treatment: $50-$100
You're closer to $330-$470 all-in, but:
- You may not need as much noise-reduction or de-essing in post.
- When you eventually buy an interface, you don't replace the mic; you just add to the chain.
Spend once where it compounds. In many setups, that's a hybrid mic that doesn't get retired when you climb the next rung.
Quick Recommendations by Scenario
Here's how I'd steer different creators.
1. Solo Podcaster in a Fairly Quiet Room
- You record mostly scripted or solo episodes.
- Your room is soft-furnished (rug, curtains, bookshelves) and not beside a busy street.
- You're okay managing mute in software.
Go with: RØDE NT-USB+ You get solid price-to-performance, simple controls, and a bundled pop filter that cuts plosive headaches. Allocate the savings toward a sturdy arm and a bit of treatment.
2. Streamer or Host in a Noisy or Shared Space
- You're on camera, live, and need instant mute.
- Background noise (roommates, street, HVAC) is a constant.
- You want your raw audio to be as close to "broadcast-ready" as possible.
Go with: Shure MV7+ The dynamic capsule, Voice Isolation, and denoiser handle room reality better, and tap-to-mute is a daily lifesaver. Auto Level also helps when your posture shifts during long streams.
3. Small Team or Agency Building Repeatable Kits
- You need several identical setups for non-technical hosts.
- Consistency across voices and episodes is more important than chasing a particular "character" sound.
- You'd like to scale to XLR interfaces later.
Leaning toward: Shure MV7+ You can build a preset in MOTIV Mix, flash it to each mic, and hand people a simple checklist: "Talk here, tap here to mute, wear headphones." As budgets grow, you fold in interfaces via XLR without replacing every mic.
4. Traveling Creator Recording in Different Rooms
- Hotel rooms, offices, borrowed spaces, all with different acoustics.
- You want a mic that copes reasonably well anywhere, with minimal futzing.
Edge to: Shure MV7+ again, mainly because of the dynamic capsule plus denoiser. But if you already own an NT-USB+ and can spend a bit of time positioning the mic and softening the room, it can still deliver.
Final Verdict: Which "Cheap" Mic With Controls Is Right for You?
If we boil it down:
-
RØDE NT-USB+ is the value pick when:
- Your room is reasonably controlled.
- You want clear, detailed sound with simple monitoring controls.
- You're okay managing mute and gain in software.
- You're prioritizing low total cost of setup today, knowing you may buy an XLR mic later.
-
Shure MV7+ is the strategic pick when:
- Your room is noisy or untreated.
- You go live often and need hardware mute.
- You want onboard DSP that genuinely cuts editing time.
- You want a clean upgrade path from USB to XLR without retiring your first mic.
Both can be the cheap podcast microphone that punches above its price, if you choose the one that matches your room and workflow, not the one an influencer happened to use in a treated studio.
In one of the scrappier newsroom builds I helped with, we stretched a small budget into a four-mic roundtable by picking gear that could start on USB and later slot into an interface, reusing every arm and mount along the way. That same thinking applies here: choose the mic whose controls and connectivity will still make sense for you a year from now.
Sequence upgrades so each piece keeps earning its place.
Do that, and your next mic won't just sound better, it will quietly remove friction from every recording you make.
Related Articles