Best Speech Recognition Microphones: USB Headset vs Desktop
By Nora Adeyemi • 11th Aug
Quick verdict
The Jabra Evolve 20 is a USB headset with manufacturer-stated UC plug-and-play setup, a noise-canceling microphone, and remote call controls. Choose a desktop USB microphone when your desk is stable and you can maintain deliberate placement.
- Choose the Evolve 20 if: Its manufacturer-stated UC plug-and-play setup, noise-canceling microphone, and call controls fit your computer-based workflow. View on Amazon
- Choose the desktop route if: You want on-mic gain, mute, headphone monitoring, multiple pickup patterns, or boom-arm flexibility.
- Main trade-off: Desktop microphones offer more positioning and control but demand consistent distance. Test the same short script in your room before deciding.
Important: The available evidence compares features and workflows, not word-error rate, noise rejection, latency, comfort, or long-session fatigue. A five-minute personal A/B test is more defensible than choosing from a claimed ranking.
Choosing a speech recognition microphone can feel surprisingly high-stakes when every missed word disrupts a podcast script dictation session, meeting notes, or a take you hoped would need zero-post cleanup. There is no universal "best" mic. If you are still weighing connection types, our USB vs XLR microphone guide explains the broader setup trade-offs. The collected evidence contains no standardized, cross-product tests of recognition or automatic transcription accuracy. It does, however, make one decision much clearer: compare a headset's stated features with a desktop USB microphone's placement guidance, monitoring, and controls.
For a first rig, I favor the path you can repeat on a rushed Tuesday afternoon. Green lights, not perfect waves.
Step 1: Decide what is making recognition frustrating
Before comparing products, name the problem you are actually solving. A microphone cannot be sensibly chosen from a frequency-response chart alone when the real issue is an air conditioner, a shared office, inconsistent mouth distance, or plosives. Your room can matter just as much as the microphone itself, so review these podcast room acoustics solutions before judging a recording.
Use this quick split:
- Consider the Evolve 20 first if its manufacturer-stated UC plug-and-play setup, noise-canceling microphone, and call controls suit your computer-based work.
- Choose the desktop route first if you have a reasonably settled desk position and can keep a deliberate speaking distance for each session.
- Choose a desktop mic with controls if you want to hear yourself through the mic's headphone output and adjust level or mute at the microphone.
- Do not choose from a promise of better recognition. The collected evidence covers features, placement guidance, and connectivity, not controlled rankings of word-recognition results.
The microphone that works best is the one you can place the same way every time.
A dictation-software vendor recommends keeping a directional microphone close to the mouth with consistent placement. That is sensible setup guidance, not proof that a particular product will outperform another in your room.
Step 2: Use a USB headset when its stated features fit your workflow
Jabra's Evolve 20 is a USB headset with a manufacturer-stated noise-canceling microphone, UC plug-and-play setup, and remote call-control features. Those details make it a straightforward candidate for computer-based speech work where simplicity matters more than a desktop studio look.
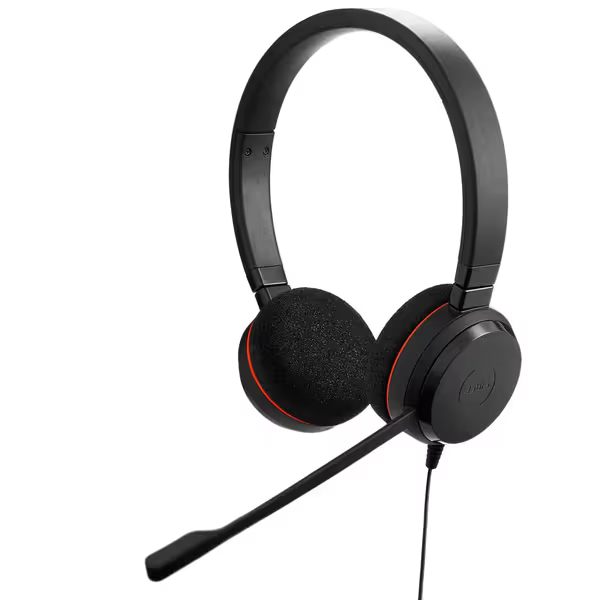
Jabra Evolve 20 Wired Headset
Crystal-clear calls and all-day comfort for seamless communication.
$45
ConnectivityUSB-A/USB-C
ConnectivityUSB-A/USB-C
Pros
Advanced noise-canceling microphone for clear voice
Lightweight, comfortable design for all-day wear
Effortless plug-and-play setup with in-line controls
Cons
Some users report occasional disconnections
Customers praise clear sound and effective noise cancellation for calls.
Customers praise clear sound and effective noise cancellation for calls.
What the headset option does well for this workflow
With the Evolve 20, the attraction is its manufacturer-stated UC plug-and-play setup. Its stated call-management controls are also useful when your dictation and calls share the same desk.
If you need wireless operation, Jabra describes the Evolve 65 as having a noise-cancelling, uni-directional microphone, rechargeable lithium-ion battery, and wireless range of up to 30 m/100 ft. Those are feature differences, not evidence that it delivers superior transcription results. Treat wireless operation as the reason to consider it, then test your own speech in the place you plan to work.
A high-noise option worth knowing about
SpeechWare's manual for its USB 3-in-1 TableMike gives unusually direct, product-specific advice: for speech recognition in high ambient noise, it recommends connecting a good noise-cancelling headset microphone to the TableMike base. In that configuration, the manual says the TableMike's boom is disabled.
That does not prove one device rejects more noise than another. It does give you a useful decision rule: when your space is noisy enough that desktop distance becomes unreliable, a headset-based configuration is the route the TableMike manual itself points toward.
Step 3: Choose a desktop microphone when you can control placement
A desktop microphone can be an excellent Dragon dictation microphone candidate or spoken-word tool only when its placement suits your room. The SpeechWare USB 3-in-1 TableMike is a desktop model with a cardioid back-electret condenser capsule, USB audio input and output ports, and a detachable boom with mini-XLR connectors.
Its manual provides two distinct speech-recognition positions:
- Low ambient noise: 30-50 cm from the microphone in its Green LED Speech Equaliser and Amplifier mode.
- Moderate ambient noise: 5-15 cm from the microphone in its Blue LED Normal/HD VoIP mode.
That is not generic desktop-mic advice; it is the TableMike 3-in-1's own guidance. The contrast is valuable, though. The farther setting is specifically for low ambient noise, while the closer setting is specifically for moderate ambient noise.
Why distance deserves more attention than your shopping cart
The TableMike manual cautions that, in its long-range Green LED mode, increasing distance can cause automatic gain control to amplify background noise along with voice. That is a useful reminder for any person tempted to place a mic across the desk to keep it out of camera frame. A more distant position is not automatically a cleaner one.
Start closer when you have room noise. Then make the setup physically easy to repeat:
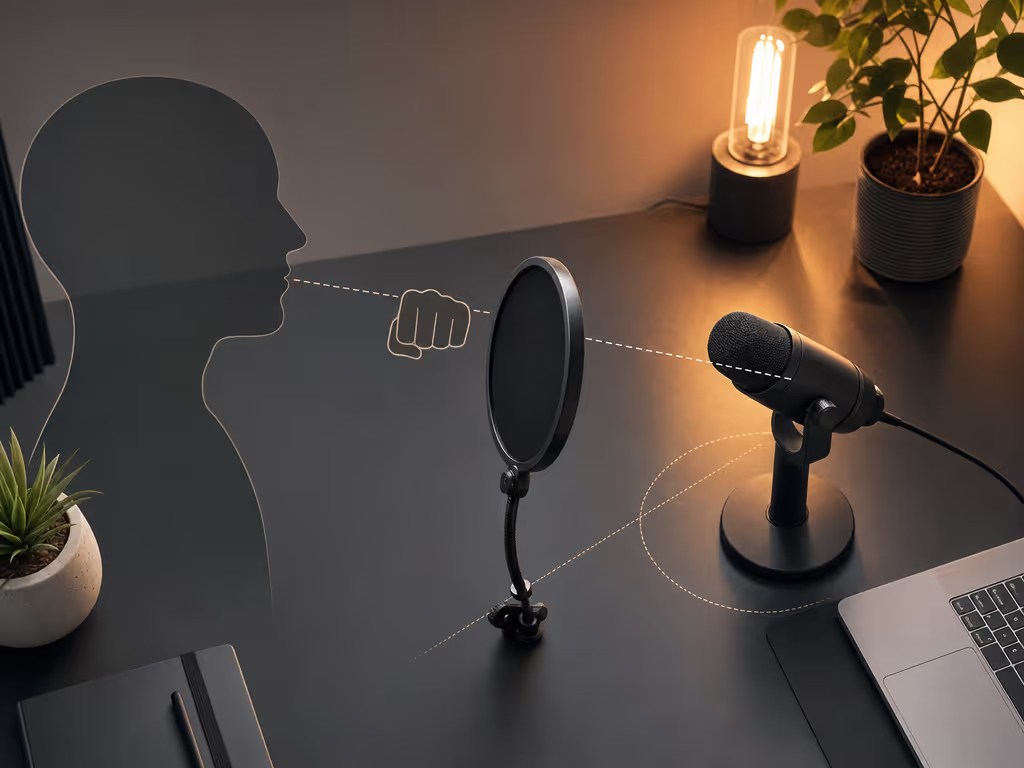
- Use the mic positioning techniques that put the mic slightly to one side of your mouth rather than directly in the line of airflow.
- Add a pop filter when plosives are part of your speech pattern.
- Begin with a fist-width distance only if it falls within the manufacturer's recommended placement for your particular mic and mode; for the TableMike's moderate-noise setting, that may be a useful starting reference.
- Keep the mic position, chair height, and script position unchanged for a three-minute test.
I once watched a new host angle a mic straight at every laugh and spike the level again and again. A pop filter, a slight off-axis angle, and one dependable distance changed the take, and more importantly, changed how relaxed she sounded.
Step 4: Pick the desktop USB option whose controls fit your recording habit
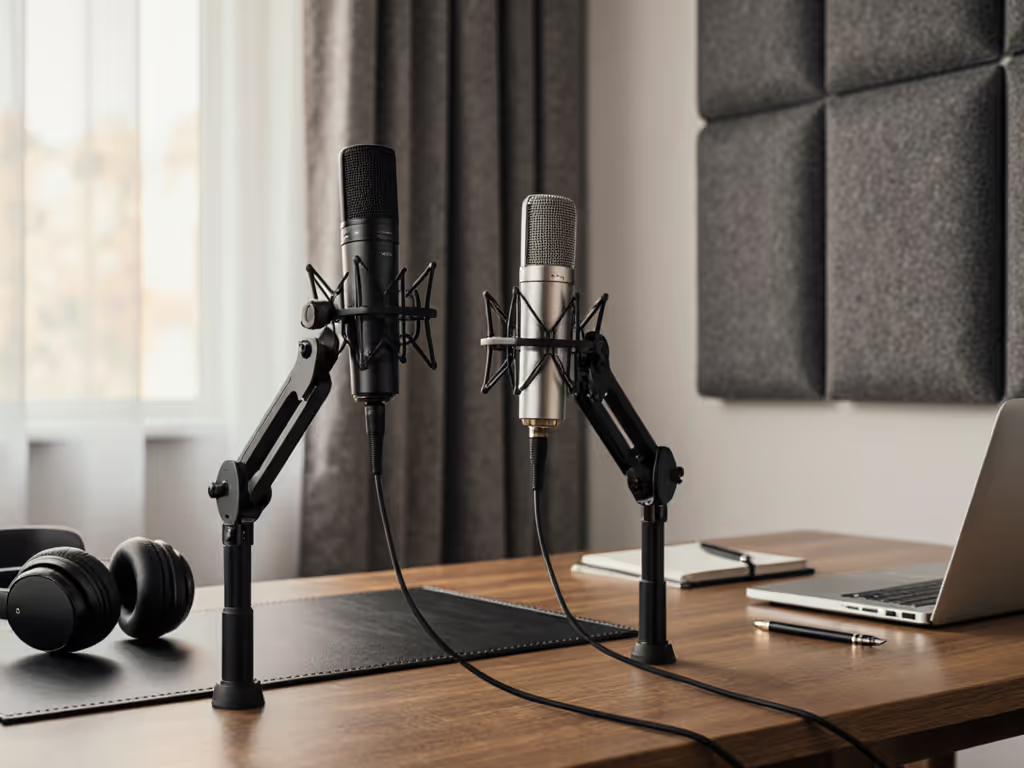
The Blue Yeti USB Microphone is best considered as a flexible desktop recording tool, not a proven winner for recognition accuracy. Logitech states that it offers multiple pickup patterns, a gain control, instant mute, and a headphone output for latency-free monitoring. It connects directly to a computer or laptop by USB without drivers, and its adjustable desktop stand can be removed for boom-arm mounting.
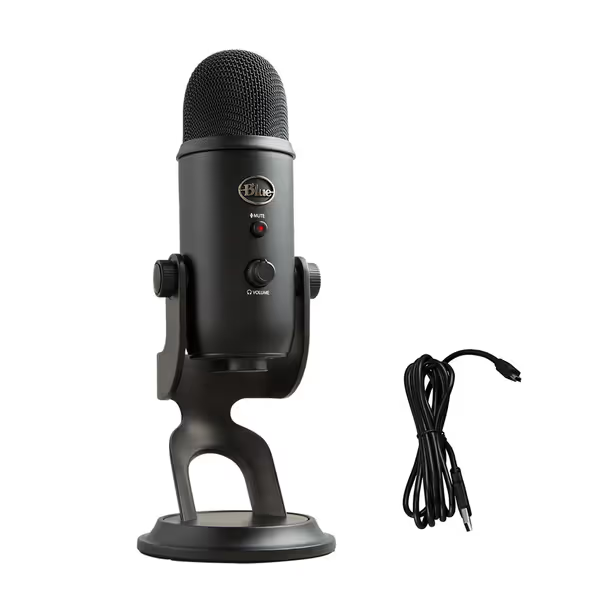
Logitech Blue Yeti USB Microphone
Studio-quality USB mic with versatile patterns for clear, adaptable audio.
$100.2
Pickup Patterns4 (Cardioid, Omni, Bi-directional, Stereo)
Pickup Patterns4 (Cardioid, Omni, Bi-directional, Stereo)
Pros
Delivers clear, broadcast-quality sound easily.
Four versatile pickup patterns replace multiple mics.
Plug & Play setup with no-latency monitoring.
Blue VO!CE effects enhance vocals and entertain.
Cons
Condenser mic may pick up untreated room noise.
Customers praise its clear, crisp, and professional audio quality, noting it picks up sound effectively. They also appreciate its easy setup and versatility for various recording needs.
Customers praise its clear, crisp, and professional audio quality, noting it picks up sound effectively. They also appreciate its easy setup and versatility for various recording needs.
Those controls matter if your workflow includes recording spoken segments, reviewing your own level, and correcting problems before you begin a longer session. Its headphone output provides manufacturer-stated latency-free monitoring.
The multiple pickup patterns offer flexibility, not a shortcut around room choice. The manufacturer does not name a recommended dictation pattern or establish a dictation-specific performance result. For a single person at a desk, keep your test simple: select one pattern, speak at your planned distance, listen back, and change only one variable at a time.
Use the gain control as part of your test
The Blue Yeti includes a manufacturer-stated gain control. For a deeper explanation of setting clean levels, see this podcast mic gain staging guide. Do not set it by whispering, and do not set it from one loud laugh.
Instead:
- Speak a full paragraph at your normal presentation or dictation volume.
- Include words beginning with "p," "b," and "t."
- If the loudest moments sound strained or distorted, make another recording after lowering the gain control.
- Make a second recording after moving the mic slightly off-axis, rather than immediately reaching for software fixes.
- Save the position and gain setting once the result sounds clear enough to use.
This is the repeatable setup that reduces editing decisions later. Small, repeatable wins turn scary red lights into green.
Step 5: Run a fair, five-minute test before you decide
A comparison based on your actual desk is more useful than an unprocessed demo from someone else's room. The collected evidence contains no standardized tests for keyboard noise, latency, or speech-recognition word-error rate across these products, so do not pretend you can buy certainty from a ranking.
Make your own small A/B test instead:
- Record the same 60-90 second script with your current input and the candidate microphone.
- Keep the room, computer fan state, chair, and speaking volume as similar as possible.
- Include one sentence of natural dictation, one sentence delivered at presentation pace, and a few words with plosives.
- Listen for words that disappear, bursts on "p" sounds, background noise during pauses, and whether you can maintain your chosen distance comfortably.
- If you use recognition software, run the exact same text through it and note only your own result. That is a personal workflow check, not a product accuracy benchmark.
For creators, add a final test: record a short introduction exactly as you would deliver it for an episode. The best mic for voice commands may not be the one you prefer for a close, polished spoken intro, because your priorities can differ. Separate those jobs in your notes rather than expecting one vague "best" label to answer both.
Step 6: Make the decision with a simple checklist
Choose the Jabra Evolve 20 if you want a UC plug-and-play headset with a manufacturer-stated noise-canceling microphone and call controls. Consider the Jabra Evolve 65 when wireless operation and its stated uni-directional noise-cancelling microphone fit your workflow.
Choose the SpeechWare USB 3-in-1 TableMike if its product-specific distance modes match your ambient-noise level and you want a desktop speech-recognition setup. Remember that its long-range mode is intended for low ambient noise, while the closer mode is the manual's recommendation for moderate ambient noise.
Choose the Blue Yeti if you want a desktop USB microphone with manufacturer-stated multiple pickup patterns, a gain control, mute, removable stand, boom-arm option, and latency-free headphone monitoring.
None of those points establishes an overall champion for automatic transcription accuracy. They help you make a lower-regret decision based on placement, controls, connection style, and your room.
FAQ
Can a microphone work through USB?
Yes. The TableMike 3-in-1 uses a USB-compliant interface with audio input and output ports. Logitech states that the Yeti connects directly to a computer or laptop by USB with no drivers required.
Are USB microphones any good?
"USB" describes the connection, not one universal level of quality. The products above show different USB implementations and features: the TableMike has product-specific speech-distance modes, while the Yeti has monitoring, gain, mute, and multiple pickup patterns. A blanket quality verdict for all USB microphones would not be accurate.
What is the disadvantage of a USB microphone?
There is no single, universal disadvantage that applies to all USB microphones. One product-specific caution is the TableMike's long-range mode: its manual says greater distance can amplify background noise as well as voice. That is why room choice and placement should come before assumptions about the connector.
Your next step: test one setup today
Pick the Evolve 20 or a desktop microphone based on the stated features and placement conditions that fit your workflow, then record a one-minute script before buying accessories or installing more software. Lock in your mouth-to-mic distance, add a pop filter if needed, and save the gain setting that works. Confidence starts there: one clear take, one repeatable setup, and Green lights, not perfect waves.
Related Articles