Beat Bulky Mics: Blue Podcast Microphone vs Hidden Video Solutions
By Luis Cabrera • 11th Jan
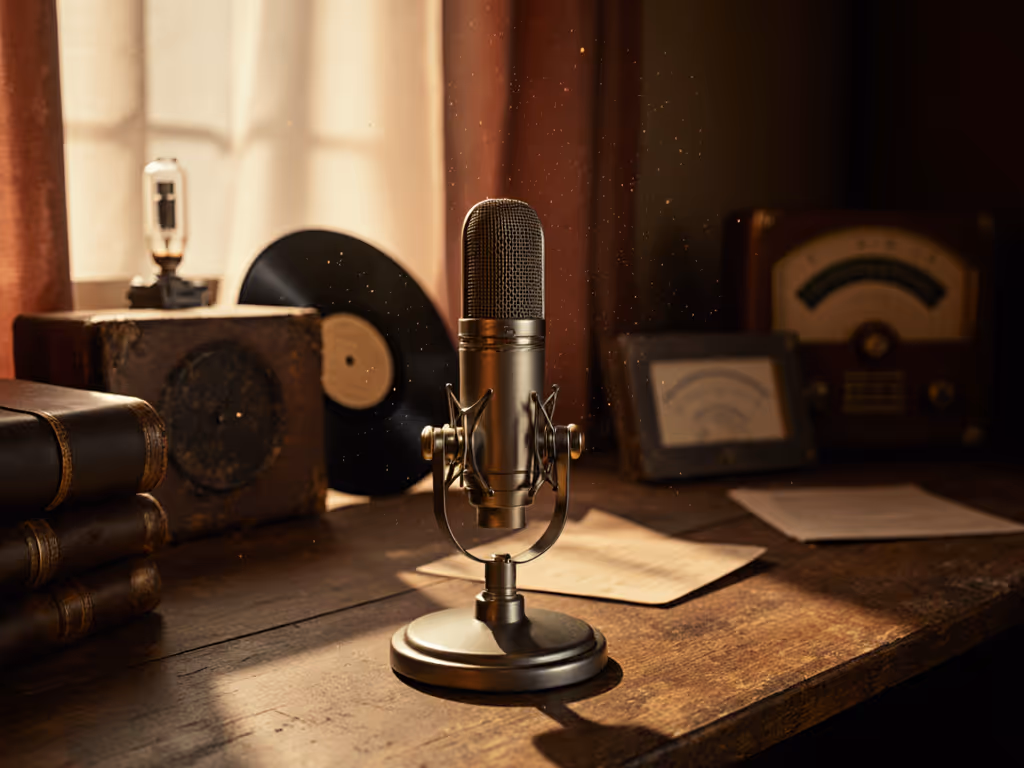
If you've ever cringed at your own video content because a blue podcast microphone dominates the frame or struggled with inconsistent audio when hiding your gear, you're not alone. That tension between professional sound quality and clean visual presentation, between the undeniable audio performance of a well-placed blue podcast microphone and the discreet appeal of a hidden mic for video, keeps creators up at night. I've seen it repeatedly in my work: the constant trade-off between what sounds good and what looks good on camera. Today, we'll cut through the noise with a practical, room-reality comparison that prioritizes your actual workflow rather than spec-sheet fantasies.
When Big Sound Meets Small Frame
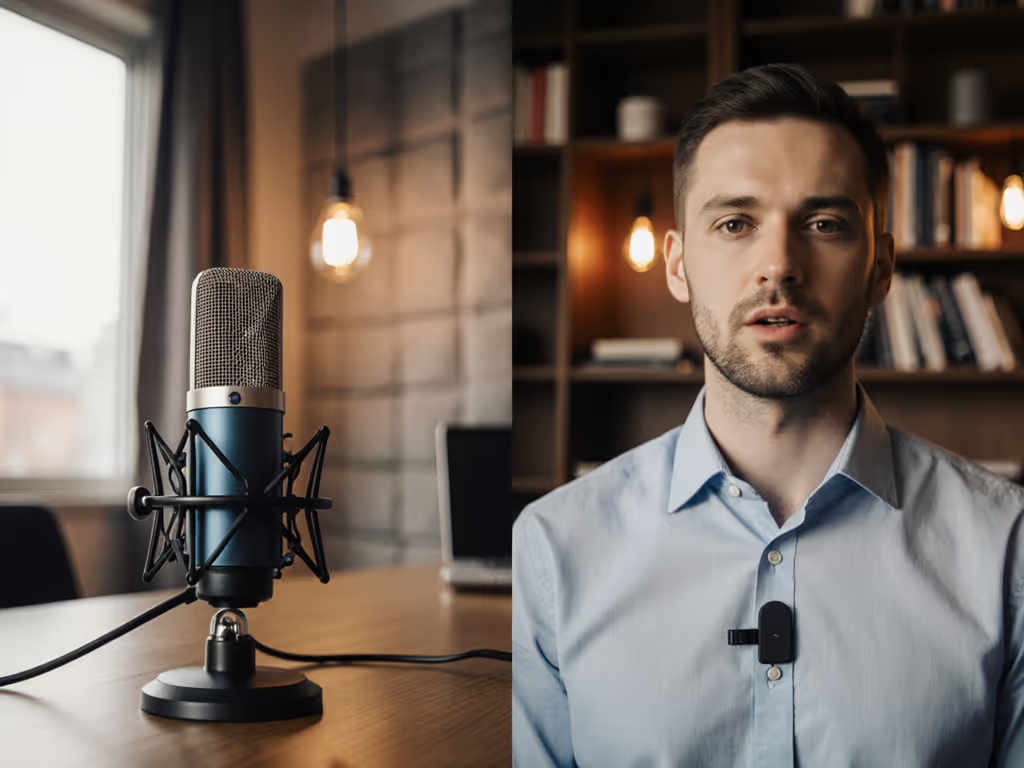
Let's start with the elephant in the room: the physical presence of a Blue Yeti or Yeti X on your desk. These USB condenser mics deliver impressive out-of-the-box performance with their multiple polar patterns (cardioid, omnidirectional, bidirectional, and stereo), all-metal construction, and onboard controls for gain and monitoring. On paper, they're the perfect "best mic for podcast recording" solution for beginners: plug-and-play simplicity with professional-grade features.
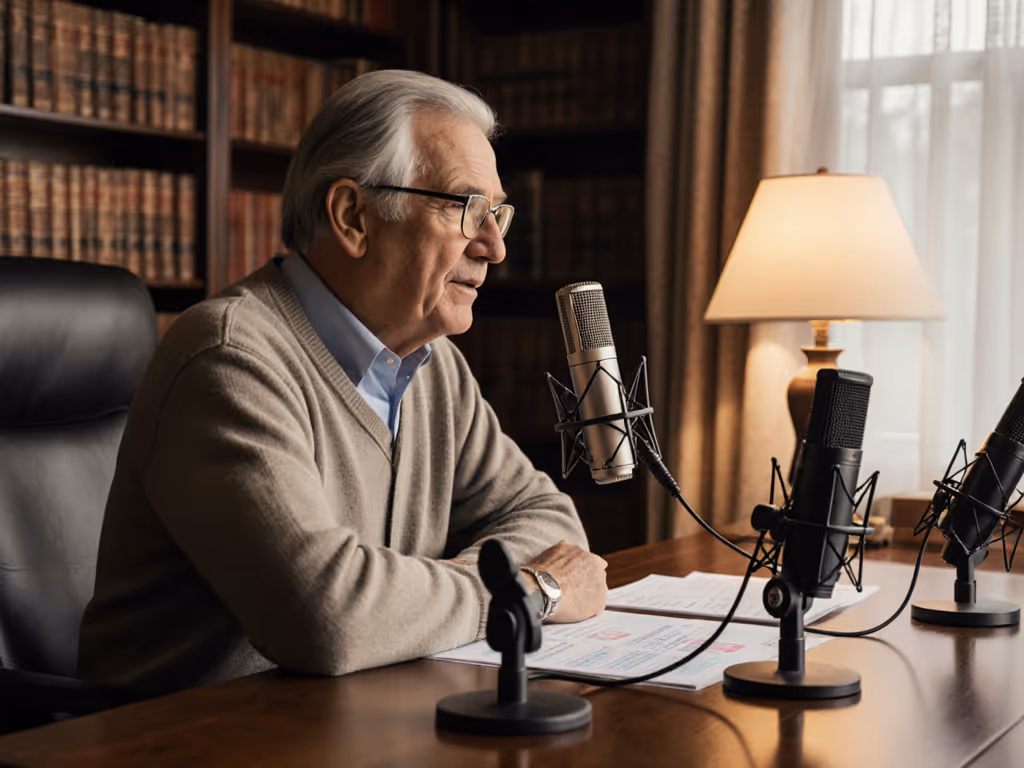
Yet here's the uncomfortable truth I've witnessed in countless home studios: their size creates genuine on-camera microphone concealment challenges. When positioned correctly for optimal audio (6-8 inches from your mouth), these mics often block half your face or create awkward framing in standard 16:9 video.
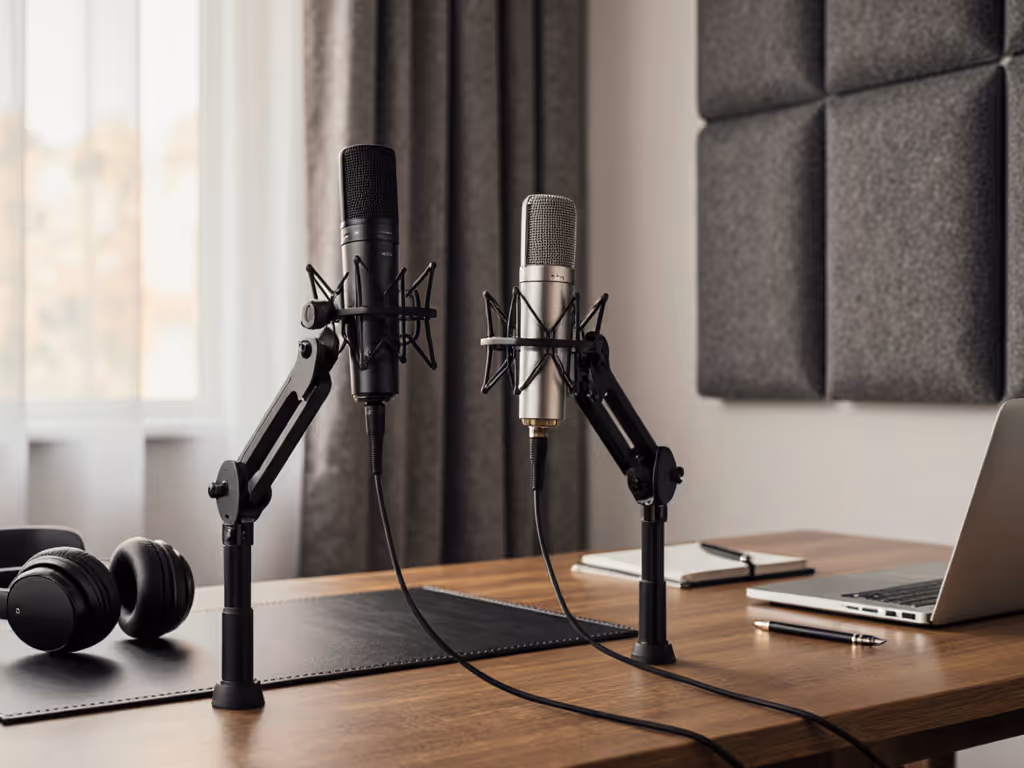
The student newsroom I helped years ago faced this exact dilemma. We needed four consistent audio channels for interviews but had zero budget for professional broadcast gear. My solution? Two Blue USB mics now, with mounts designed for future XLR mic swaps (no buyer's remorse, just clear steps that sounded better each semester).
Sequence upgrades so each piece keeps earning its place.
While the Blue Yeti series excels in the "plug-and-play" category with its headphone monitoring, mute button, and adjustable gain, their physical footprint presents genuine YouTube microphone placement problems. In untreated rooms (which let's face it, most of us record in), the large surface area can also pick up more room reflections than smaller alternatives (especially when used in omnidirectional mode by mistake). To fix reflections before blaming the mic, see our room acoustics guide.
The Hidden Mic Reality Check
Conversely, the allure of invisible audio is powerful. That hidden mic for video promise ("speak naturally while looking directly at your audience") solves immediate aesthetic concerns. But in my decade of budget-conscious production, I've seen too many creators sacrifice audio quality for visual cleanliness, only to struggle with inconsistent levels, clothing rustle, or that hollow, distant sound that screams "phone mic."
True discrete audio capture requires careful implementation. Lavalier mics (like the Rode SmartLav+) offer genuine concealment but introduce their own challenges: cable management, inconsistent placement on clothing, and potential handling noise. If you go this route, follow our wireless lav mic placement guide to reduce rustle and dropouts. Boundary mics (placed on desks or tables) solve the visual problem but often capture excessive keyboard clicks and desk vibrations (particularly problematic in untreated rooms where desk thumps travel easily).
The key insight most reviews miss? How well your microphone rejects off-axis noise depends more on your room's acoustics than the mic's specs. A Blue Yeti in cardioid mode might outperform a lavalier in a noisy apartment if positioned correctly away from computer fans. But in a quiet home office with proper treatment, the lavalier could deliver more natural-sounding dialogue without the proximity effect boominess that sometimes plagues condenser mics.
Beyond the Microphone: Total Setup Cost Analysis
Let's get frugal for a moment. When comparing a blue podcast microphone against hidden solutions, most creators only consider the mic's price tag. But the true cost includes everything required to deliver broadcast-ready audio consistently.
Consider this real-world scenario I've mapped for dozens of clients:
Blue Podcast Microphone Setup
- Microphone: $100-$150 (Blue Yeti)
- Shock mount: $25
- Arm stand: $40
- Pop filter: $15
- Total: $180
Hidden Mic Setup (Lavalier)
- Microphone: $50-$100 (decent lavalier)
- Clip/accessories: $15
- XLR adapter (if using with interface): $35
- Backup battery/transmitter: $50
- Total: $150-$200
At first glance, the hidden solution appears cheaper. But here's where the price-to-performance calculus gets interesting: the Blue setup delivers immediately usable audio with minimal post-production, while the lavalier often requires additional processing to address frequency imbalances and handling noise. That "$50 lavalier" can easily become a $150 solution when you factor in editing time and potential re-recording.
Most importantly, the Blue microphone's hardware (particularly the arm and shock mount) remains valuable when upgrading. When my nonprofit clients eventually moved to XLR systems, they reused 80% of their initial Blue Yeti setup. The lavalier user? Starting almost from scratch.
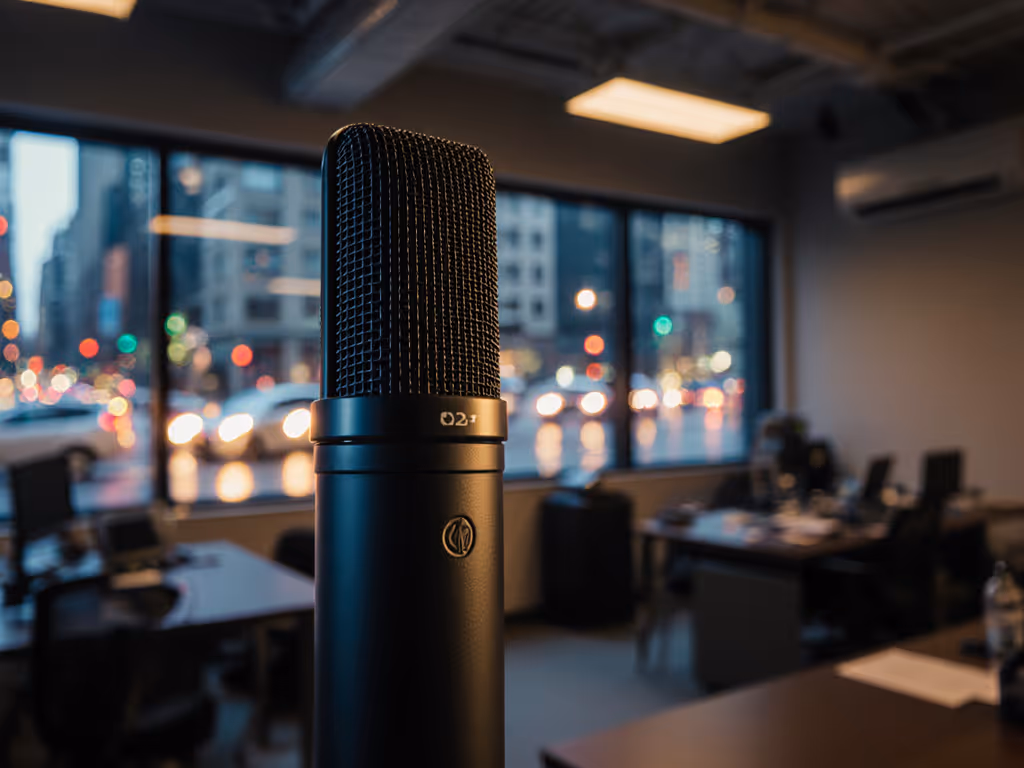
Room Reality: Which Performs Better Where You Record?
Let's cut through the marketing hype with what actually matters: performance in YOUR space. I've tested both solutions across dozens of "real rooms": bedrooms with hard floors, home offices with reflective surfaces, even converted closets, and identified clear patterns:
Blue Podcast Microphone Excels When:
- You have moderate background noise (HVAC, distant traffic)
- You're recording solo or interview-style with proper polar pattern selection
- Your recording space has some basic acoustic treatment (even DIY foam panels)
- You prioritize immediate "set it and forget it" simplicity
Hidden Mic Solutions Shine When:
- Visual discretion is non-negotiable (corporate training videos, news segments)
- You're moving around frequently (demonstrations, cooking shows)
- Your environment is relatively quiet and controlled
- You have time to fine-tune placement and post-processing
The uncomfortable truth? Neither solution universally "wins." Your specific room acoustics, content format, and long-term plans dictate the right choice. In untreated rooms, the Blue's larger size can actually help by providing better off-axis rejection when positioned correctly, contrary to what smaller "hidden" solutions might suggest.
The Upgrade Path: Smart Sequencing for Long-Term Value
This is where most comparison articles fail you: they present a binary choice rather than a strategic progression. My core philosophy, forged from stretching tiny nonprofit budgets into reliable setups, remains: smart upgrades preserve investments; sequencing purchases matters more than chasing the trend of the month.
The most cost-effective approach I've documented for content creators follows this upgrade path:
- Start with a USB solution (Blue Yeti or similar) that delivers immediate quality with minimal setup
- Invest in reusable hardware (quality arm, shock mount, pop filter)
- Add basic room treatment before upgrading the microphone itself
- Transition to XLR when you need multiple channels or interface flexibility
Notice what's missing? The frantic gear chase. Unsure when to switch connections? Start with our XLR vs USB microphone guide to pick the right path. When you sequence properly, that initial $180 Blue setup becomes a $300 professional chain as your needs grow, not a $450 dead end.
Spend once where it compounds: that shock mount you buy for your Blue Yeti will serve your Audio-Technica AT2020USB+ and eventually your Shure SM7B. The proper arm stand you purchase today works with every microphone you'll ever own. This is how you build a professional-quality setup without professional-level waste.
Making Your Decision: A Clear Framework
After analyzing dozens of creator workflows, I've developed this simple decision matrix based on actual pain points rather than theoretical ideals:
Choose a Blue Podcast Microphone If:
- You record primarily solo or interview-style
- Your room has moderate background noise
- You want minimal post-production
- You're starting with a limited budget but plan to scale
- You value consistent audio quality over perfect framing
Choose a Hidden Mic Solution If:
- Visual presentation is your primary concern
- You move around frequently during recording
- You have a quiet, controlled environment
- You're comfortable with additional audio processing
- You're creating content where the microphone itself would distract
The "best mic for podcast recording" debate misses the point, it's about finding the best solution for YOUR specific context. In my experience, creators who prioritize total cost of setup rather than individual component prices achieve better long-term results with less frustration.
Final Verdict: It's About Your Workflow, Not the Hype
After years of helping creators navigate this exact dilemma, my recommendation remains practical and sequenced:
For most new creators in untreated rooms, start with a quality USB microphone like the Blue Yeti, but position it thoughtfully for both audio and visual balance. This delivers immediate "room reality" performance while building your reusable hardware foundation. Invest in proper placement (slightly off-camera but correctly angled) rather than complete concealment.
If visual discretion is absolutely essential, choose a lavalier system, but budget for the additional processing time and potential re-recording. Never sacrifice audio fundamentals (proper gain staging, noise management) for aesthetics alone. For rock-solid levels without distortion, follow our podcast mic gain staging guide.
The creators I respect most don't chase the "perfect" hidden mic for video; they master what they have. They understand that listeners forgive imperfect visuals long before they tolerate poor audio.
Your upgrade path should follow this sequence: solve your room issues first, then improve your microphone chain while preserving your hardware investments. That student newsroom project I mentioned? We built a four-mic roundtable for under $500 by choosing two USB mics now with mounts designed for future XLR mics (reusing hardware both times). No buyer's remorse, just clearer sound semester after semester.
Beat the bulky mic dilemma not by hiding your audio, but by strategically revealing just enough of it to serve both your audience's ears and eyes. Spend once where it compounds, and your setup will keep earning its place in every frame.
Related Articles