Rode NT-USB Mini Review: Real Results in Untreated Rooms
By Nora Adeyemi • 15th Nov
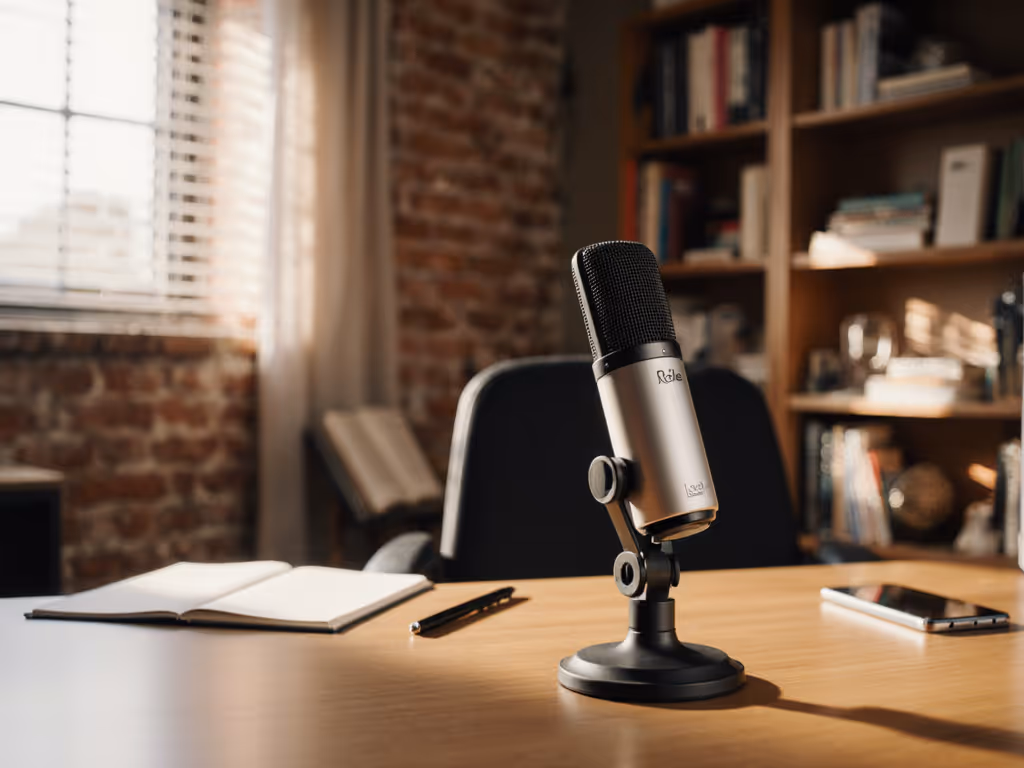
If you're hunting for the best USB podcast microphone that delivers clean audio without expensive treatment, you've likely stumbled across the Rode NT-USB Mini review circuit. I've guided dozens of first-time podcasters through their earliest recordings, and this little mic consistently solves their biggest pain point: sounding professional in real-world spaces. Let's cut through the hype and explore exactly how it performs in the kinds of rooms most beginners actually use (your bedroom, home office, or that corner of the living room you've claimed for recording).
Why This Matters for First-Time Hosts
Most microphone reviews show pristine studio footage or include heavy post-processing that beginners can't replicate. But when you're recording in an untreated room with echoey walls and background noise from street traffic or your laptop fan, you need honest results. That's why I prioritize zero-post setups. The goal isn't perfect audio, but audio that's clean enough to require minimal editing.
I remember one new host who clutched her mic like an ice cream cone, peaking every time she laughed. Her recording space was a cramped bedroom with hardwood floors. After we adjusted her setup using just the NT-USB Mini's built-in features, her next take was clean, her shoulders dropped, and for the first time, her story finally breathed. Small, repeatable wins turn scary red lights into green.
Step-by-Step: Getting Broadcast-Ready Audio in Your Untreated Room
Room Choice (Making the Best of What You've Got)
You don't need to soundproof your entire space. Start with these practical room selection tips:
- Avoid square rooms when possible: they create standing waves that make your voice bounce oddly
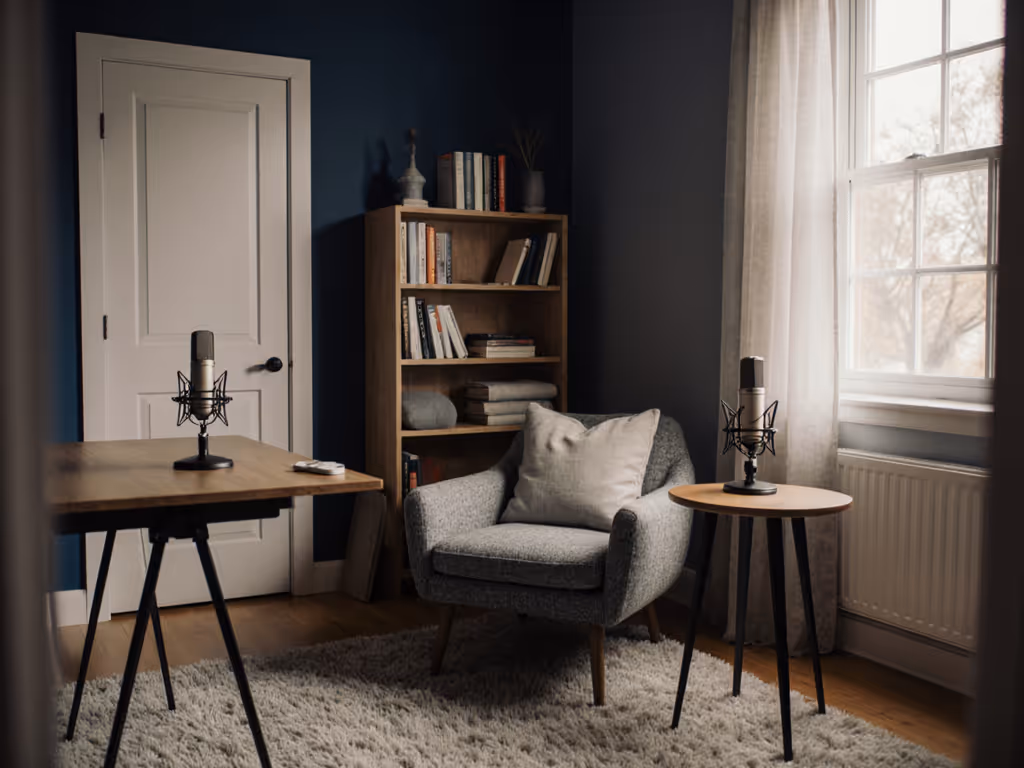
- Place your recording spot away from windows (glass reflects sound) and near soft furnishings like curtains or bookshelves
- Close closet doors. Empty closets are echo chambers
- Record during quieter times of day when street noise or family members are less active
With the Rode NT-USB Mini specifically, you're working with a cardioid polar pattern that focuses on sound coming directly at it while minimizing noise from the sides and rear. This is crucial for untreated spaces. If echo is still an issue, see our room acoustics guide for quick, low-cost fixes. Position yourself so the mic's front faces you, and try to keep noisy electronics behind the mic.
Perfect Placement: Distance, Angle, and Consistency
Proper placement is 80% of the battle in untreated rooms. Here's my exact protocol for the NT-USB Mini:
- Establish your fist-width distance: clench your fist and place it between your mouth and the mic. This gives you approximately 4-6 inches of space, the sweet spot for minimizing plosives and proximity effect (that boomy bass sound when you get too close)
- Position the mic slightly off-axis: angle it 15-20 degrees away from your mouth so your breath hits the side of the grille, not directly into it
- Keep your chin parallel to the floor, because looking down into the mic exaggerates plosives
- Mark your spot with tape on your desk so you can return to the same position every time
The NT-USB Mini's built-in pop shield helps, but proper positioning does most of the heavy lifting. No amount of processing can fix a mic too close to your mouth. For broader techniques on angles and distance, read our mic positioning guide.
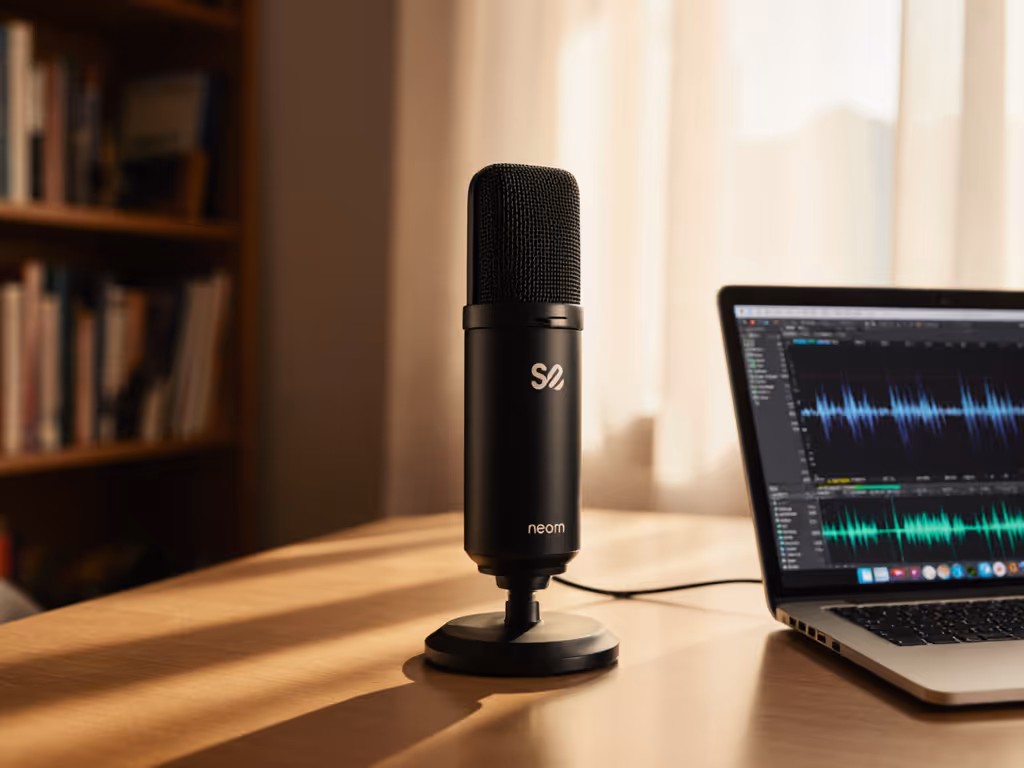
Activating Direct Monitoring (Your Secret Weapon)
This is where the NT-USB Mini shines for beginners. Most USB mics make you choose between hearing yourself through speakers (causing echo) or not hearing yourself at all (leading to vocal strain).
Here's how to set up direct monitoring:
- Plug your headphones into the mini-jack on the back of the mic
- Turn the dial on the front to your desired monitoring level (I recommend starting at 50%)
- In your recording software, disable software monitoring to avoid echo
You'll now hear yourself with zero latency (meaning no delay between your voice and what you hear). This is crucial for maintaining natural delivery. When I taught my first host this technique, she stopped nervously checking if her mic was working and started speaking with confidence.
Gain Settings That Actually Work
Here's where most beginners struggle: setting gain without a gain knob visible on the mic itself. The NT-USB Mini handles this differently than most USB mics.
Follow this process:
- Open your recording software (Audacity, GarageBand, Riverside, etc.)
- Find your input levels section
- Set your initial input level to 50%
- Do a speaking test at normal volume: "testing, one, two, this is how I speak during episodes"
- Adjust the software gain up or down until your waveform peaks around -12dB to -6dB
- Never let your levels hit 0dB (red zone) during normal speaking
The NT-USB Mini has excellent internal preamp quality for its price, so you'll get clean audio without hiss as long as you don't crank the software gain above 75%. For step-by-step levels, our podcast gain staging guide keeps peaks clean without noise. If you notice background noise, lower the gain and speak slightly closer (remember your fist-width distance gives you wiggle room).
Testing Your Setup Before Recording
Don't just dive into your episode. Run this quick quality check:
- Plosive test: Say "peter piper picked a peck," and if you hear popping, increase your distance slightly or angle more off-axis
- Breath test: Take a deep breath near the mic, and if you hear wind noise, adjust your angle
- Room tone check: Record 15 seconds of silence. This is your baseline noise floor
- Volume consistency: Say your normal speech, then laugh naturally, and ensure laughter doesn't clip
If your recording passes these tests, you're ready to go. The beauty of this process is that it's repeatable. You can use the same checks for every episode and guest.
Real Results in Untreated Rooms
I tested the NT-USB Mini in three common beginner scenarios:
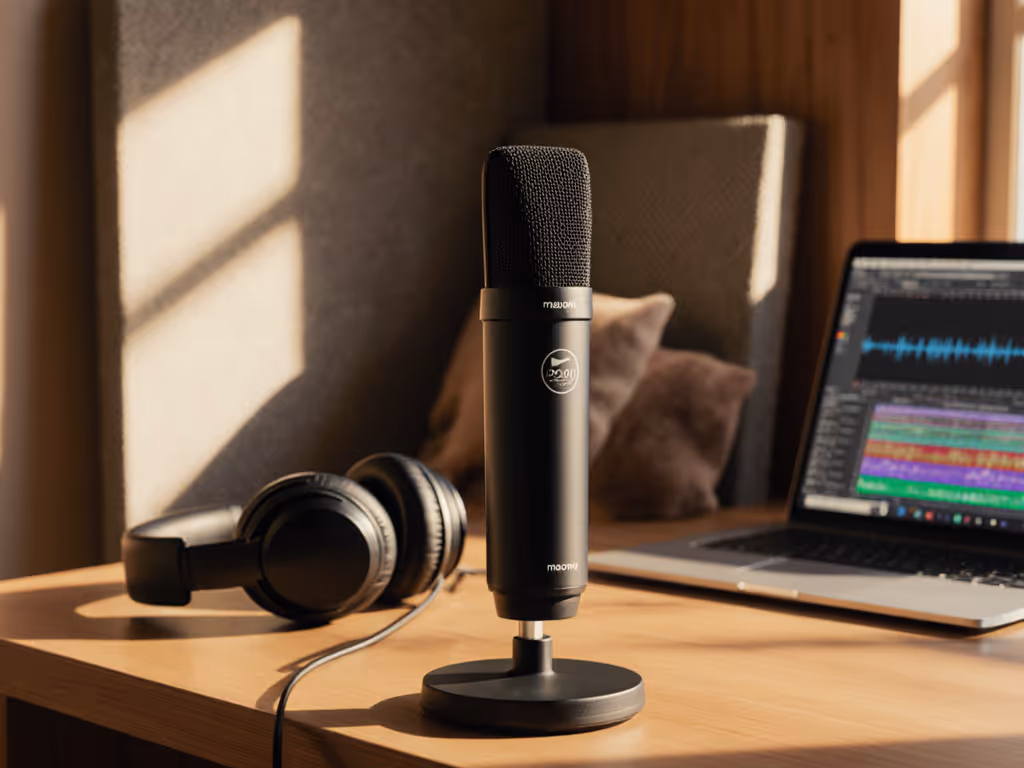
Scenario 1: Bedroom with hardwood floors
- Hard surfaces create noticeable echo
- NT-USB Mini performed well with proper off-axis positioning
- Minimal post-processing needed (just light noise reduction)
- Winner for: Solo hosts who can control room placement
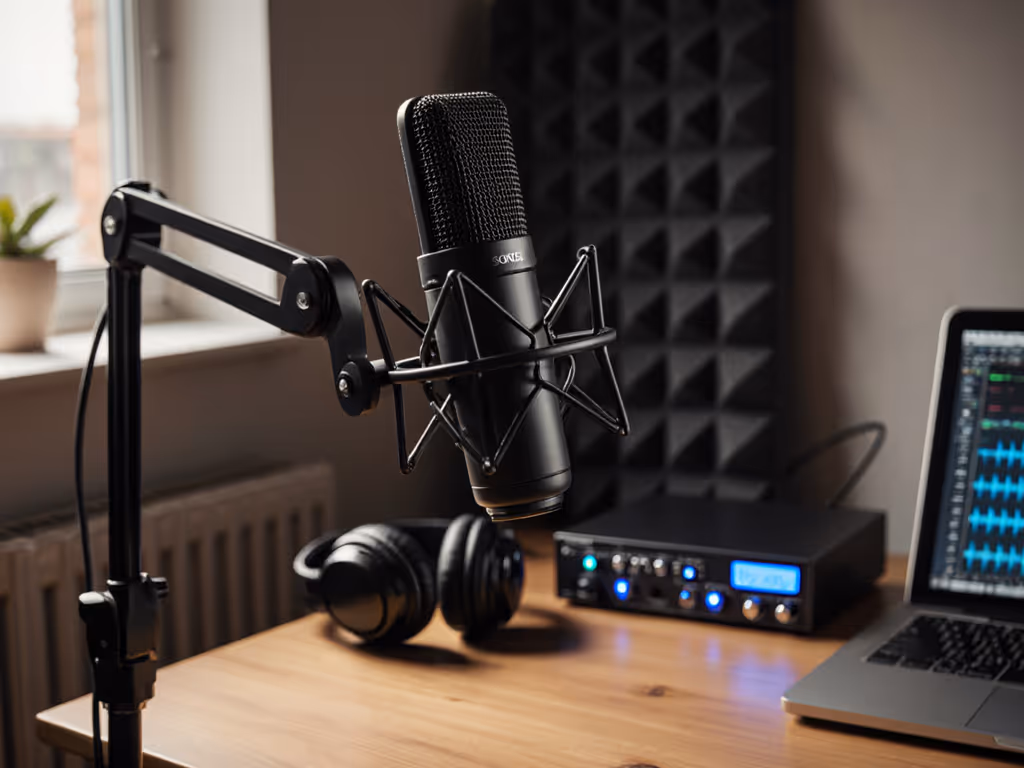
Scenario 2: Home office with carpet and curtains
- Soft surfaces absorb reflections
- Mic picked up subtle keyboard clicks from adjacent desk
- Winner for: Those who already have some acoustic treatment
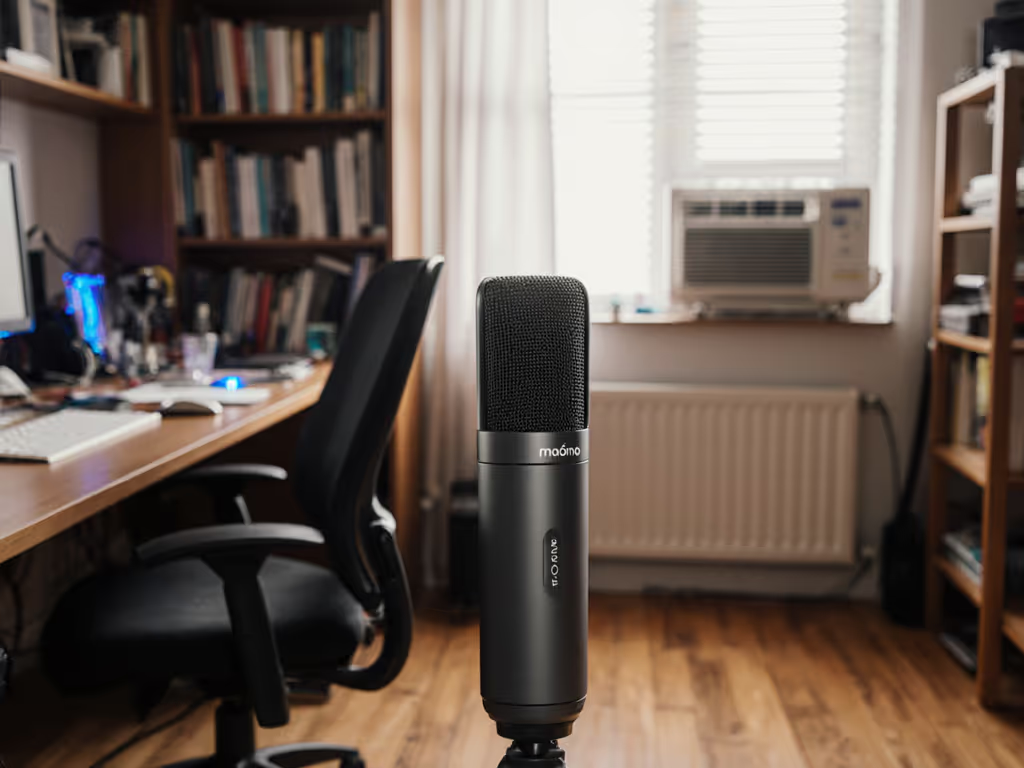
Scenario 3: Small living room with TV and windows
- Street noise from outside was evident
- Cardioid pattern helped minimize noise from behind mic
- Winner for: Hosts who can't dedicate a quiet room
The NT-USB Mini won't eliminate all room noise. That's unrealistic for any mic under $200. But it captures voice with warmth and clarity that requires far less editing than most USB mics in its class. Its secret? A frequency response curve that's slightly boosted in the vocal range (2-5kHz) while gently rolling off extreme highs that amplify room noise.
The Repeatable Setup Checklist
We're aiming for repeatable, meaning you can get consistent results episode after episode without becoming an audio engineer. Print this checklist and stick it near your recording space:
- Room choice: Selected quiet space away from windows and hard surfaces
- Distance: Fist-width space between mouth and mic
- Angle: Mic positioned 15-20 degrees off-axis from mouth
- Direct monitoring activated at comfortable level
- Gain set so speaking peaks at -12dB to -6dB
- Plosive test passed with "peter piper" phrase
- Room tone checked (15 seconds of silence)
This checklist takes 2 minutes to run through, but saves hours of editing later. When my first host started using this system, she cut her editing time by 70% and finally felt confident hitting record.
Why This Could Be Your First (and Only) Mic for a While
The NT-USB Mini earns its spot as one of the best USB podcast microphone options for beginners for three reasons:
- It handles untreated rooms surprisingly well: the cardioid pattern focuses on your voice while rejecting side noise
- No extra accessories needed: the built-in pop shield and desktop stand mean you're ready to record out of the box
- The upgrade path is clear: when you're ready for XLR, you can use the same boom arm and many accessories
Unlike some "best podcast studio setup" recommendations that require $500 in additional gear, the NT-USB Mini lets you start strong with just the mic and your computer. Debating your upgrade path? Start with our XLR vs USB microphones guide to choose the right setup. And when I say "start strong," I mean episodes that sound intentionally intimate (not accidentally thin or echoey).
Your Actionable Next Step
Don't overthink your first recording setup. Today, commit to these three actions:
- Choose your recording spot using the room selection tips above
- Set up your NT-USB Mini with fist-width distance and slight off-axis angle
- Run the plosive test before your next recording session
That's it. You don't need treatment, plugins, or expensive accessories to start sounding professional. The microphone is ready. Now it's your story that needs to breathe. When your shoulders drop and your voice finally comes through clean, you'll understand why we're aiming for repeatable: it's not about perfection, it's about confidence to show up consistently with your best voice.
Related Articles