Vocal Clarity Optimization: Matching Mic Frequency Response to Your Voice
By Jakob Steiner • 12th Oct
In today's creator economy, mic frequency response isn't just technical jargon, it is the make-or-break factor for vocal clarity optimization that separates amateurs from professionals. Your voice carries your credibility, but most creators waste hours on corrective processing when they should be fixing the capture chain. Clean capture beats corrective processing every time. If your space is the culprit, see our room acoustics for podcasting. I've seen national clients spend thousands trying to fix "muddy" audio in post, only to discover the real issue was room acoustics interacting poorly with their microphone's frequency response.
Why Your Mic's Frequency Response Isn't One-Size-Fits-All
That "internet's favorite mic" might be a disaster for your voice. Your vocal anatomy creates unique harmonic signatures that either complement or clash with a microphone's frequency chart. Most male voices benefit from controlled low-mids (200-400Hz), while female voices often shine with presence boosts (2-5kHz). But here's what spec sheets won't tell you: your untreated room exaggerates certain frequencies, making problematic mic characteristics worse.
Consider the classic "muddy room" scenario I encountered with a national client. Their panel discussion sounded like swamp water despite using "premium" mics. The culprits weren't the microphones themselves; it was an airy room interacting with insufficient preamp headroom and mismatched polar patterns. We moved chairs away from reflective surfaces, tightened the patterns, and adjusted gain staging rather than reaching for EQ. Suddenly, sponsor reads snapped into focus. Fix the room first before blaming the microphone.
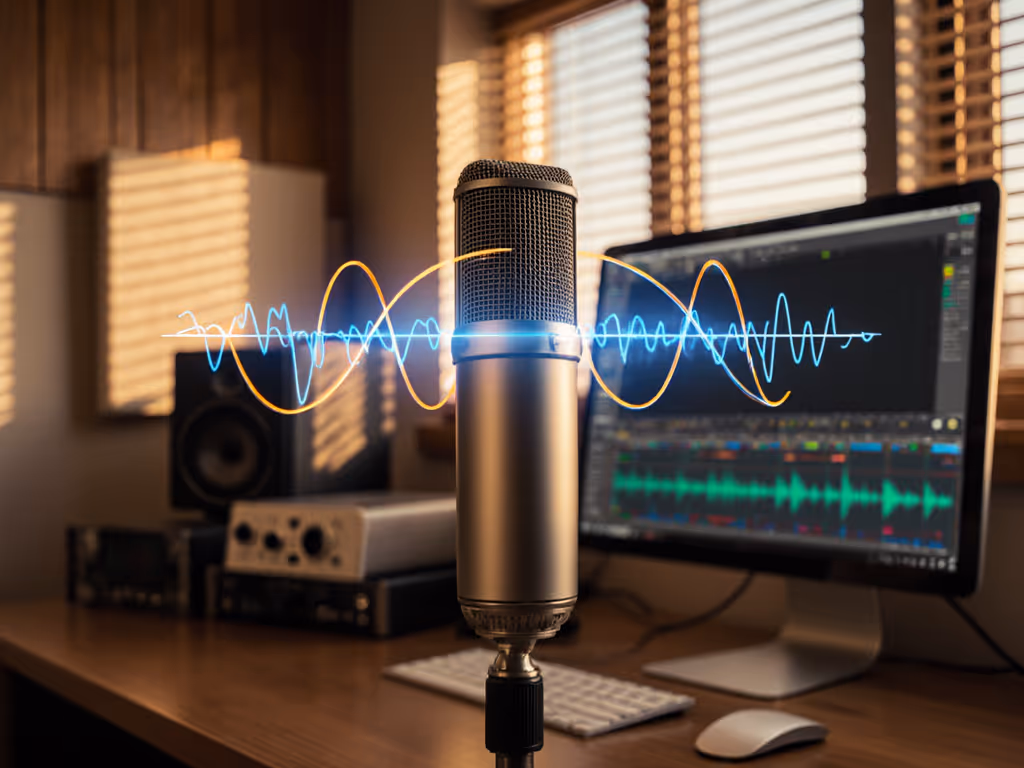
Decoding Frequency Response Charts Like a Pro
Don't let marketing claims fool you. A "flat response" mic like the Shure SM7B (which I've deployed in countless podcast studios) actually rolls off below 200Hz and boosts the presence region around 5kHz. If you want to understand how these curves translate to real speech, read our mic frequency response guide. That's why it sounds so articulate on most voices, it is engineered for broadcast clarity.
When analyzing a frequency chart, focus on three critical zones:
- Proximity effect zone (80-250Hz): How much bass boost occurs when you move closer? Dynamic mics like the Electro-Voice RE20 use Variable-D technology to minimize this, making them ideal for close-talkers in untreated rooms.
- Presence region (2-5kHz): Where vocal intelligibility lives. A 2-3dB boost here improves clarity without harshness. Too much creates sibilance; too little makes voices disappear in the mix.
- Off-axis rejection curve: How the mic handles sound coming from the sides/rear. Look for consistent rejection across frequencies. Many mics maintain cardioid pattern at low frequencies but become omnidirectional at highs, letting in room noise.
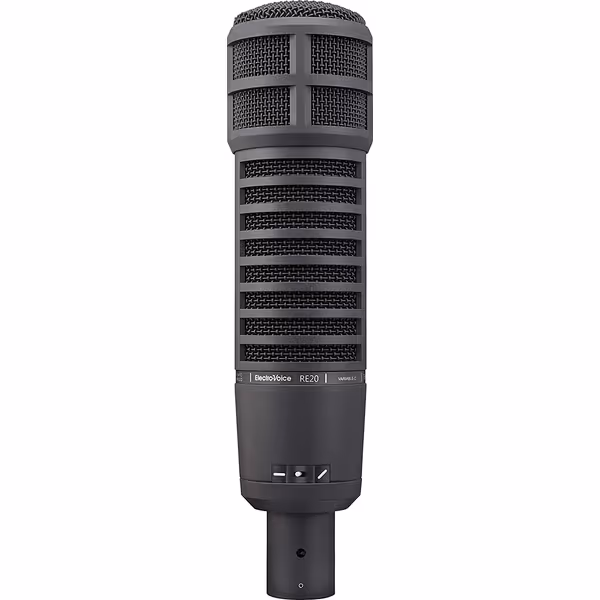
Electro-Voice RE20-BLACK Broadcast Mic
Achieve classic, controlled broadcast sound with zero proximity effect.
$449
Proximity EffectMinimal (Variable-D® design)
Proximity EffectMinimal (Variable-D® design)
Pros
Broadcast-quality vocal clarity, minimizes room noise.
Consistent tone off-axis, no coloration.
Built like a tank, incredibly durable for daily use.
Cons
Higher price point than many dynamic mics.
Customers praise the microphone's sound quality, with one noting its amazing tonal range, and appreciate its build quality, describing it as built like a tank. The microphone effectively rejects background noise and performs well in various applications, with one customer mentioning its use in almost every radio station.
Customers praise the microphone's sound quality, with one noting its amazing tonal range, and appreciate its build quality, describing it as built like a tank. The microphone effectively rejects background noise and performs well in various applications, with one customer mentioning its use in almost every radio station.
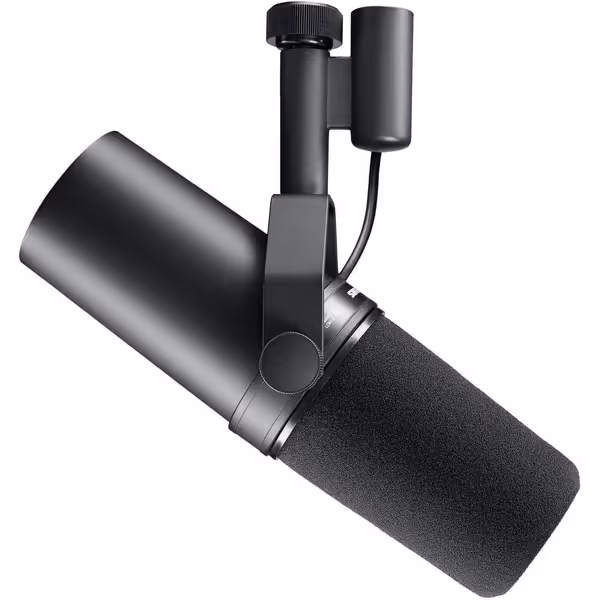
Shure SM7B Microphone
Achieve broadcast-quality vocals with superior noise rejection, even in untreated rooms.
$439
ConnectivityXLR
ConnectivityXLR
Pros
Broadcast-quality sound; warm, natural speech reproduction.
Exceptional rejection of room noise, hum, and plosives.
Rugged build for long-lasting, reliable performance.
Cons
Requires significant gain; may need an inline preamp.
Customers find this microphone to be a solid mid-grade option that delivers crystal clear sound with added richness in the bass and handles different vocal ranges exceptionally well. They appreciate its build quality, with one customer noting its all-metal construction, and consider it well worth the money. The functionality and noise level receive mixed feedback - while some say it works great, others report it doesn't work at all, and while some find it very forgiving of background noise, others mention a loud hiss with the preamp activated. The gain level also gets mixed reviews, with some finding it sufficient while others say it needs quite a boost.
Customers find this microphone to be a solid mid-grade option that delivers crystal clear sound with added richness in the bass and handles different vocal ranges exceptionally well. They appreciate its build quality, with one customer noting its all-metal construction, and consider it well worth the money. The functionality and noise level receive mixed feedback - while some say it works great, others report it doesn't work at all, and while some find it very forgiving of background noise, others mention a loud hiss with the preamp activated. The gain level also gets mixed reviews, with some finding it sufficient while others say it needs quite a boost.
Your challenge is matching these chart characteristics to your vocal physics. A nasal voice needs less upper-mid boost; a thin voice benefits from slight low-mid emphasis. But remember: room acoustics will alter every frequency. Hard surfaces exaggerate the presence region, creating false harshness that looks like a mic problem.
Voice-Specific Mic Selection Strategies
For Bass-Heavy Voices (Common in Male Podcasters)
If your voice booms even when you're not trying:
- Look for mics with natural low-cut tendencies (EV RE20's 400Hz rolloff)
- Position 8-12 inches from mic to reduce proximity effect
- Prioritize models with high maximum SPL (150dB+) to handle plosives without distortion
- Critical setting: High-pass filter at 100-120Hz on your interface
Tradeoff: Excessive bass reduction can make voices sound thin. Record a test phrase with "bobby brought buckets of bitter beer" to check articulation.
For Light/High Voices (Common in Female Creators)
If your voice disappears in the mix or sounds "airy":
- Seek mics with gentle presence boosts (2-4kHz range)
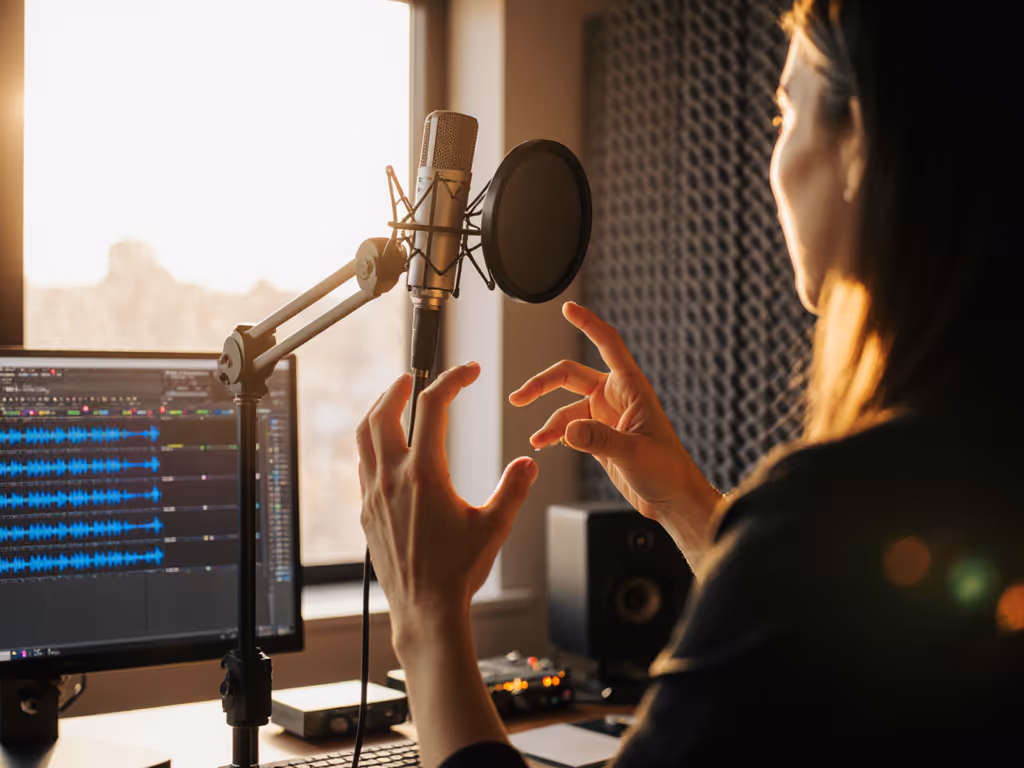
- Position 4-6 inches from mic for better proximity effect
- Prioritize higher sensitivity mics that require less gain
- Critical setting: Minimal high-pass (80Hz max) to retain warmth
Tradeoff: Too much presence boost creates sibilance. Record "Sally sells seashells" to check harshness.
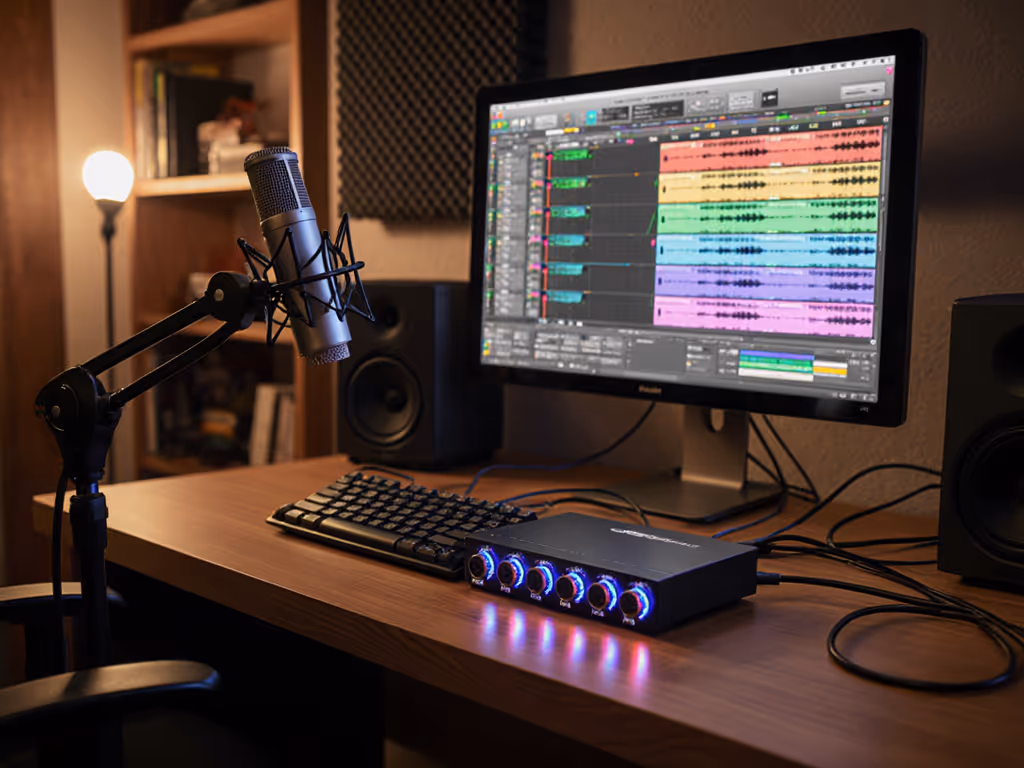
The key is chain discipline, matching your voice to the entire signal path. That RE20 might need a Cloudlifter for quiet voices, while the SM7B's higher output works with modest interfaces. Always test your minimum viable chain: mic → interface → recording app. No plug-ins. What you hear is what you're capturing.
Optimization Tactics Before You Reach for EQ
Before loading up on de-essers and dynamic EQs, implement these physical fixes:
Capture clean, commit early, and keep sponsors breathing between words.
- Strategic room treatment: Two 2'x4' foam panels behind each mic reduce reflected harmonics without deadening the space
- Mic orientation: Tilt dynamic mics slightly off-axis (15-20 degrees) to reduce vocal harshness in the 3-5kHz range For diagrams and step-by-step placement, see our podcast mic positioning guide.
- Preamp headroom management: Set gain so peaks hit -12dBFS, not -6dBFS. Better to have clean signal with moderate gain than clipping at "optimal" levels; for step-by-step setup, follow our podcast mic gain staging guide.
- Proximity control: Maintain consistent distance, use a mic arm with memory lock
For podcasters, EQ settings for podcasts should be surgical, not foundational. A narrow 3dB cut at problem frequencies (identified by sweeping a 1/3-octave boost) beats broad boosts. Example: if sibilance dominates at 7.2kHz, cut only 0.4kHz wide at that frequency. This preserves natural tone while reducing harshness.
Many creators waste hours on software fixes when a simple gobo or proper gain staging would solve the problem. I've seen teams achieve broadcast-ready audio using the same interface and room, but with disciplined mic frequency response matching. Their editing time dropped from 2 hours to 20 minutes per episode because they stopped fighting fixable problems.
The Path Forward
Stop chasing the "perfect" microphone. Start matching your mic's frequency response to your vocal signature and room physics. Test different positions with your current gear before buying anything new. Record raw clips of your voice reading standard phrases and listen for where the mic exaggerates or diminishes your natural tone.
For further exploration, I've compiled a library of frequency response charts cross-referenced with real vocal samples in untreated home studios. It shows exactly how common mics behave with different voice types. No post-processing, no hype. Understanding these practical relationships will save you more money than any "best mic" list.
Remember: your job isn't to capture every frequency perfectly. It's to capture a fixable signal where the problems are in the right places. That's how you achieve true vocal clarity optimization, by working with physics, not against it.
Related Articles