Virtual Audio Cables for Podcasting: OBS Setup Made Simple
By Nora Adeyemi • 10th May
Introduction
When I watched a first-time host clutch her microphone like it might escape, peaking every time she laughed, I knew the issue wasn't her voice (it was her confidence). We fixed the setup: a pop filter angled off-axis, a locked fist-width distance, and direct monitoring enabled. Her next take was clean. Her shoulders dropped. The story finally breathed. That's the power of a repeatable setup.
Today, many podcasters face a similar hurdle when they move from a single voice to multiple sources (a co-host, a guest on Zoom, background music). They ask, "How do I keep all these separate without turning my desk into a tangle of cables?" The answer is virtual audio cables for podcasting, which handles advanced audio routing setup but in a way that feels straightforward, not overwhelming. This guide answers the questions I hear most from creators ready to move beyond solo recording but hesitant about complexity.
FAQ: Virtual Audio Cables and OBS Setup
What is a Virtual Audio Cable (VAC)?
A virtual audio cable is software that acts like a physical audio cable running inside your computer. Instead of plugging a cable from your music player into your interface, then from your interface into your speaker, you're creating invisible pathways between applications.
Think of it this way: your computer already has audio outputs (where sound comes out) and audio inputs (where sound goes in). A VAC creates extra inputs and outputs that exist only in software. One app sends audio into a VAC, and another app pulls audio out of it, all without a physical wire. Your Zoom call feeds into Cable A. Your music feeds into Cable B. Your alerts feed into Cable C. No rewiring between episodes. No confusion. No "Wait, which cable was that again?"
Why does this matter for podcasters? Isolation. Repeatability. When your music, guest audio, and your voice are on separate virtual cables, you can control each independently in OBS without touching physical hardware every session.
Why Would I Use VAC for Podcast Recording in OBS?
Here's the scenario I see constantly: you're recording a show with a co-host on Zoom, you want background music underneath, and you're capturing everything in OBS. Without VAC, all that audio mixes into one messy blob. When the Zoom audio is too loud, the music bleeds over, or someone's voice peaks, you're either re-recording or digging into aggressive post-processing. That's not repeatable. That's not confident.
With virtual audio cable configuration, each source stays separate. Your Zoom audio lives on Cable A, your music on Cable B, and your direct mic input already where it should be. Each gets its own audio source in OBS. Now you can:
- Adjust levels independently for each source in real time
- Mute any source without stopping recording
- Export each track separately if you need light editing later
- Recreate the exact same setup next episode without fiddling
We're aiming for repeatable. That's confidence. That's "Small, repeatable wins turn scary red lights into green lights." (And I've seen it happen dozens of times, once the host knows the setup worked last week, they stop white-knuckling the mic.)
Do I Need to Understand Complex Routing to Use VAC?
No. I won't lie, there are deep, complex uses for VAC that involve intricate multi-app workflows. But for a podcast in OBS, the core concept is dead simple:
- Open VAC software. Tell it which apps feed into which cables.
- Open OBS. Tell it to listen to the output of those cables.
- Hit record.
That's it. You're not managing compression chains, building auxiliary buses, or debugging driver conflicts. You're just saying, "Hey OBS, here's where the Zoom audio is," and OBS says, "Got it."
The confusion usually comes from thinking you need audio engineering theory. You don't. You need a checklist. A process. A way to do it the same way twice. That's all this is.
How Do I Set Up VAC with OBS in Practice?
Here's a concrete example: you're recording a co-host call on Zoom, with your voice and the guest's voice on separate tracks, plus music underneath.
Step 1: Install VAC and Create Cables
Download a VAC solution (there are free and paid options; most let you create 3-5 virtual cables). Name them clearly: "Zoom," "My Mic," "Music," "Alerts."
Step 2: Route Zoom into a Cable
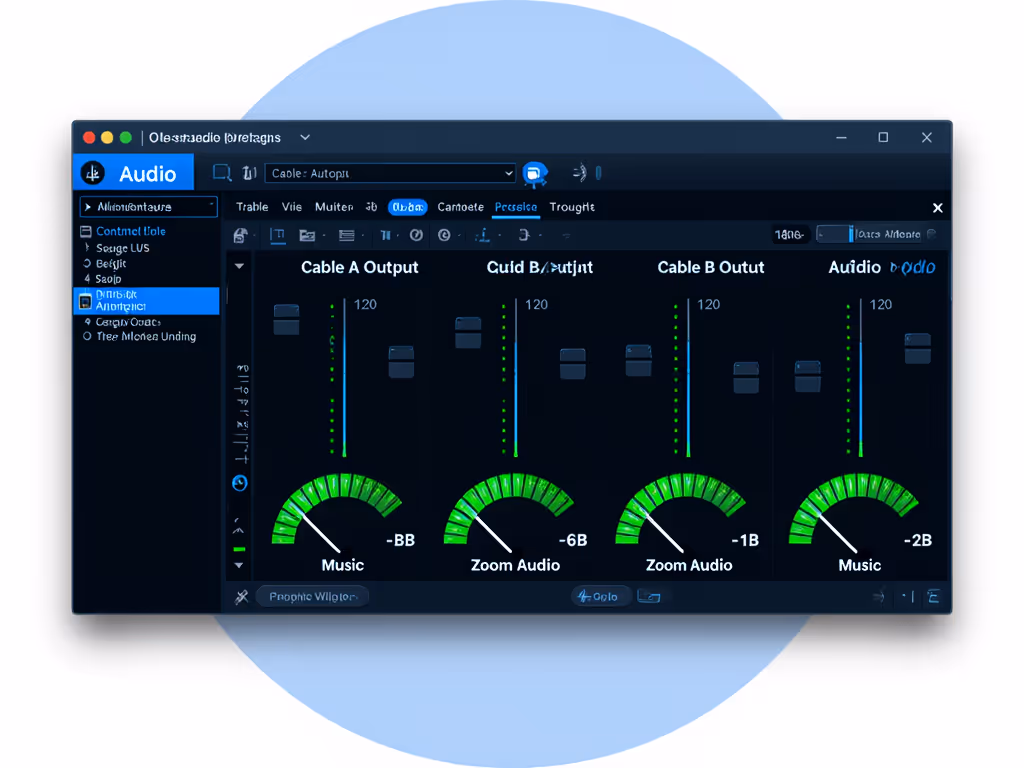
Open Zoom. Go to Settings > Audio. Set the speaker output to "Cable A (Zoom)." Now every sound from Zoom flows into Cable A inside your computer.
Step 3: Tell OBS to Listen to That Cable
In OBS, add an Audio Input Device source. Choose "Cable A Output" (the output is the data OBS grabs). Label it "Zoom Audio." OBS is now recording whatever Zoom sends into that cable.
Step 4: Do the Same for Music
Route your music player or Spotify to Cable B. Add another Audio Input Device source in OBS listening to Cable B Output. Label it "Music."
Step 5: Keep Your Mic Simple
Your microphone likely connects directly to OBS already as an audio device or via your interface. OBS audio routing works fine for the source directly in front of you. Keep it there. Use your gain knob on your interface or USB mic to set a comfortable level (aim for peaks around -6 dB). Enable direct monitoring on your interface so you hear yourself in real time and can lock your fist-width distance confidently.
What Does "Output" vs "Input" Mean in VAC Setup?
This trips up a lot of people, and I get why.
- Output = where data leaves an app or device.
- Input = where data enters an app or device.
So if Zoom is set to output to "Cable A," it means Zoom is sending audio into Cable A. OBS then listens to Cable A's output (the data coming out of that cable, ready to be grabbed). In OBS, you pick "Cable A Output" as your source. OBS is inputting that audio. Same cable, different direction. Once you label your cables with names like "Zoom" and "Music," it stops feeling like jargon and starts feeling like you're just plugging things in, because you are.
Will This Help Me Isolate Audio So I Edit Less?
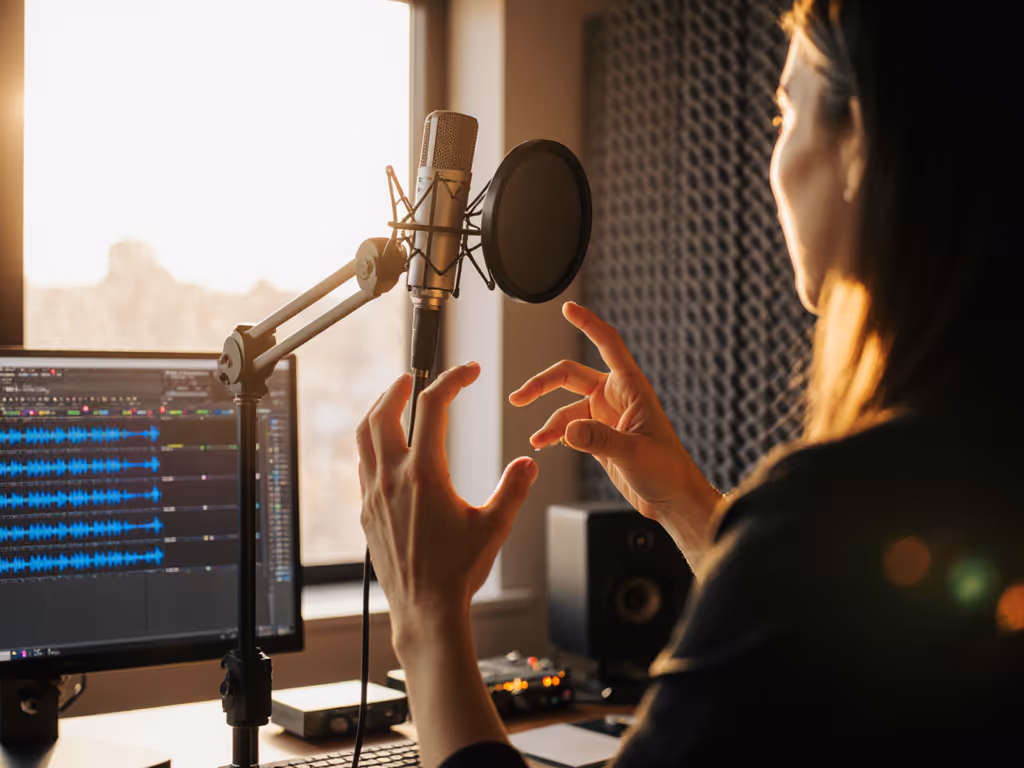
Yes. That's the whole point. Podcast audio isolation techniques using VAC mean each voice, each music bed, each sound effect lives on its own track. You export four separate audio files, or keep them as separate tracks in your DAW, and you're done. No mixing, no fiddling, no 10 takes to get the levels perfect.
When you edit later, you make tiny adjustments without re-recording. Zoom audio too quiet? Bump it up. Music too loud? Bring it down. But the raw recording was clean because each source was under your control in real time.
This is the mindset I believe in: record it right, and you're mostly done. Zero-post quality starts with a repeatable setup, not with editing wizardry.
How Do I Test That My VAC Setup Actually Works?
Before you go live or hit record on episode one:
-
Send a test signal. Play a song on Spotify, route it to Cable B, and in OBS, watch that Audio Input Device source. You should see green levels bouncing. No green? Check your output settings in Spotify.
-
Mute and unmute. In OBS, right-click your "Music" source, hit "Mute." The music disappears from your headphones. Unmute it, and it comes back. This confirms OBS is really controlling that source.
-
Do a 30-second test recording. Record to a file, not live. Play it back. Do you hear Zoom, music, and your mic all at appropriate levels? Yes? You're good. No? Troubleshoot one source at a time (don't try to fix everything at once). If you run into issues, follow our microphone troubleshooting checklist to isolate problems fast.
-
Write down your levels. Set your gain knob so your voice hits around -12 dB to -6 dB on the OBS meter. Keep music at -18 dB. Guest Zoom audio at -12 dB. These are starting points; adjust by ear, but consistency is key. Screenshot these settings. Write them down. Use them every episode.
We're aiming for repeatable. Once those levels work, they're your baseline.
Is VAC Necessary for a Beginner Podcast?
Not if you're recording solo. If it's just you and a USB mic, hitting record in OBS, and you're done, VAC adds complexity you don't need yet.
VAC shines when:
- You have a co-host or regular guest.
- You want music or intro sounds separate from voices.
- You're streaming and want to monitor different sources at different levels.
- You're handing off your setup to a non-technical co-host and don't want them fiddling with cables.
If you're solo and simple, master your room choice, your pop filter angle, your direct monitoring, and your repeatable setup first. VAC can come later when you scale.
But if you're already juggling multiple sources and your editing is eating up hours? VAC is the quickest win I know to keep your audio clean and your workflow fast. If you also stream to YouTube and Twitch simultaneously, use our cross-platform audio setup to map VAC routes cleanly.
Your Next Steps: Actionable Checklist
Here's how to move forward:
-
Assess your current setup. Are you recording solo, or do you have multiple audio sources (co-host, music, guests)? If solo, focus on mic placement and direct monitoring first. To reduce echo and tighten clarity before adding VAC, apply our room acoustics tips. VAC comes later.
-
If you have multiple sources: Download a VAC solution (search "VB-Audio Cable" or your operating system's equivalent). Spend 20 minutes routing one source (say, just your music) to a cable and into OBS. Get that working before adding a second source.
-
Create a reference shot list. Write down: "Cable A = Zoom. Cable B = Music. Cable C = Alerts. In OBS: Source 1 listens to Cable A output. Source 2 listens to Cable B output. Source 3 listens to Cable C output." Pin it next to your monitor.
-
Do a full test run. Run a mock episode. Record everything. Play it back. Are all sources isolated? Can you adjust each one in real time? If yes, do it exactly the same way next week.
-
If it feels wrong, slow down. VAC isn't magic; it's organization. One source at a time. Test. Adjust. Test again.
The goal is streaming audio separation that requires zero thought because you've done it before and it worked before. That's when the red light stops being scary. That's when a new co-host can sit down, and you know the setup will catch their voice clean. That's repeatability. That's confidence. That's where the story breathes.
Related Articles