Quiet CPAP Recording: Podcast Noise Solutions That Work
By Nora Adeyemi • 1st Jan
If you're recording a podcast while using a CPAP machine, you've probably struggled with CPAP machine noise reduction and that frustrating medical equipment audio interference that creeps into your raw tracks. That constant low-frequency hum that makes your "zero-post" audio anything but clean. As someone who's guided dozens of first-time hosts through their recording journeys (including several managing sleep apnea), I know how discouraging it can be when your medical equipment clashes with your creative work. But here's the good news: you can capture clean audio without expensive soundproofing or complex editing. We're aiming for repeatable success with straightforward techniques I've seen work consistently.
Why does my CPAP machine create such noticeable hum in my podcast recordings?
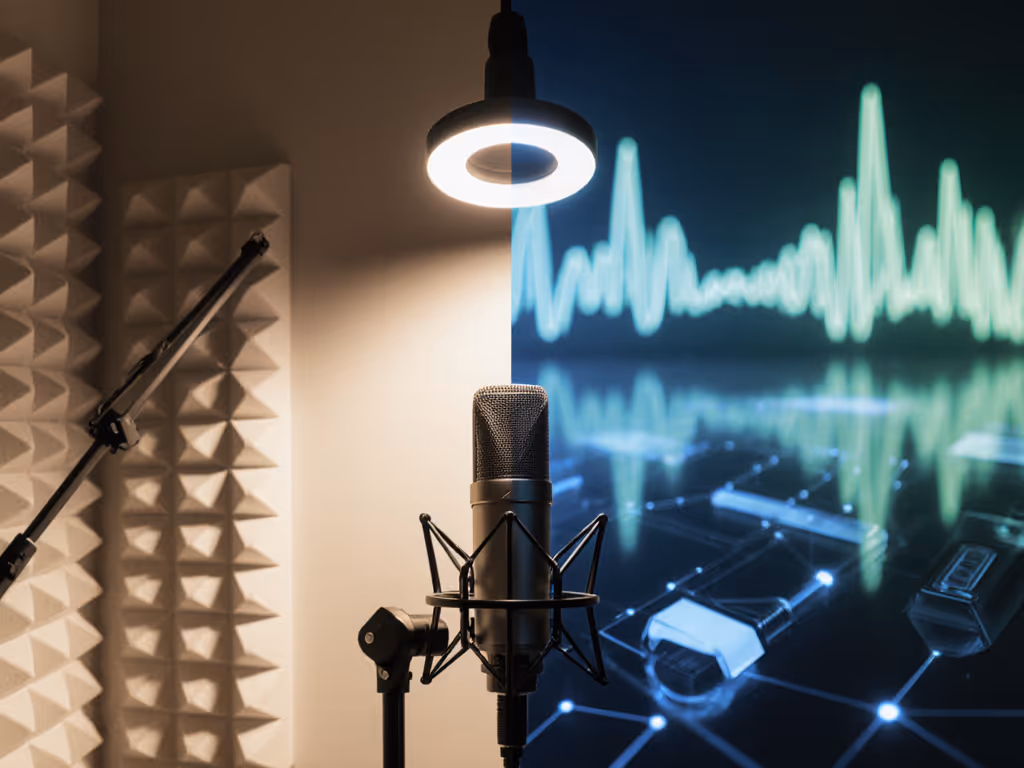
This low-frequency hum (typically 25-30 dB) lives right in the sweet spot where many microphones are most sensitive. Unlike random background noise, CPAP machines produce a consistent, low-frequency vibration that easily travels through surfaces and air. That is why constant hum removal in post-production often sounds unnatural, because it removes frequencies your voice partially occupies too. The solution starts with physical separation and smart mic positioning rather than hoping noise reduction plugins will save you later. For step-by-step placement techniques, see our microphone positioning guide.
Can I really record clean audio while using a CPAP machine?
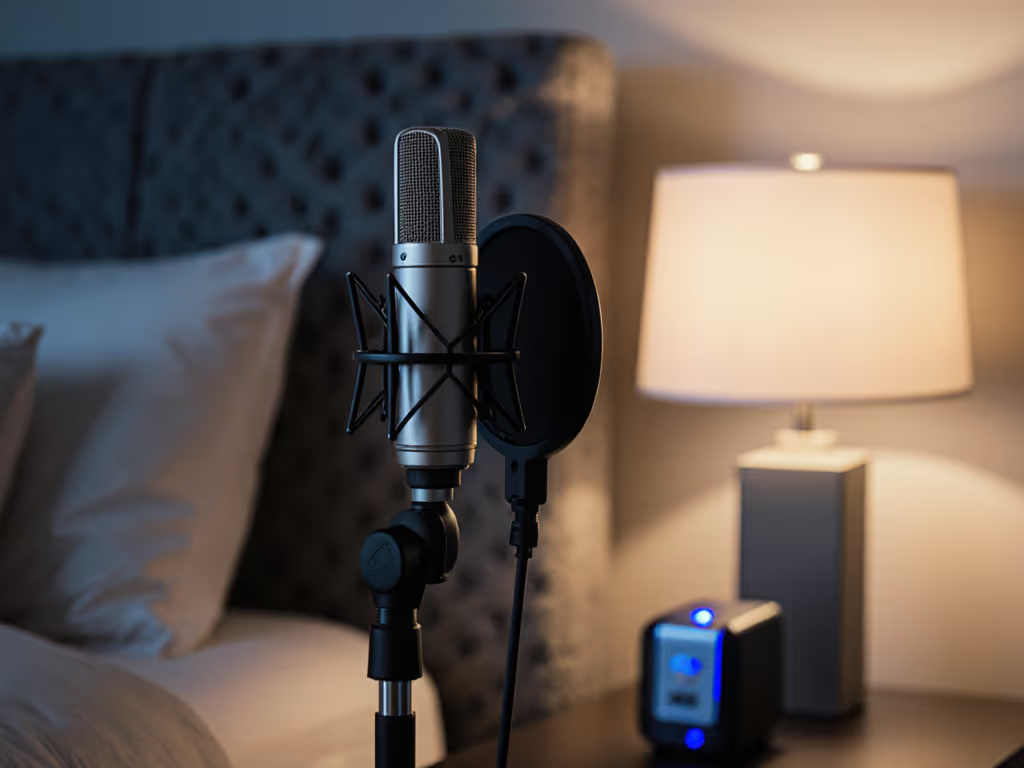
Absolutely. Many successful podcasters manage sleep apnea while creating professional content. The key isn't eliminating the CPAP sound entirely (which is often impossible), but preventing your microphone from picking it up in the first place. When I worked with a guest host who worried her CPAP would ruin recordings, we implemented three simple changes: raised her recording gain just enough to minimize needed amplification later, positioned her cardioid mic away from the machine, and placed the CPAP unit on a foam pad under her desk. Her next episode required zero noise reduction, just light EQ. Small, repeatable wins turn scary red lights into green.
What's the most important mic technique adjustment for CPAP users?
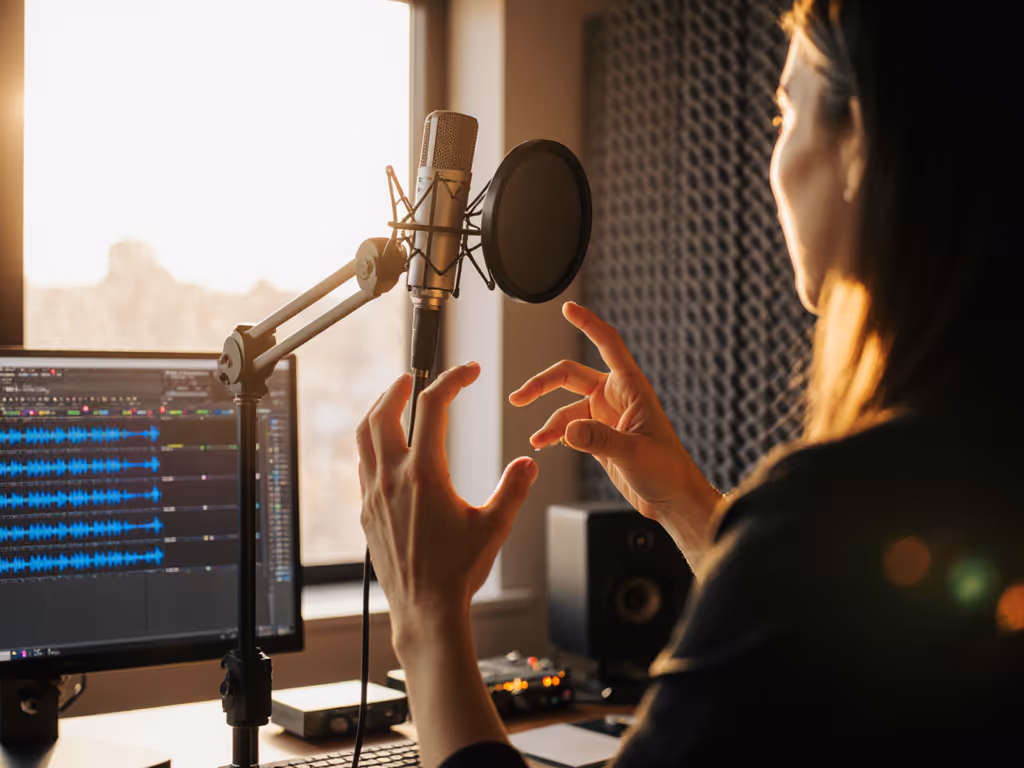
Positioning is everything. Start with your microphone facing away from the CPAP unit, since cardioid mics pick up sound primarily from the front while rejecting noise from the sides and rear. Create a physical barrier between your mic and the machine using books, pillows, or even a strategically placed blanket. Maintain consistent fist-width distance from your mouth to the mic (about 6-8 inches), which helps maintain consistent vocal levels while keeping you farther from background noise sources. An angled pop filter between you and the machine creates an additional sound barrier that reduces low-frequency vibrations without affecting your voice quality.
Which microphone types handle CPAP noise best for podcasting?
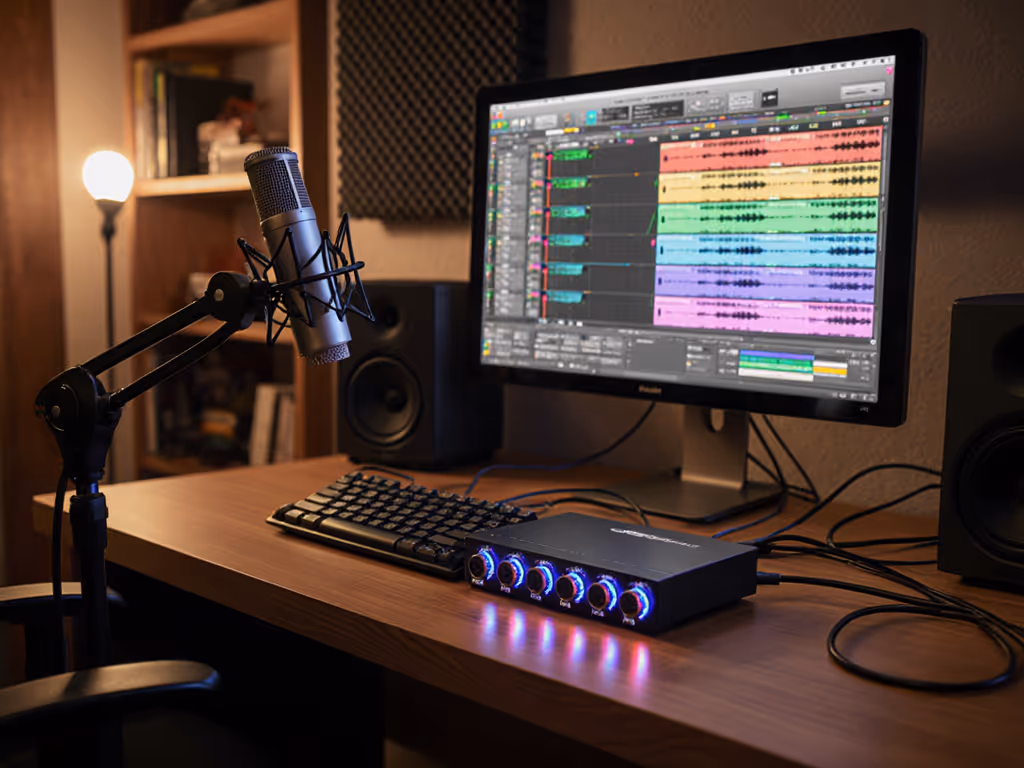
For beginners, USB dynamic mics (like the RØDE PodMic) often work better than condensers for CPAP users because they're less sensitive to background noise and handle proximity effect well. Learn the trade-offs in our dynamic vs condenser guide. The dynamic element naturally rejects more off-axis sound, including that low-frequency hum. If you're using a condenser mic like the Audio-Technica AT2020, ensure it's in cardioid mode and point the rejection zone toward your CPAP machine. Many new USB mics now include direct monitoring with zero-latency headphone output and physical gain knob controls, essential features that let you hear and adjust your levels in real time without relying on software processing that might miss CPAP interference.
How do I set up my recording space to minimize CPAP interference?
Your room choice matters more than fancy gear. Record in the smallest, softest-furnished room available, not a large, echoey bedroom, but a walk-in closet with clothes or a home office with curtains and rugs. For more room treatment tactics, see our room acoustics guide. Place your CPAP machine as far from your recording position as possible, ideally under your desk rather than on it. Use vibration isolation by setting the machine on a foam pad or dense fabric (but never on carpet, which restricts airflow). One client placed her machine on a thick yoga mat inside a small storage bin, which dramatically reduced transmitted vibrations while keeping it properly ventilated. Focus on creating distance first, then use soft surfaces to absorb rather than reflect the sound waves.
What's the simplest gain and monitoring setup that works?
Set your gain knob just high enough that your voice registers cleanly between -12dB and -6dB on your recording meter, with the CPAP running during setup. Dial in perfect levels with our podcast gain staging guide. This "set it and forget it" approach prevents you from cranking gain too high, which would amplify that CPAP hum. Enable direct monitoring on your interface or USB mic so you hear yourself without latency while recording, and you'll instantly notice when background noise creeps in. I recommend doing a 30-second test recording with your CPAP running at normal therapy pressure before each session. Listen back through headphones for any hum or vibration that might not be obvious while recording. This simple ritual creates confidence in your setup before you begin speaking.
How can I create a truly repeatable setup for consistent recordings?
Document your winning configuration with photos or notes. Mark where your mic stands, where the CPAP sits, and your seating position. A consistent repeatable setup means you spend zero time troubleshooting and maximum time creating. I've seen hosts use painter's tape to mark mic positions on their desk and the floor. This visual reference ensures they return to the same spot every time. For sleep apnea podcasting, consistency is your greatest ally. When your positioning and environment stay the same, that CPAP hum becomes predictable and manageable rather than disruptive.
We're aiming for repeatable success, not perfect silence, but clean enough audio that lets your content shine without hours of editing.
Your Actionable Next Step
Tonight, before bed, set up your recording space exactly as you would for a podcast. Run your CPAP at normal settings and record a 60-second test clip with your usual mic. Listen back critically: where does the hum appear most prominently? Tomorrow, apply just one adjustment from this article: reposition your mic away from the machine, add a vibration pad, or adjust your gain settings, and test again. Small, intentional changes build confidence faster than overhauling everything at once. When you find what works, lock it in with visual markers and notes so you can replicate that repeatable setup every single time.
Confidence in your recording process starts with knowing your setup reliably captures your voice, not the hum of your medical equipment. You've got this.
Related Articles