Professional Podcast Mic Setup for Live Audience Integration
By Nora Adeyemi • 19th Jan
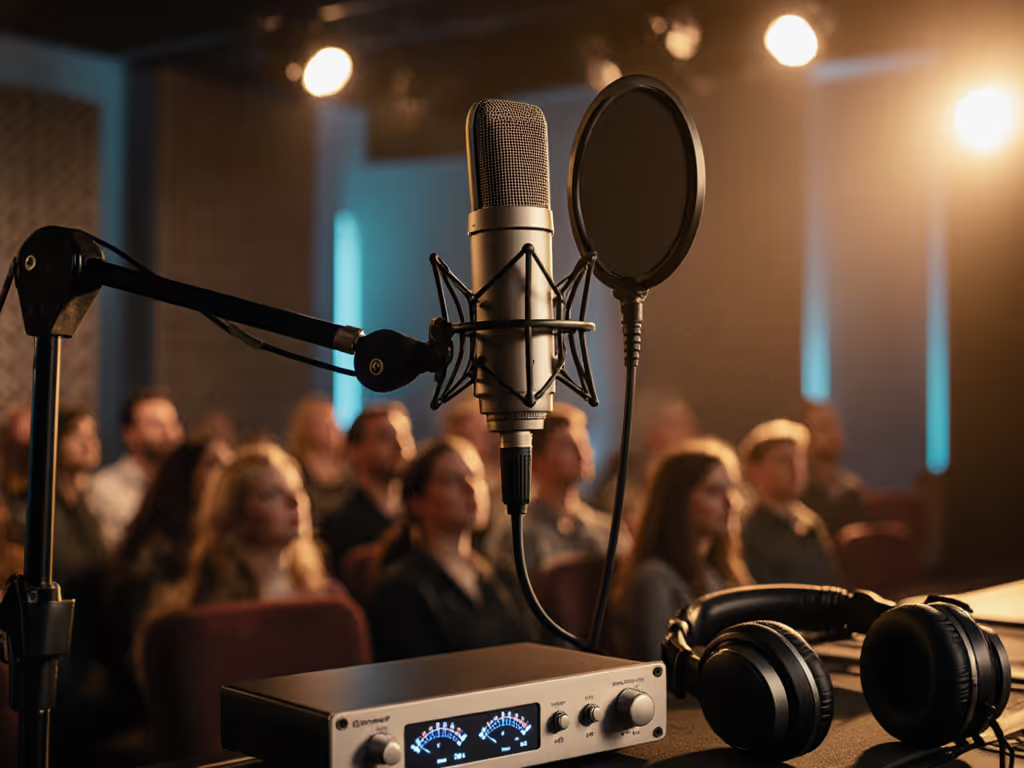
Your professional podcast microphone setup isn't about fancy specs, it's your anchor when live audience energy meets imperfect rooms. I've watched first-time hosts panic as crowd laughter overwhelmed mics, leaving echoey recordings where stories drowned in noise. But here's the truth: confidence starts with a repeatable setup that sounds good without editing wizardry. When you lock your technique, small, repeatable wins turn scary red lights into green. Let's build that foundation for seamless audience participation audio (no post-production tricks required).
Why Your Room is Your First Microphone (and How to Tame It)
Before touching any gear, address your space. Most beginners fixate on mic models while ignoring how room acoustics sabotage even the best podcast equipment. That hollow echo under audience questions? It's bouncing off bare walls, not your mic's fault. I've seen hosts clutch $300 mics in echo chambers, then wonder why their live Q&A setup sounds like a stadium announcement.
Here's your bare-minimum room fix list (zero budget, maximum impact):
- Strategic softening: Drape a thick blanket behind your chair (absorbs rear reflections)
- Floor focus: Stand on a small rug if hardwood floors dominate
- Corner command: Place your chair away from corners (where bass booms)
- HVAC hush: Turn off fans/AC during recording, it's louder than audience rustling
Your microphone hears everything in your room. Treat surfaces, not just the air.
This isn't about "studio perfection." It's about making your voice cut through background chatter. I witnessed a host move her chair 3 feet from a glass window, and suddenly her audience's questions landed cleanly (no extra gear). Start here, always.
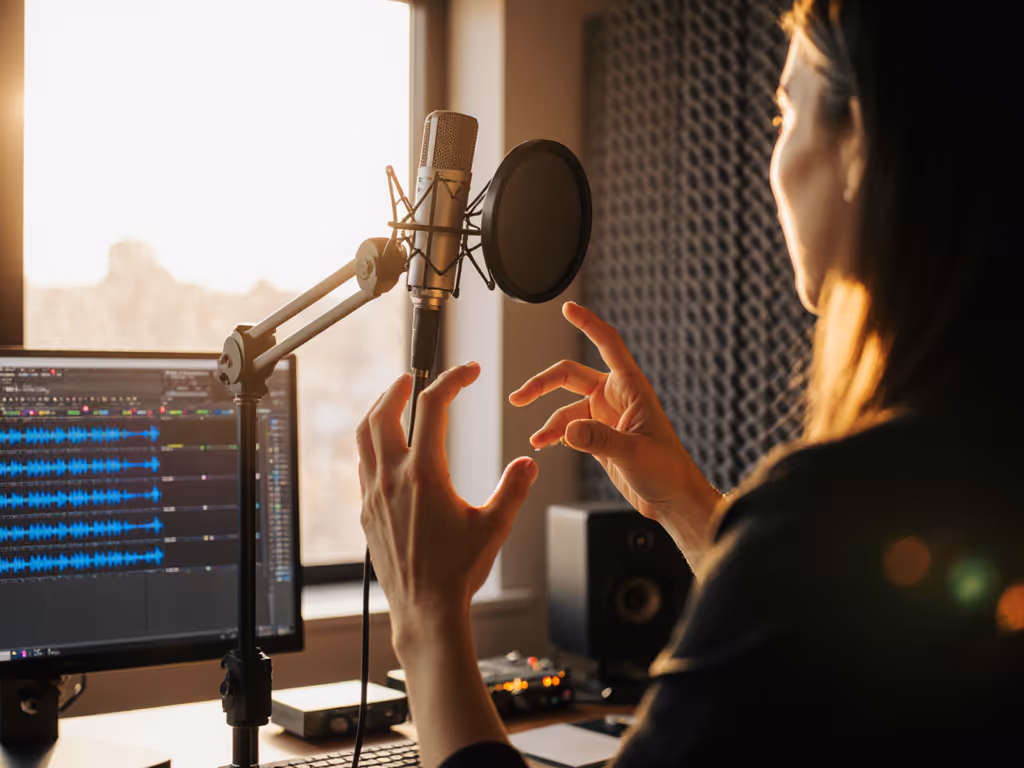
The Solo Host's Repeatable Mic Technique (Fist-Width Confidence)
Forget "ideal" distances from glossy guides. Real rooms demand real-world hacks. Your professional podcast microphone only works when you work consistently with it. That's why I drill these three steps with every new host until they're muscle memory:
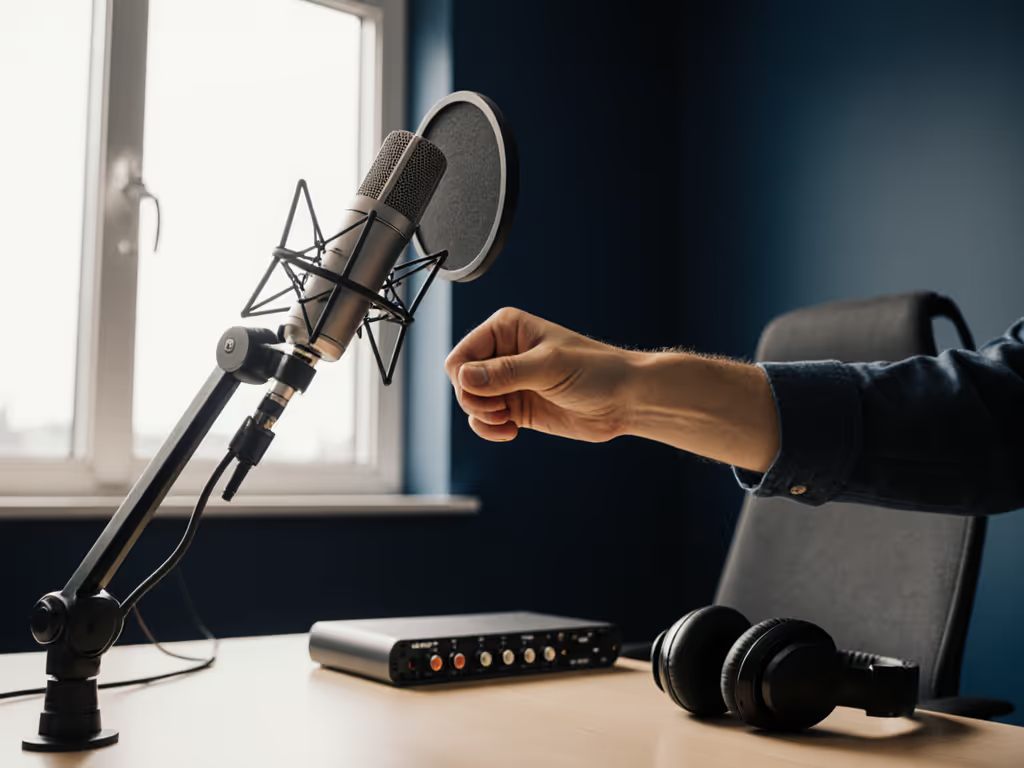
- Fist-width distance: Make a loose fist. Place your knuckles against your chin. That's your mic-to-mouth gap. Consistency beats "perfect" measurement.
- Pop filter placement: Position it 2-3 inches from the mic at a 45-degree tilt. Never straight on, it blocks airflow that causes plosives like "p" and "b" sounds.
- Off-axis secret: Angle the mic slightly below your mouth (not directly at it). Your voice projects downward naturally. This dodges harsh consonants while maintaining warmth.
Why this works: Most dynamic mics (like the Audio-Technica ATR2100x) have cardioid patterns that reject sounds behind them. Off-axis placement uses that rejection to minimize room noise without heavy processing. For a step-by-step walkthrough of angles, distances, and plosive control, see our microphone positioning guide. Test it: Record yourself laughing at full volume. If those peaks stay below -6dB, you've nailed it.
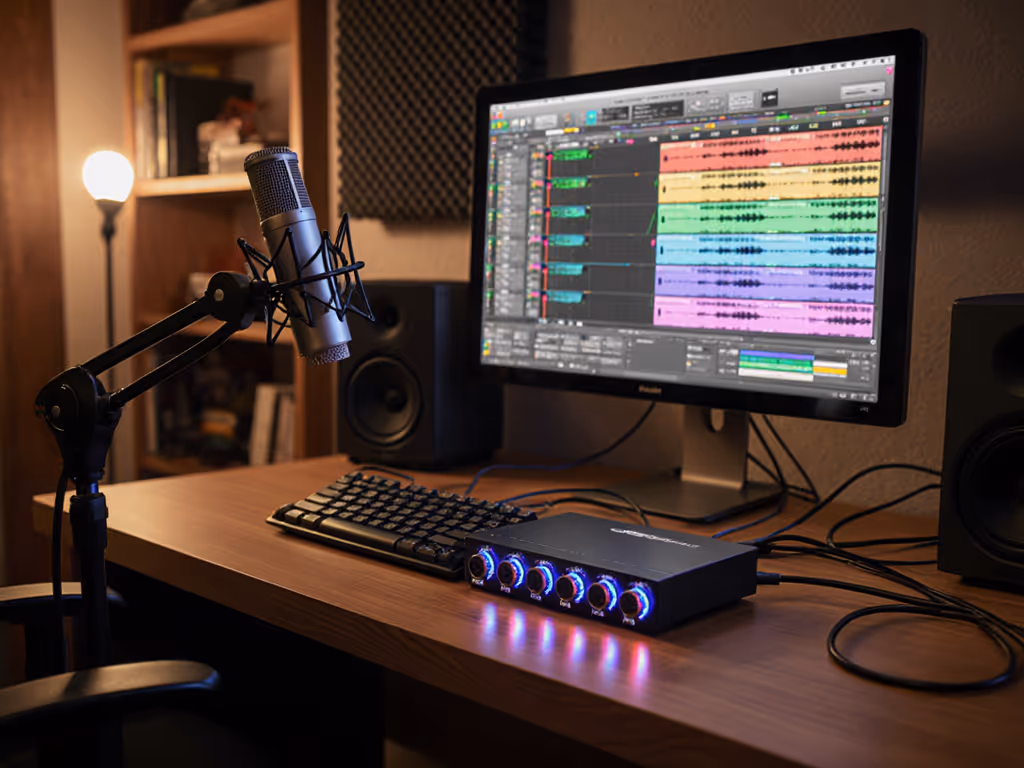
Direct Monitoring: Your Live Audience Lifeline
Here's where remote guest integration often fails: latency. USB mics with built-in direct monitoring (like the Samson Q2U) let you hear yourself instantly through headphones, not through software processing that lags. Without this, you'll constantly adjust volume mid-sentence, creating uneven levels during audience Q&As.
Do this now:
- Plug headphones into your mic's dedicated jack (not your computer)
- Set the gain knob so your loudest laugh hits -12dB in recording software
- Toggle the direct monitor mix knob until you hear 70% your voice, 30% ambient room sound
This tiny adjustment prevents that frantic "am I live?" panic when taking questions. If levels still jump around, follow our gain staging guide to set perfect headroom for live sessions. One host I mentored kept lowering her gain mid-interview because software monitoring delayed her voice. Enabling direct monitoring let her trust her volume, and suddenly she could listen to audience questions instead of worrying about peaking.
Integrating Live Audience Participation (Without Echo Chaos)
Audience participation audio is the landmine of live podcasting. Crowd mics picking up room echo? That's your room setup failing, not theirs. Here's how to keep audience questions clean when your space fights back:
For Solo Hosts with Handheld Crowd Mics
- Mic positioning: Have the audience member hold the mic below their chin (not cupped like a microphone stand). This uses natural off-axis rejection to minimize room noise.
- Gain staging rule: Set crowd mic gain 3-4dB lower than your vocal mic. Audience voices are naturally louder than narration.
- The 10-second test: Before starting, record 10 seconds of ambient room noise. If crowd mic picks up your computer fan, reposition it away from reflective surfaces.
For Pre-Recorded Remote Guests (Your Secret Weapon)
Skipping Skype calls for remote guest integration? Smart. Instead, send guests a simple checklist:
- "Fist-width ready" guide: Photo showing mic distance from chin
- No background noise rule: "Close windows, silence phones, record in a closet if needed"
- Gain test: "Record yourself saying 'Testing one two' the peaks should stay green in your recording app"
This standardizes audio quality better than any $200 audio interface. I've had guests submit cleaner tracks from their phone's voice memo app (using these rules) than others using expensive XLR mics. Consistency beats cost.
Why USB Microphones Win for Live Audience Work
Let's address the elephant in the room: You don't need XLR for pro-sounding audience participation audio. In fact, jumping straight to XLR chains often hurts your live workflow. Here's why USB mics dominate for beginners in messy rooms: For a deeper breakdown of trade-offs, read our XLR vs USB microphones comparison.
| Feature | USB Mic Advantage | XLR Pain Point |
|---|---|---|
| Direct Monitoring | Built-in zero-latency headphone jack | Requires audio interface + driver checks |
| Gain Control | Physical knob for instant adjustments | Software sliders prone to accidental changes |
| Room Noise | Dynamic capsules reject background chatter | Condenser mics amplify every HVAC whisper |
| Setup Speed | 30 seconds to "record-ready" | Phantom power, cable routing, interface settings |
That Samson Q2U I mentioned? It handled 12-hour live streams for a comedy podcast, audience questions, abrupt mic passes, even accidental bumps. When the host's gain knob lived at 12 o'clock and the pop filter was tilted, zero takes needed noise reduction. Green lights, not perfect waves (that's the mantra).
Your Action Plan: From Panic to Podcast Authority
Stop chasing "perfect" audio. Start building repeatable setup muscle memory. Tonight, do one thing:
- Measure your fist-width distance from a loose fist to your chin
- Set your gain knob so your loudest laugh stays below -6dB
- Enable direct monitoring and practice answering mock audience questions
Do this 3 times. Notice how your shoulders relax when the levels stay clean? That's the confidence you're buying, not just a microphone. Small, repeatable wins stack into broadcast-ready audio, even when your room fights back.
Your microphone doesn't need to be expensive. It needs to be yours, locked into a routine that works when the audience lights turn on.
The next time someone shouts a question from the back row, you won't flinch. You'll lean into that fist-width gap, hear your clear voice in your headphones, and answer like the pro you've become. No editing. No panic. Just professional podcast microphone work, done once, right.
Your next step: Open your recording software now. Calibrate your gain knob using today's laugh test. Save those settings as "Live Audience Ready." You've earned this confidence.
Related Articles