Podcast Mic Tweaks Without Voiding Warranty
By Nora Adeyemi • 22nd Jan
You don't need to solder circuit boards or crack open your podcast microphone to enjoy the benefits of thoughtful microphone customization. For most beginners working in imperfect spaces, the smartest DIY mic modifications happen around the mic (not inside it). Let me show you how to boost your sound with non-destructive modifications that keep your warranty intact while delivering the zero-post results you need. After guiding dozens of first-time hosts through their anxiety-inducing first recordings, I've learned that small, repeatable wins turn scary red lights into green.
Why Should I Avoid Internal Mic Modifications?
Opening your microphone immediately voids the warranty and risks damaging delicate components. Most entry-level hosts don't realize that the caps and coils inside their $100-$300 mics aren't designed for DIY swapping. I once watched a nervous new host disassemble a mic searching for "better sound," only to create a persistent hum by misaligning the capsule. Instead of risky internal tweaks, focus on mic mod safety through positioning, room choice, and subtle external adjustments that require no tools.
What Are the Safest Non-Destructive Modifications I Can Try Today?
Start with these three warranty-friendly tweaks that work for any USB or XLR setup:
-
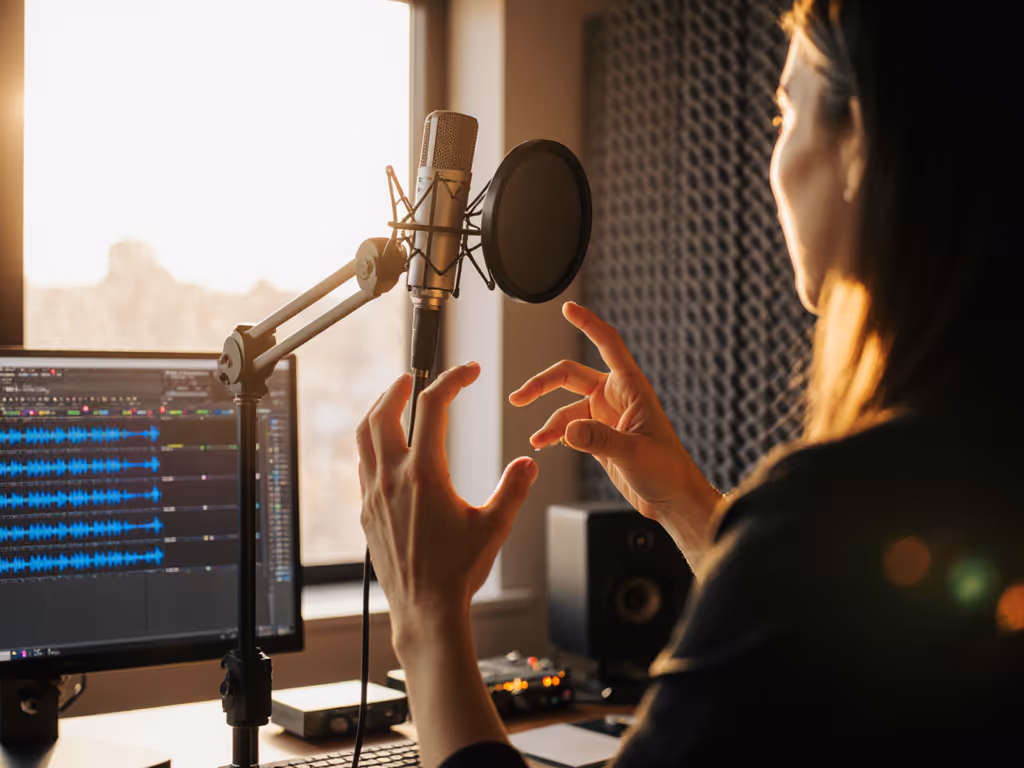
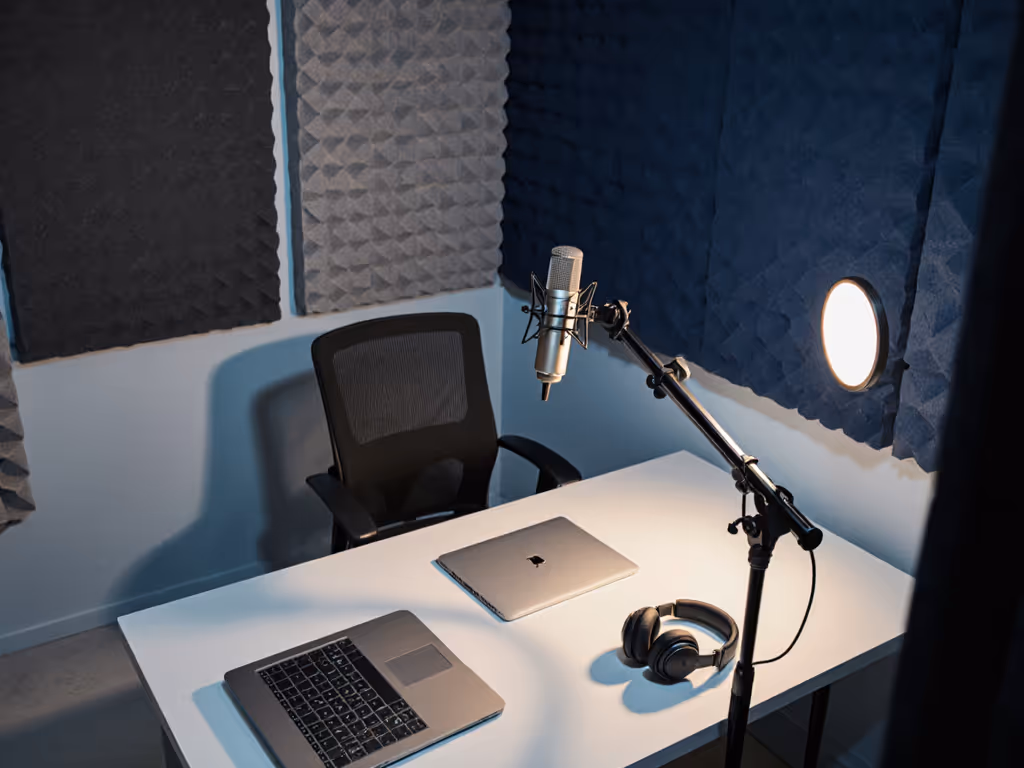
Master the fist-width distance technique: Hold your fist vertically in front of your mouth, then place your mic where your thumb touches your chin. This creates consistent 4-6 inch spacing that prevents plosives while capturing rich vocal tone. No more clutching the mic like an ice cream cone!
-
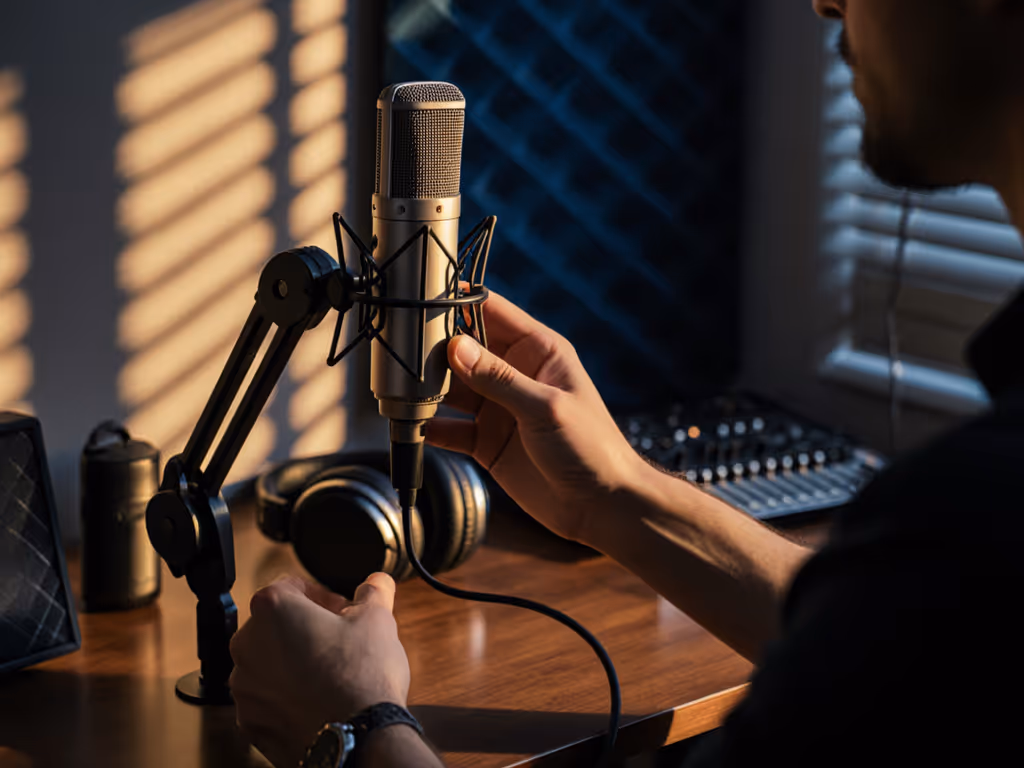
Angle slightly off-axis: Position your mic 15-30 degrees off-center from your mouth (not directly in front). This simple repositioning dramatically reduces harsh "p" and "b" sounds better than any pop filter alone. Rooms with hard surfaces especially benefit from this trick.
-
Lock your gain knob at 50%: Before hitting record, set your gain to the middle position. Test with your normal speaking volume (adjust only if you see consistent clipping (red lights) or barely visible waveforms). Many beginners crank gain too high, amplifying room noise instead of their voice.
How Do I Customize for Noisy or Untreated Rooms?
Your room choice matters more than exotic mic mods. Try these audio enhancement hacks:
-
The blanket fortress: Drape moving blankets or heavy curtains behind and beside you (a temporary barrier that eats reflections without permanent treatment). Works wonders in bedrooms and home offices. For deeper tips on taming echo, see our room acoustics guide.
-
Desk isolation: Place your mic stand on a folded yoga mat or mouse pad. This simple vibration damper eliminates keyboard thumps that travel through your desk.
-
Background noise buffer: Position yourself with your back to noisy windows or HVAC vents. Your mic's rear rejection (even on basic cardioid patterns) will naturally block more sound than front-facing.
Remember: Green lights, not perfect waves. Your goal is clean audio that requires minimal editing (not studio perfection in a bedroom).
Can I Improve Sound Without Buying New Gear?
Absolutely. Before spending on upgrades, try these free adjustments:
-
Enable direct monitoring on your USB mic or interface. This eliminates latency that causes hosts to speak louder (and distort). For software-specific fixes, try our DAW mic optimization guide. You'll hear yourself in real-time, allowing natural pacing without straining.
-
Test three positions: Record 10 seconds at each location: 1) centered directly in front of mouth, 2) fist-width distance, off-axis, 3) slightly higher with mic angled downward. Listen back to identify which works best with your voice in your room.
-
Use household pop filters: Stretch pantyhose over an embroidery hoop or bend a wire coat hanger into a circle, then cover with nylon. The key is creating a barrier 2-3 inches from the mic capsule (not right against it).
What Common "Upgrades" Actually Harm My Sound?
Many well-intentioned mods backfire in real-world recording spaces:
-
Over-tightening shock mounts: This transfers more vibration rather than less. Hand-tighten only until snug, never crank with tools.
-
Stacking windscreens and pop filters: Creates muffling and proximity-effect exaggeration. Choose one solution: pop filter for plosives, foam windscreen only for extremely close-miking.
-
Turning gain up to max: Amplifies room noise and internal mic hiss. Most beginners record with gain 20-30% too high. If your waveform barely moves at 50% gain, you likely need a different mic (not more amplification).
How Do I Test Changes Without Wasting Recording Time?
Create a 60-second sound check routine:
- Say "Level check" at normal volume
- Read a sentence with hard plosives ("Peter Piper picked a peck...")
- Laugh naturally
- Pause for 5 seconds of room tone
Listen specifically for:
- Consistent volume (no sudden peaks)
- Clear consonants without distortion
- Minimal background noise during silent pauses
This repeatable setup takes 2 minutes but saves hours of editing. If your levels stay in the green during laughter and plosives, you've nailed it.
What Should I Never Modify to Keep My Warranty?
Safeguard your investment by avoiding:
- Opening the mic housing or removing grilles
- Replacing internal components (capsules, transformers)
- Applying liquids or sprays near electronics
- Using adhesives that could damage finishes
These seemingly minor actions typically void warranties instantly. When in doubt, contact the manufacturer (many offer free firmware updates that improve performance more than risky DIY hacks).
What's Your Actionable First Step?
Tonight, implement this 5-minute mic tune-up:
- Position your mic at fist-width distance, slightly off-axis
- Set gain knob to 50% and test with your normal speaking volume
- Enable direct monitoring (if available)
- Record a 30-second test while reading aloud
- Listen back for consistent volume and clean plosives
If you see green recording lights without constant clipping, you've built the repeatable setup that forms the foundation of confidence. No soldering required, just intentional placement and settings that work with your voice and room. Small, repeatable wins like these are why I tell new hosts: Focus on green lights, not perfect waves. Your story deserves to breathe without technical distractions.
Related Articles