How Diaphragm Size Shapes Your Podcast Audio
By Nora Adeyemi • 8th Apr
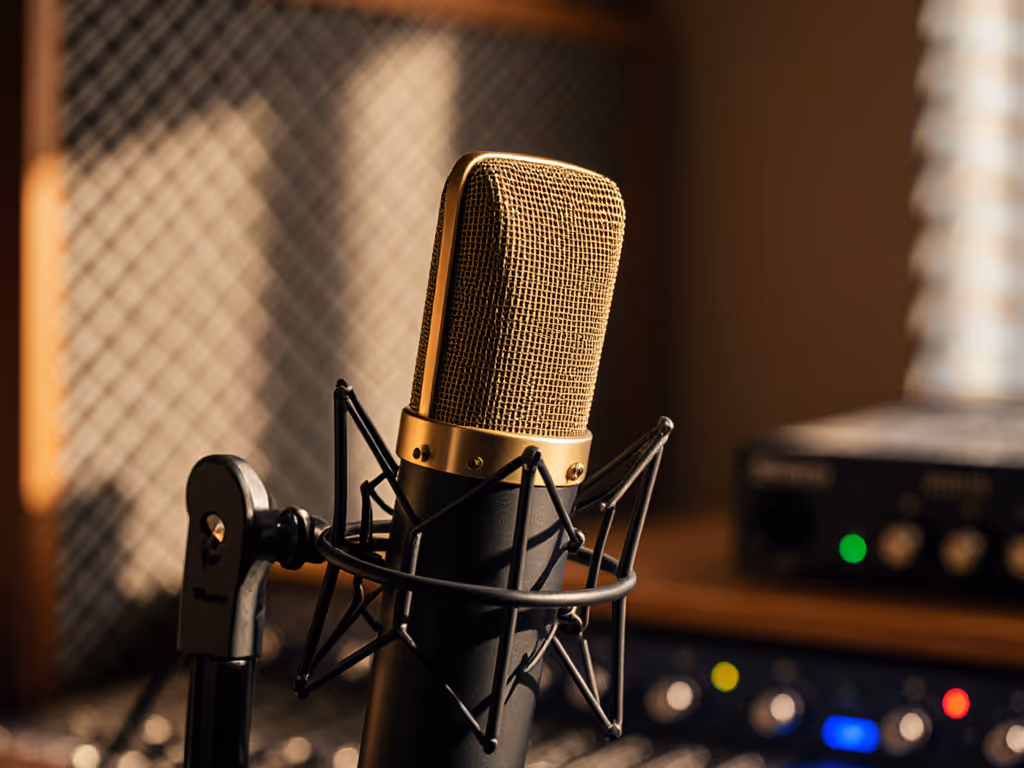
When you're starting a podcast from your spare bedroom, the choice between microphone diaphragm size (specifically, LDC vs SDC podcasting setups) can feel like jargon overload. But here's the truth: understanding whether you need a large-diaphragm condenser (LDC) or small-diaphragm condenser (SDC) is actually the fastest way to stop sounding thin and echoey and start sounding like someone people want to listen to. The diaphragm is the thin membrane inside your mic that vibrates to capture sound, and its size directly shapes whether your voice sounds intimate and authoritative or thin and fatiguing. We're aiming for repeatable setups that sound good without editing wizardry.
Why Diaphragm Size Matters More Than You Think
Let's start with the physics that most creators skip. Large-diaphragm condensers typically have diaphragms measuring 1 inch or larger (around 25 mm), while small-diaphragm condensers fall under 1 inch, usually around ½ inch (12-15 mm). This seemingly small difference ripples through everything: how loud your signal is, how much room noise gets picked up, and whether your voice sounds "larger than life" or clinically accurate. If your space is untreated, see our room acoustics guide for fast, practical fixes that reduce echo before it hits the mic.
When I watched a first-time host clutch a mic like an ice cream cone, peaking on every laugh, we didn't blame her technique first, we fixed the mic choice. An LDC's larger diaphragm generates a stronger signal voltage, which means the mic picks up your voice cleanly without requiring you to push a gain knob to dangerous levels. That higher signal sits well above the noise floor of your interface, so you're not also amplifying hiss from your computer fan or HVAC system.
Small, repeatable wins turn scary red lights into green.
The Signal-to-Noise Reality: Why Beginners Often Choose LDC
Here's what matters for your room: large diaphragm condensers produce less self-noise (that is, internal hiss from the microphone itself) because the stronger signal they generate means the amplifier noise stays proportionally quieter underneath it. In an untreated bedroom, that advantage is real.
Yes, small-diaphragm condensers do offer advantages. They excel at capturing transient detail and extended high-frequency information, making them ideal for recording cymbals or acoustic instruments with exceptional accuracy. Their lower mass also means faster impulse response, so they capture sharp sounds without blurring. But podcasting isn't playing cymbals; you're capturing speech, and unless you're recording in a pristine, treated studio, a small diaphragm's theoretical neutrality can actually work against you.
Small-diaphragm mics pick up every detail of your room, the hum, the reflections, the coffee slurp three feet away, because they're less directional off-axis. For your first rig in an imperfect space, that's a liability, not a virtue.
Frequency Response and the "Bigger Than Life" Vocal Sound
Large-diaphragm condensers tend to roll off slightly in the highest frequencies off-axis, while their on-axis response (the sound source you're pointing the mic at directly) delivers warmth and depth. This isn't a flaw; this is why LDCs have become the standard for vocals in podcasting and radio. That uneven directivity over frequency is what produces the characterful, lush sound that makes listeners feel like you're speaking directly to them.
Small-diaphragm condensers, by contrast, offer a flatter, more neutral response, they capture sound as it is without adding color or warmth. That's perfect for overhead drum kits in a studio. For a solo host in a home office, it means your voice sounds analytical rather than intimate, and any nasal or sibilant edge in your articulation gets highlighted rather than smoothed.
Diaphragm Size and Room Rejection
One of the least-discussed factors: diaphragm size affects how directional a mic is, especially at higher frequencies. For a deeper dive on pickup patterns and off-axis behavior, read our polar patterns explained guide. Large-diaphragm condensers become more directional at higher frequencies, so side-arriving room reflections get rejected more effectively. Smaller diaphragms have less phase shift across their surface, meaning they pick up high frequencies more evenly from all directions (great for capturing every detail of a concert hall, problematic when that "detail" is the echo from your kitchen behind you).
In a room with untreated walls, an LDC naturally rejects more off-axis noise. Combined with proper mic placement (fist-width distance from your mouth and angled slightly off-axis), you can achieve surprisingly clean zero-post tracks without room treatment or aggressive noise reduction in post.
How to Choose for Your Setup
Step 1: Identify Your Recording Environment
Ask yourself: Is your room treated, or are you working in a bedroom, home office, or shared space? If you have bare walls, hard floors, and no acoustic panels, you need better off-axis rejection. That points to LDC.
Step 2: Evaluate Your Voice and Mic Technique
Some voices are naturally proximity-heavy or sibilant. An LDC's warmth masks these tendencies; an SDC amplifies them. If you've never recorded before, don't add the variable of a neutral mic that requires perfect technique to sound good. LDC is the forgiving choice.
Step 3: Prioritize Direct Monitoring
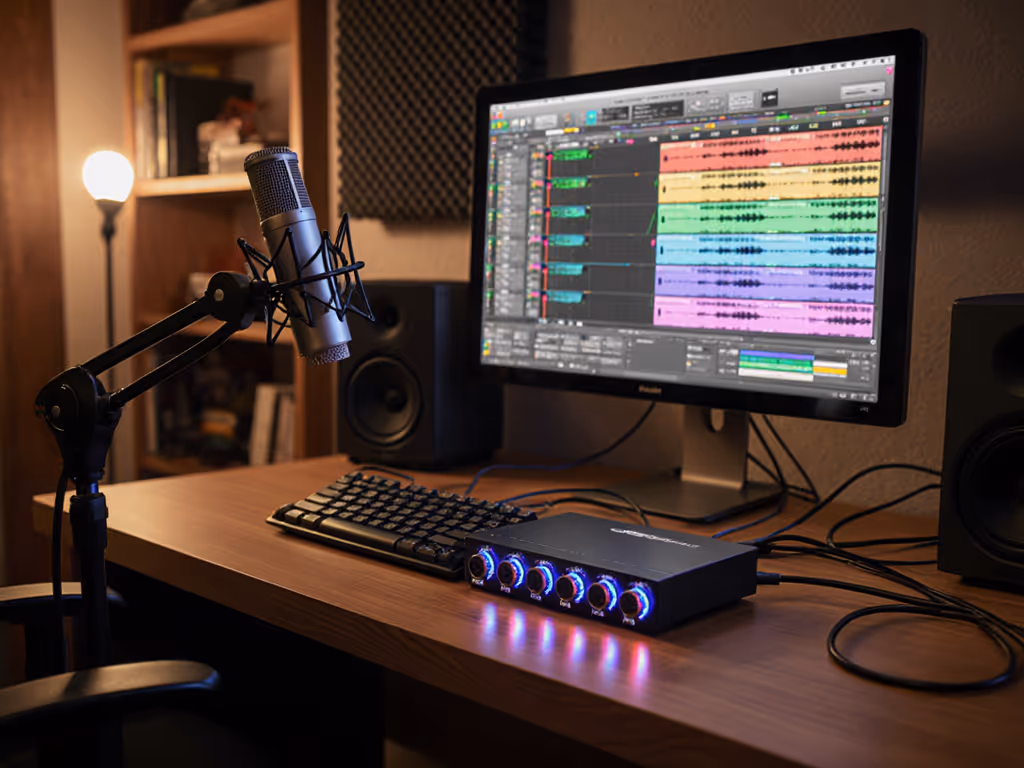
Regardless of LDC or SDC, make sure your USB mic or interface supports direct monitoring (the ability to hear yourself in real time without latency). This is how you lock fist-width distance and stay consistent throughout your session. Many SDCs require an external interface, adding cost and complexity for beginners. Not sure which path fits your workflow? Compare XLR vs USB microphones before you buy.
Step 4: Set Your Gain Knob Correctly
With an LDC's stronger output, you can achieve clean audio at a reasonable gain setting on your interface, leaving headroom for peaks and avoiding hiss from over-amplification. Aim for peaks at around -6 dB to -3 dB on your level meter, never slamming the red. Our podcast mic gain staging guide walks you through setting levels without clipping.
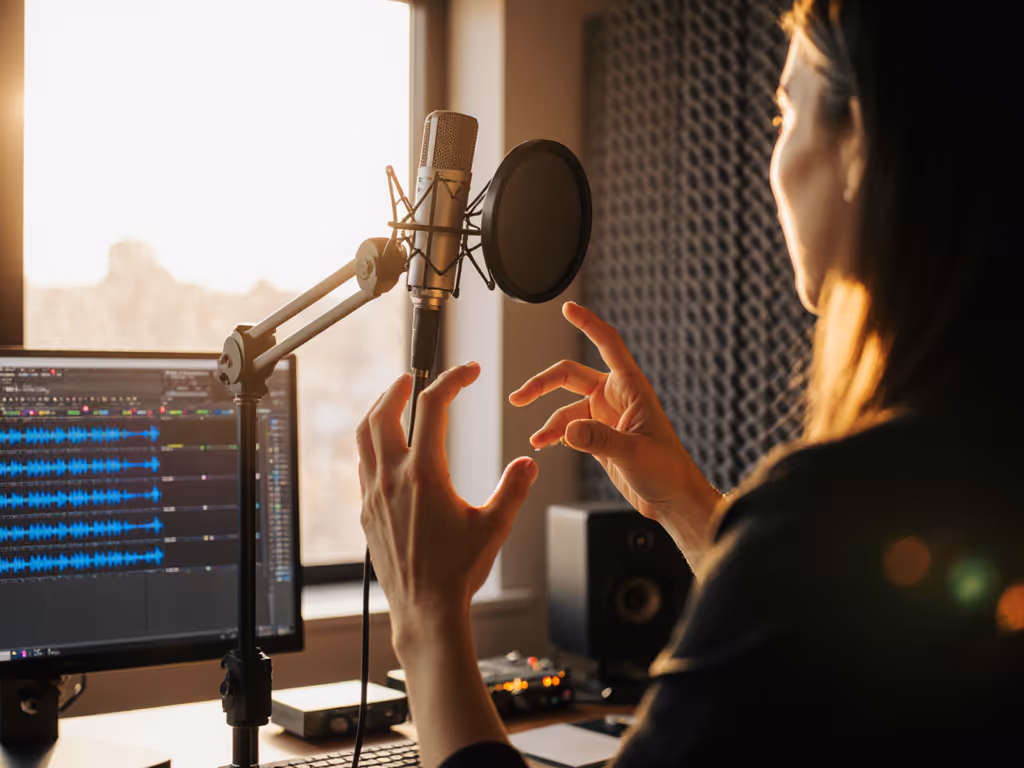
Step 5: Add Basic Technique
Place a pop filter 2-3 inches in front of the mic, at a slight angle. Position the mic off-axis (slightly to one side of your mouth, not directly in front) to reduce plosives further. Lock your distance: make a fist, place it between your mouth and the mic, that is your repeatable setup. Write it down. Your co-hosts and future self will thank you. For step-by-step visuals, see our mic positioning guide to fix plosives and sibilance fast.
When to Consider Small-Diaphragm Condensers
SDCs shine if you're recording in a treated studio with multiple sound sources (live instruments, drum overheads, string sections) or if you're a two-host setup and want extreme off-axis rejection to isolate each speaker. They're also excellent if your room is acoustically dead and your voice needs help sounding natural rather than controlled.
But for your first rig, especially solo, working from a typical home space? LDC wins on every practical measure: easier gain staging, built-in warmth that forgives imperfect rooms, better self-noise performance, and a pickup pattern that naturally reduces room coloration.
The Bottom Line: Repeatable Setup Over Gear Churn
Diaphragm size isn't an abstract specification; it's the foundation of whether your first take sounds professional or whether you're fighting your mic all season. A large-diaphragm condenser with a pop filter, proper distance, direct monitoring enabled, and a gain knob set to leave headroom is a repeatable setup that turns a scary red light into green without requiring a second bedroom as a dead room.
Small, repeatable wins turn scary red lights into green.
Your Next Step
If you're choosing your first podcast mic, test an LDC in your actual recording space, not in a demo video filmed in a professional studio. Listen to the off-axis sound by speaking slightly to the side of the mic; listen to the self-noise by recording silence; listen to the proximity effect by moving closer and farther. Those three tests will tell you far more than specs ever will. Then, lock your fist-width distance, set your gain knob, enable direct monitoring, and record your first episode. Document your settings, that repeatable setup is your starting point, not your ceiling.
Related Articles