DAW Microphone Compatibility: Optimize Your Podcast Recording
By Jakob Steiner • 10th Dec
Let's cut through the noise: DAW microphone compatibility isn't about magical software-hardware pairings. It is about understanding how your microphone chain interacts with your recording environment. Too many podcasters blame their podcast recorder software when the real issue is improper gain staging or mismatched transducers. I've watched creators waste weeks chasing mythical "perfect DAW-mic combos" while ignoring fundamental acoustic physics. The truth? Your DAW is just a container, and your microphone chain determines whether you'll spend hours editing or hit export.
Why Most "DAW Compatibility" Advice is Meaningless
Here's the uncomfortable reality: nearly all DAWs record clean audio when properly configured. The problem isn't Pro Tools microphone setup quirks or Audacity audio configuration mysteries. It's that cheap interfaces clip quietly, untreated rooms muddy proximity effect, and mics with poor off-axis rejection capture everything except your voice. I once spent three days troubleshooting a client's "incompatible" SM7B in Reaper (turns out their Focusrite's preamp headroom was maxed, capturing HVAC noise instead of the host's voice). We moved chairs, tightened patterns, and added gobos. Suddenly, their sponsor reads snapped into focus. Capture clean, commit early, because no DAW setting fixes fatal signal chain flaws.
Preamp Headroom: Your First Line of Defense
The critical metric nobody discusses? Available clean gain before distortion. Many XLR mics (like the ubiquitous SM7B) require 60dB+ of clean gain. Budget interfaces often deliver 40-50dB with rising noise floor. Result? You're forced to choose between:
- Clipping on vocal peaks (unfixable distortion)
- Excessive gain amplifying room noise (requires destructive noise reduction)
- Lean vocal tone from staying safely below threshold (losing presence region)
Test your chain's practical limits: record a loud passage at -18dB peak, then increase gain until distortion appears. That's your true working headroom. If it's under 6dB, you need different hardware (not DAW tweaks). The MV7+ and certain Rode USB mics solve this by building quality preamps directly into the microphone, but they sacrifice flexibility for multi-host setups.
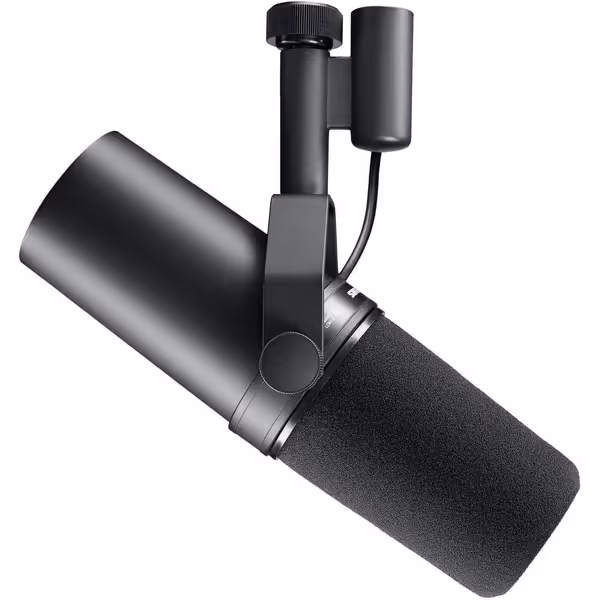
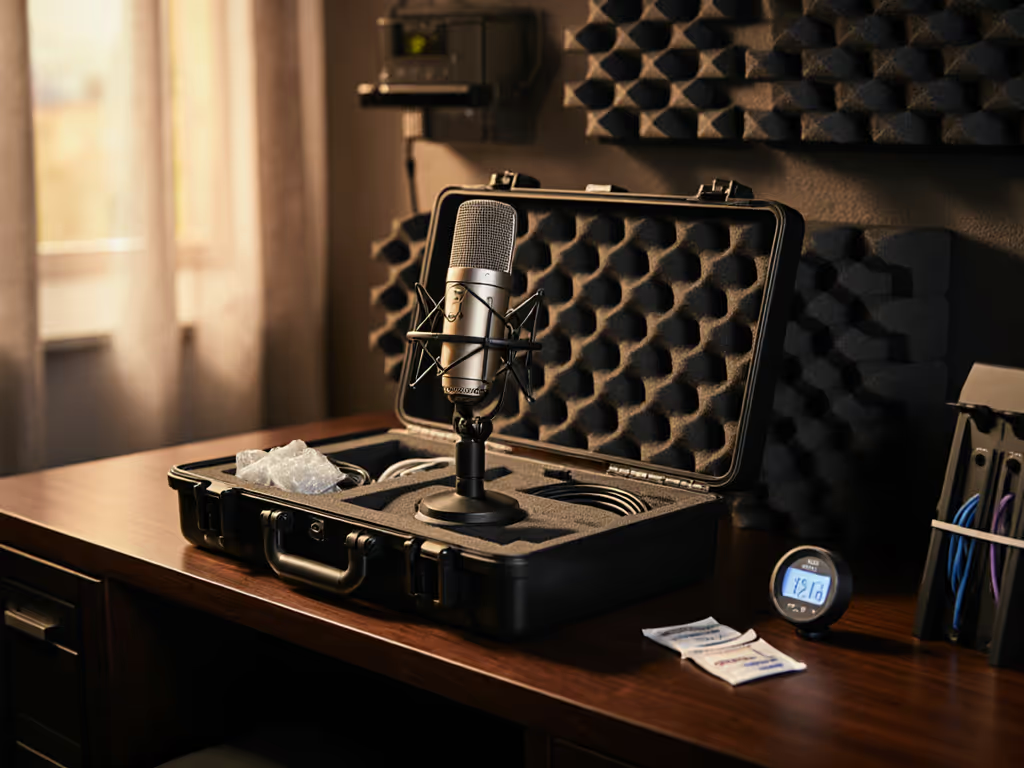
Shure SM7B Microphone
Achieve broadcast-quality vocals with superior noise rejection, even in untreated rooms.
$439
ConnectivityXLR
ConnectivityXLR
Pros
Broadcast-quality sound; warm, natural speech reproduction.
Exceptional rejection of room noise, hum, and plosives.
Rugged build for long-lasting, reliable performance.
Cons
Requires significant gain; may need an inline preamp.
Customers find this microphone to be a solid mid-grade option that delivers crystal clear sound with added richness in the bass and handles different vocal ranges exceptionally well. They appreciate its build quality, with one customer noting its all-metal construction, and consider it well worth the money. The functionality and noise level receive mixed feedback - while some say it works great, others report it doesn't work at all, and while some find it very forgiving of background noise, others mention a loud hiss with the preamp activated. The gain level also gets mixed reviews, with some finding it sufficient while others say it needs quite a boost.
Customers find this microphone to be a solid mid-grade option that delivers crystal clear sound with added richness in the bass and handles different vocal ranges exceptionally well. They appreciate its build quality, with one customer noting its all-metal construction, and consider it well worth the money. The functionality and noise level receive mixed feedback - while some say it works great, others report it doesn't work at all, and while some find it very forgiving of background noise, others mention a loud hiss with the preamp activated. The gain level also gets mixed reviews, with some finding it sufficient while others say it needs quite a boost.
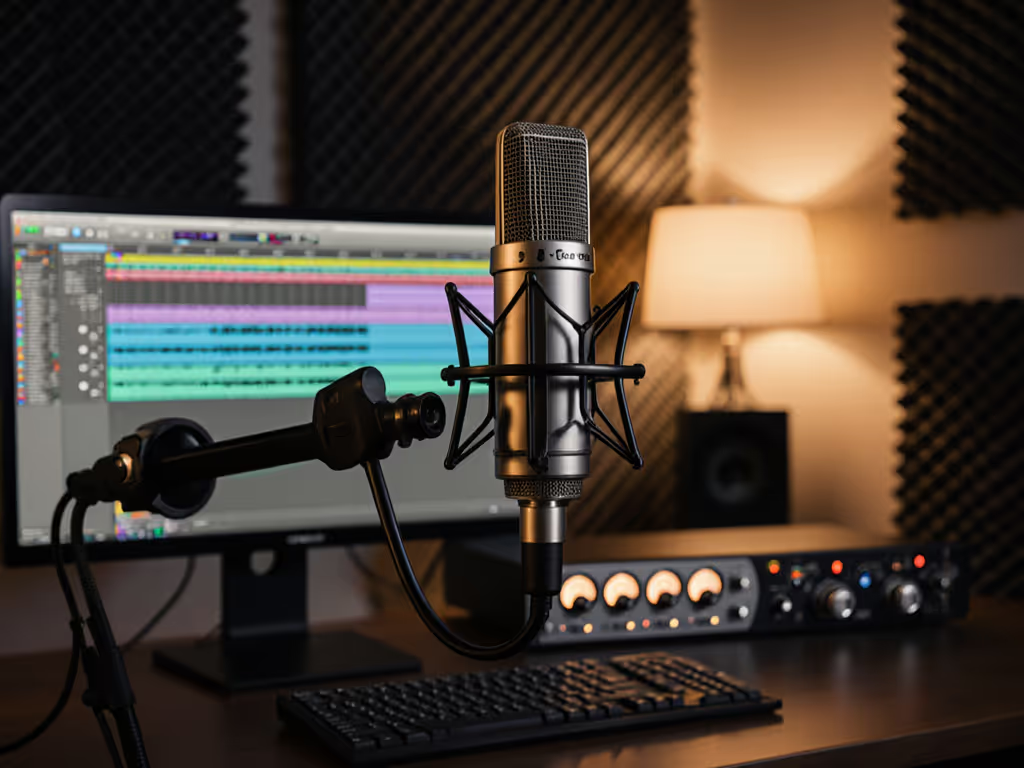
USB vs. XLR: The Real Compatibility Tradeoffs
Despite YouTube hype, USB mics aren't "simpler." They are different.
-
USB advantages: No interface headaches, consistent driver support, often include DSP for denoising
-
USB limitations: Fixed preamp quality, limited gain staging control, difficult to match multiple voices
-
XLR advantages: Match interfaces to specific needs (e.g., MVX2U's 60dB clean gain), flexible routing
-
XLR limitations: Requires proper chain discipline, interface driver compatibility issues
For untreated rooms, XLR with dynamic mics (like Rode PodMic or AT2040) paired with sufficient preamp headroom often outperforms USB condensers by 20dB in noise rejection. Not sure which connection suits your workflow? Compare XLR vs USB microphones for real-world podcasting tradeoffs. But if you're recording solo in a closet with budget constraints? The NT-USB+ with its ultra-low-noise preamp might be your optimal path to clean gain.
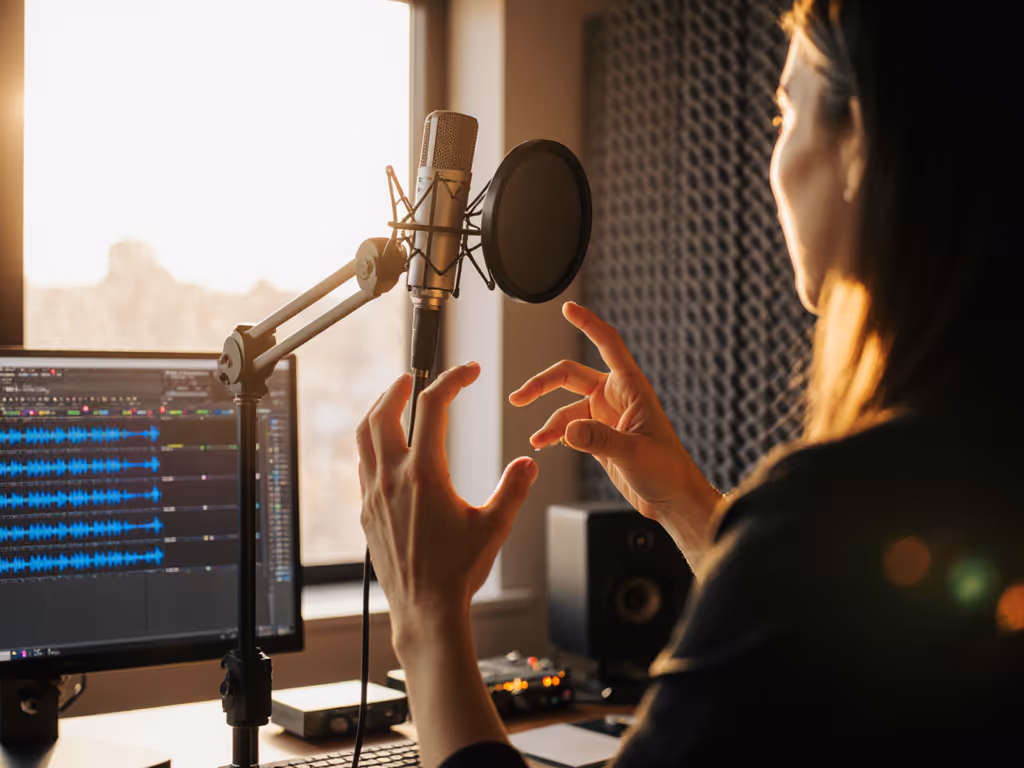
Polar Patterns: Your Room's Best Friend
Cardioid isn't universal gospel. Learn how microphone polar patterns affect rejection and tone in small rooms. In reflective rooms under 100 sq ft:
- Hypercardioid (AT2040) often captures less room tone than cardioid by rejecting side-wall reflections
- Supercardioid creates tighter presence region but requires precise placement
- Omnidirectional works surprisingly well in dead rooms when coupled with proper low-cut filtering
Test this: Record identical passages with your mic facing different room axes. Listen for proximity effect swell when moving slightly off-axis, and if tonality changes dramatically, your pattern isn't rejecting properly. Most "review demos" hide this by using perfect studio conditions. Real rooms demand real testing.
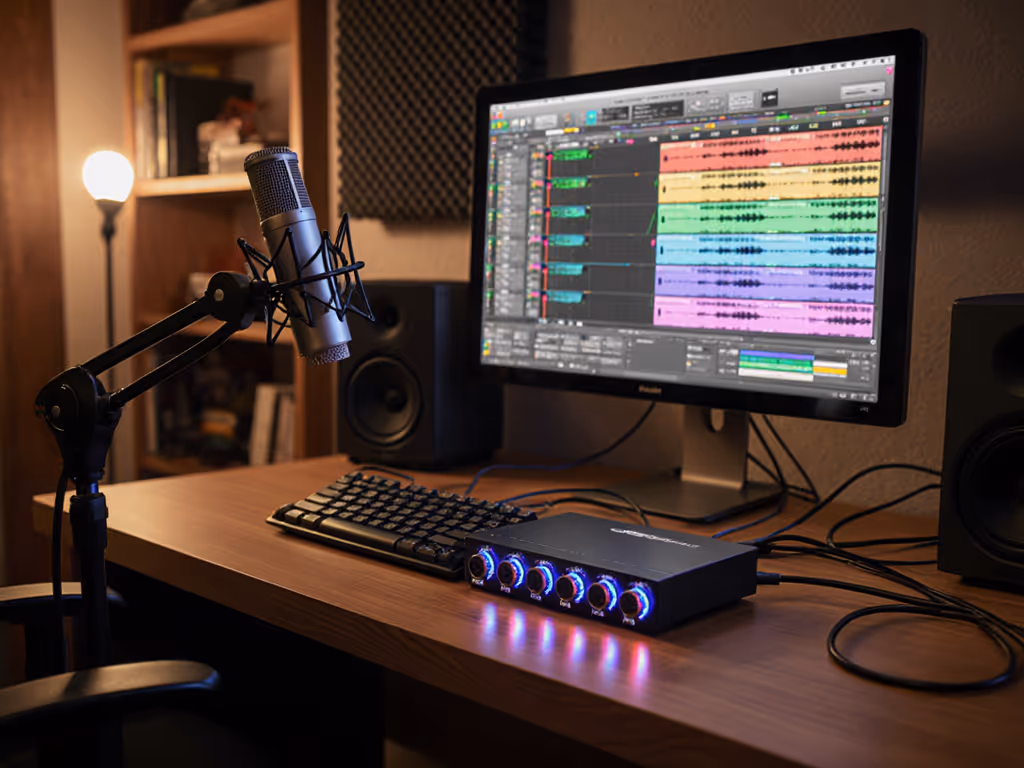
DAW-Specific Optimization: What Actually Matters
While your DAW doesn't determine compatibility, these settings impact clean capture:
- Buffer size: Set to 128 samples for recording (lower latency, higher CPU load)
- Input monitoring: Disable software monitoring when using interface direct monitoring
- Sample rate: 48kHz is optimal for voice, higher rates waste storage with no audible benefit
- Track metering: Set peaks at -12dB to -6dB for sufficient headroom
For DAW-specific microphone optimization, create a template with:
- Low-cut filter at 80Hz (reduces room rumble)
- 1.5:1 compressor with 3ms attack (controls peaks without squashing)
- No EQ (fix problems at source, not in post)
This isn't processing; it is creating safety nets for clean capture. Any DAW handles this basic chain.
The Chain Discipline Checklist
Before recording:
- Verify interface gain staging yields 4-6dB headroom on loudest passages
- Confirm microphone pattern matches your room's reflection points
- Set DAW input levels to prevent digital clipping
- Physically test off-axis rejection by tapping near the mic's rear
I've seen creators achieve broadcast quality with $150 USB mics by respecting these fundamentals. For step-by-step placement techniques, use our microphone positioning guide. One client used an ATR2500X-USB with Audacity, but meticulously positioned it 6" off-center from reflective surfaces and maintained consistent 6" distance. Their "unprocessed" tracks needed only -3dB gain staging in editing.
Stop Chasing Compatibility Ghosts
The "best" audio interface isn't defined by DAW compatibility; it is measured in available clean gain and noise floor performance for your specific microphone. Your room acoustics determine more about your final sound than Pro Tools vs. Reaper ever will. For practical fixes that matter more than software choice, see our room acoustics guide for podcasters. Stop hunting mythical software fixes for capture problems.
Capture clean, commit early, and keep sponsors breathing between words. Because no plug-in recovers clipped audio or removes fundamental frequency masking, but proper chain discipline prevents these fatal errors before they happen.
Your next step? Run the preamp headroom test described above. Document your mic's off-axis behavior in your actual recording space. Then return to your DAW with confidence that you're capturing fixable, not fatal, problems. The difference between assembly and surgery starts before you hit record.
Related Articles