Professional Podcast Mics for Reverent Recording
By Nora Adeyemi • 27th Feb
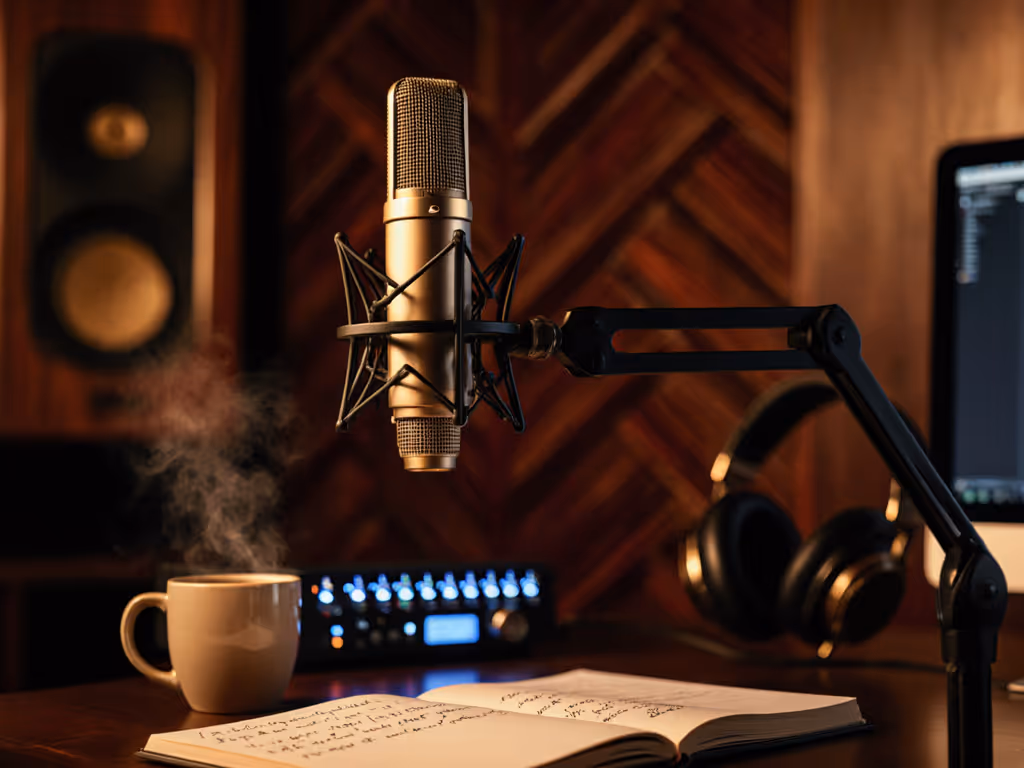
When you're capturing reverent voice (whether it's spiritual teaching, ceremonial readings, or intimate conversations about faith), the microphone becomes your bridge to authenticity. A professional podcast microphone suited to reverent content doesn't need to be forbidding or technically overwhelming; it needs to be reliable, to capture warmth without harshness, and to work in the real rooms where meaning lives.
The good news: the best mics for ceremonial audio capture sit at a sweet spot between beginner-friendly and studio-ready. Let me walk you through the comparisons and trade-offs, so you can choose with confidence.
What Makes a Microphone Right for Reverent Recording?
Reverent voice recording has specific demands. You need mics that isolate your voice from room tone (echoes and HVAC hum undermine intimacy). You need smooth, warm response curves that flatter spoken word without adding sibilance or nasality. And you need direct monitoring, so you can hear yourself cleanly in real time and adjust phrasing before the red light catches a mistake.
Dynamic microphones excel here. Unlike condensers, they naturally reject ambient noise and minimize the boom of proximity effect (that bass buildup that can muddy careful, reverent tones). They're also forgiving in untreated rooms, a fact confirmed by widespread use in broadcast and podcasting. For a deeper comparison of types in real rooms, see our Dynamic vs Condenser mics guide.
USB or XLR? Start Where You Are
If you're launching a ceremonial audio capture project today, a USB microphone with dual connectivity is your fastest path to zero-post, broadcast-ready takes. USB mics build in a preamp and audio interface; you plug in, set your gain knob, and go. XLR chains demand an external interface, but they scale (you can add a Cloudlifter later if you need more gain without hiss, upgrade your preamp, or add a second host).
The Samson Q2U sits at the heart of beginner recommendations and for good reason. At around $149 AUD, it offers both USB and XLR outputs, meaning you're not locked into USB forever. Its dynamic character naturally isolates voice and works well in untreated rooms (exactly what someone recording in a bedroom or small chapel needs). Its ability to reject background noise while capturing warmth is the kind of small, repeatable win that turns scary red lights into green.
For reverent voice recording, the Q2U's forgiving sound is an asset. It won't exaggerate sibilance or spit plosives; it sits back slightly, letting cadence and tone breathe.
When You're Ready to Invest: The Shure MV7+
If your reverent content is growing (multiple speakers, a team, or regular livestreams), the Shure MV7+ is the natural upgrade. It works in both USB and XLR, though XLR is where it shines, and it's the third most popular podcasting mic according to recent gear surveys. Like the Q2U, it offers flexibility: you can start USB, hand off to non-technical co-hosts, and later plug into a Vocaster or Audient interface for more control.
The MV7+ is known for consistency (the same smooth, vocal-forward character whether you're recording solo or with a guest). That consistency matters when you're weaving multiple voices into a cohesive spiritual narrative.
The Professional Frontier: Shure SM7B and Electro-Voice RE20
When you ask for the gold standard in professional podcast microphone technology, the Shure SM7B is unavoidable. Its ability to reject background noise is legendary, and its proximity effect (that bass warmth when you lean in) is actually an asset for intimate, reverent delivery. The tradeoff: the SM7B is "gain-hungry." It needs a powerful, clean preamp (an audio interface above $200, often plus a Cloudlifter or FetHead) to unlock its best sound. Budget for the whole chain, not just the mic.
The Electro-Voice RE20 is the alternative: professional-grade, smooth vocal response, minimal proximity effect. At around $799 AUD, it's an investment, but it works well in broader studio setups and multi-speaker liturgical recording.
Both demand XLR and an interface. Both are overkill if you're just starting. But if reverent content is your core craft and you're building a permanent rig, they're worth the thought.
Dynamic vs. Condenser: Why Dynamic Wins for Reverent Spaces
Condenser mics are sensitive and detailed, and they're prized for music and pristine environments. But in a bedroom, office, or small sanctuary with reflected sound, a condenser will pick up every room echo and HVAC rumble alongside your voice. Dynamics naturally carve out your voice and compress ambient noise; they're built for human speech in imperfect rooms.
For spiritual content audio, dynamic is almost always the right choice. You get clarity and warmth without the battle against room tone.
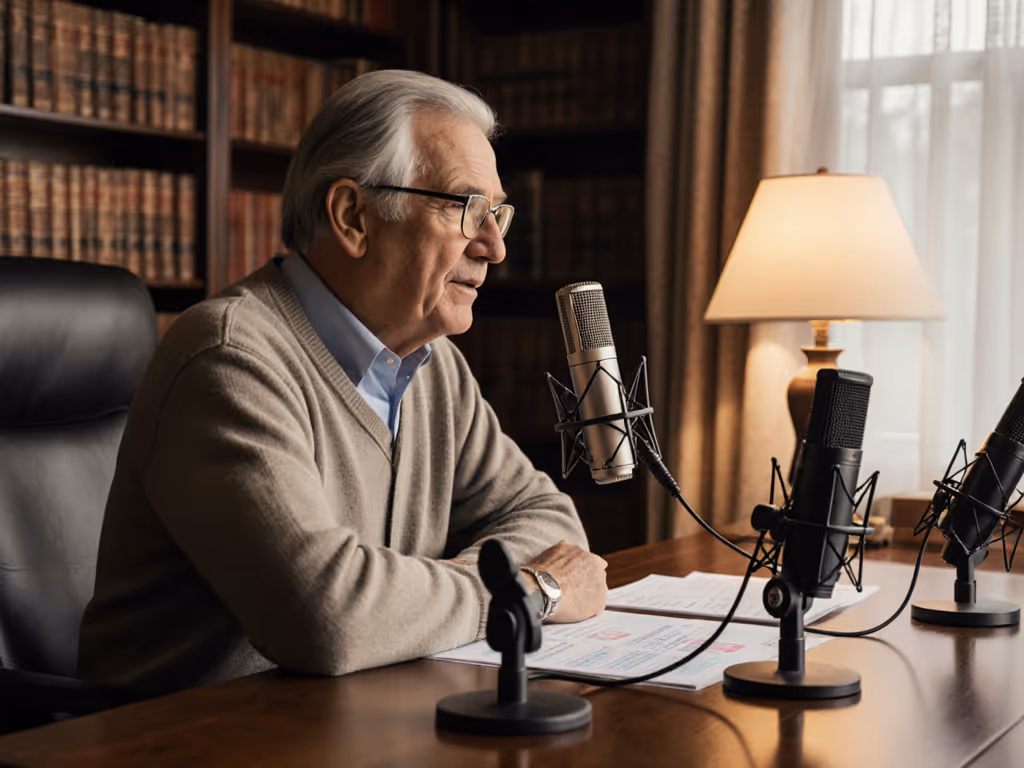
The Role of Room Choice and Mic Placement
No microphone erases a bad room, but smart placement and room choice minimize the damage. Position your mic off-axis (angled slightly away from you, not straight-on) to reduce plosive bursts and catch more of your voice's warmth. Lock your distance at a fist-width away; this prevents gain inconsistency and keeps your tone intimate without muddiness.
I watched a first-time host clutch a mic like an ice cream cone, peaking every laugh. We set a pop filter, angled slightly off-axis, locked distance with the fist-width trick, and enabled direct monitoring so she could hear herself cleanly. Her next take was clean, her shoulders dropped, and the story finally breathed. That's not a miracle, it's a repeatable setup.
Choose your recording space: a closet lined with soft furnishings is better than an echo chamber. Drape blankets behind you if needed. Hard walls and windows are your enemy; soft furniture, curtains, and bodies absorb reflections.
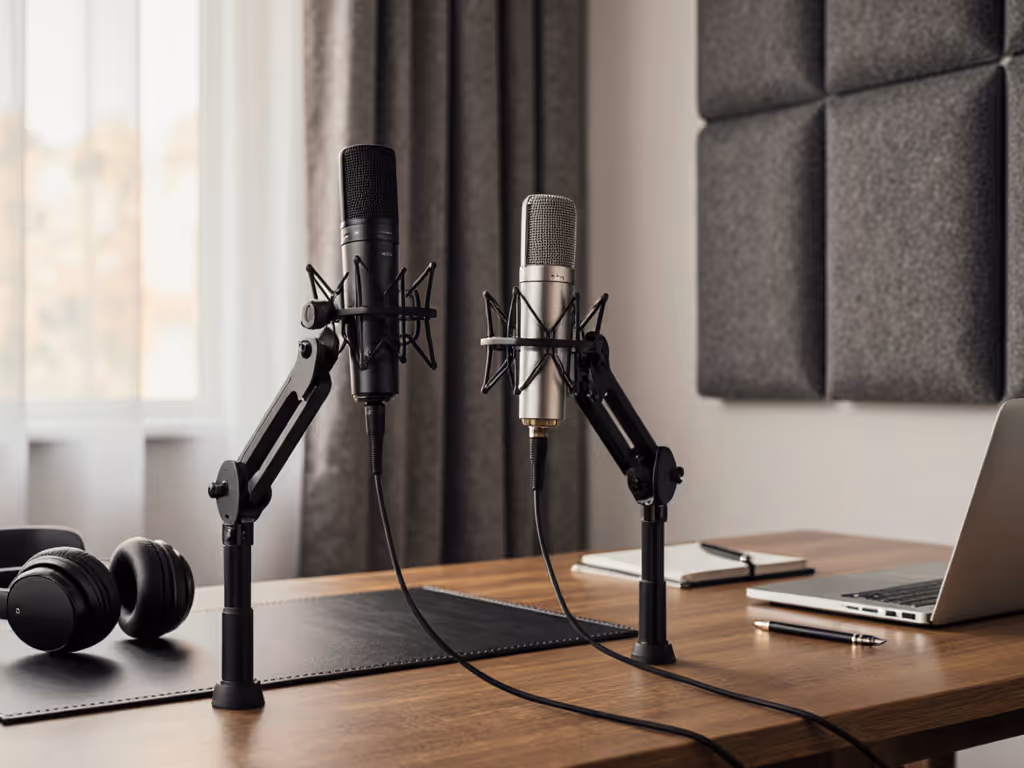
Multi-Voice and Remote Recording: Consistency Across Hosts
If your multi-voice religious recording includes co-hosts or remote guests, microphone choice is just the start. You need matching tone: everyone on the same mic model, or at least the same category (all dynamic, ideally). You need gain consistency: every speaker hitting -6 dB on your interface meter before compression. Learn how to set perfect levels in our podcast mic gain staging guide. And you need direct monitoring enabled on your USB interface, so each guest hears themselves cleanly and self-corrects pacing and loudness.
The Samson Q2U and Shure MV7+ are both popular recommendations for teams because they're intuitive and have robust on-board controls. You can hand one to a guest with a three-step checklist: "Plug in, turn the gain to 3, press the monitor button," and trust the result.
Budget and Trade-Offs
Start with a professional podcast microphone in the $150-$200 range: Samson Q2U or Audio-Technica AT2040USB, both well below that threshold. Pair it with a basic USB interface (built-in on the Q2U) and a pop filter ($15). Invest your second $100 in room treatment (blankets, curtains, or a bass trap for a corner). You're now in the $200-$250 zone with broadcast-ready audio.
When you upgrade to XLR, your Q2U becomes a backup or guest mic; the pop filter and shock mount transfer. You're not starting over. Your first interface purchase (Audient ASP800, RME Babyface, Rode Rodecaster Pro) is a $400-$800 spend, but it's paired with a mic you've already vetted in your room.
The Zero-Post Dream and Reality
Reverent voice recording rarely needs heavy editing if you start with the right mic and gain staging. That doesn't mean perfect, it means broadcast-ready, or close enough for one pass of light EQ and limiting. The goal is to reduce the gap between your raw track and a finished episode from hours of work to minutes of polish.
A repeatable setup (same mic position, same gain, same pop filter, same room) will sound consistent enough across episodes that your audience forgets about audio quality and hears only the message.
Your Next Step: Create Your Comparison List
Here's what to do this week:
-
Identify your room. Is it a bedroom, office, chapel, or living room? How reflective? Note any major ambient noise (HVAC, traffic, computer fans).
-
Listen to raw demos. Seek out unprocessed audio clips (not YouTube reviews with heavy EQ), but honest takes in rooms similar to yours. If you find a podcast using the Q2U or MV7+ in a bedroom, that's your baseline.
-
Set a budget. First-time USB rig: $200-$300 total. First XLR chain (if scaling a team): $700-$1,200. Align that with your content timeline.
-
Test before committing. If possible, borrow a Samson Q2U for a week. Record your reverent content. Listen not to whether it's perfect, but whether it matches how you sound in the room. Does it warm you or flatten you? Does it pick up your breathing? These answers are personal to your voice and space.
-
Document your repeatable setup. Once you choose a mic, write a three-line checklist: gain position, pop filter distance, monitoring on/off. Hand it to any co-host or guest. Consistency compounds across episodes.
Small, repeatable wins turn scary red lights into green. Your professional podcast microphone isn't a magic box: it's the right tool, placed wisely, used the same way every time. That's where reverent audio lives.
Related Articles