Podcast Microphones That Need Zero Editing: Voice & Music
By Nora Adeyemi • 11th Nov
The Real Talk for Podcasters Who Hate Editing: Finding a Mic That Actually Works in Your Room
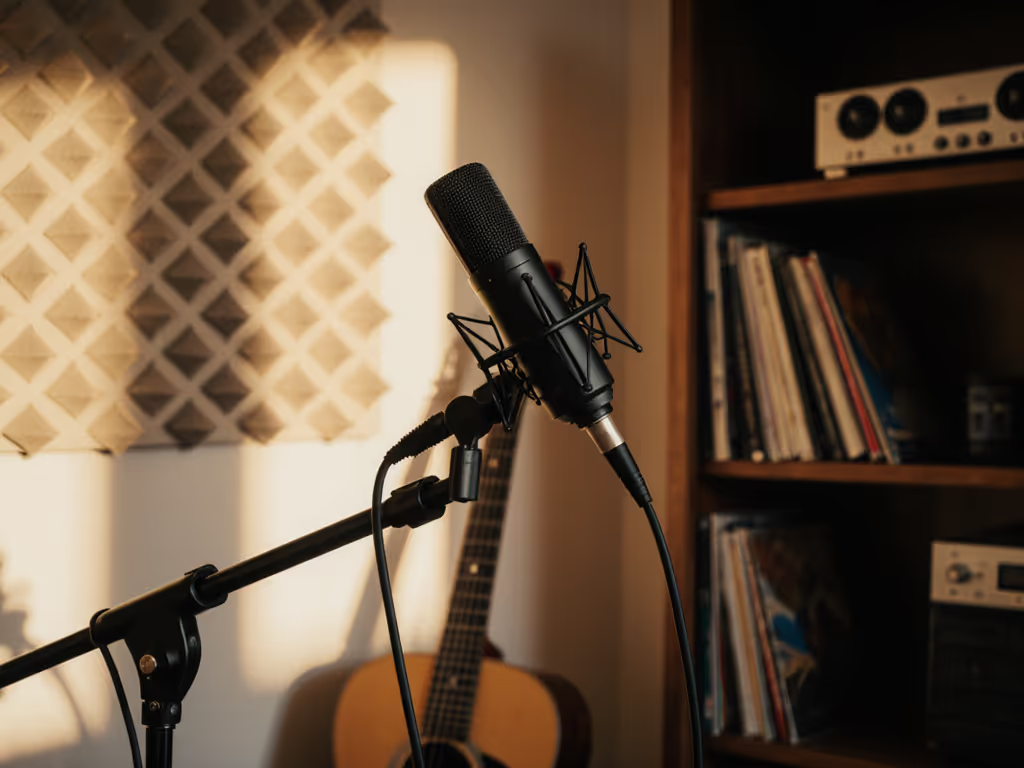
Let's cut through the noise: you don't need studio-grade perfection to sound professional. What you do need is a podcast microphone that captures your voice and any instruments cleanly (without hours of post-production fixes). A professional podcast microphone isn't about fancy specs; it's about consistency in your imperfect space. I've onboarded dozens of first-time hosts who thought they needed magic plugins, only to realize their mic setup was sabotaging them from day one. Sound familiar? That's why we're cutting the jargon and focusing on zero-post wins: mics that deliver broadcast-ready audio before you open your editing software. We're aiming for repeatable results, not perfection. Small, repeatable wins turn scary red lights into green.
Why Your Room (and Voice) Trumps Every Spec Sheet
You've seen the reviews: "This mic has a balanced frequency response!" But what does that actually mean when you're recording near a window or keyboard? Let's translate: If your space adds echo or reverb, start with our room acoustics guide for quick, low-cost fixes.
-
"Balanced frequency response" = Doesn't exaggerate your voice's natural rasp or an acoustic guitar's shimmer. It captures you, not the mic's personality. Critical for music-integrated podcasting where vocals and instruments share space.
-
"Off-axis rejection" = Ignores your laptop fan or AC without needing a blanket fort. This is non-negotiable for untreated rooms.
-
"Low self-noise" = No hiss when you turn up gain to hear quiet passages. Essential if you play gentle guitar riffs or speak softly.
Your mic isn't broken; it's mismatched to your room. A $500 mic in a bathroom-echo room will sound worse than a $100 mic dialed in right.
FAQ: Your Zero-Editing Mic Questions, Answered
Q: "I record interviews AND play guitar snippets. Can one mic handle vocal and instrument capture without editing?"
A: Yes, but prioritize versatile recording mics with mild proximity effect. Avoid mics that get boomy 6 inches from your mouth (looking at you, SM7B). You need controlled low-end so your voice stays clear and your guitar doesn't sound like mud. Here's your cheat sheet:
-
For USB starters: The RØDE PodMic USB ($149) is a game-changer. Its dynamic capsule rejects keyboard noise, and its built-in headphone jack gives direct monitoring (crucial for avoiding latency-induced editing hell). I've had hosts switch from a Blue Yeti to this mid-recording because their acoustic guitar finally sounded present, not drowned out by room reverb. Place it 6 inches off-axis, use fist-width distance from your mouth, and set gain so singing hits -12dB. Zero de-essing needed.
-
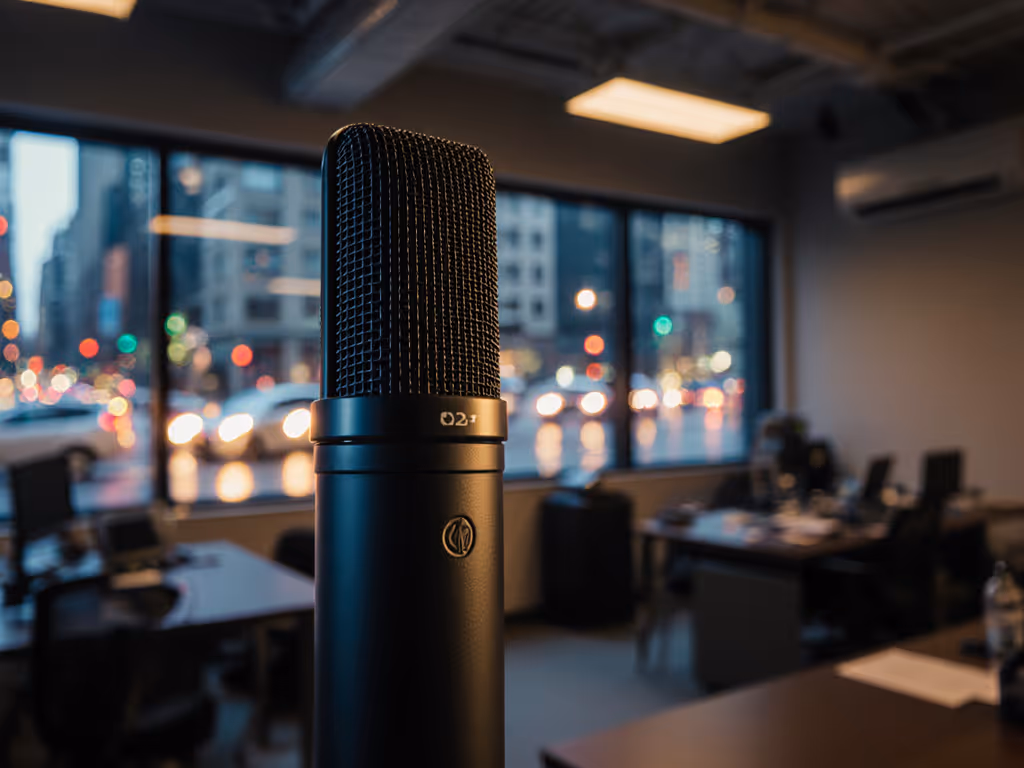
For XLR upgraders: The Audio-Technica AT2020 ($119) is my go-to recommendation for music-integrated podcasting. Unlike hyper-sensitive condensers, it handles dynamic shifts (e.g., soft vocals to strummed chords) without clipping. Pair it with a basic audio interface like the Focusrite Scarlett 2i2, and you'll capture a warm, natural tone that needs only a -3dB gain trim in your DAW. No noise reduction plugins. No surgical EQ cuts. Just pure, clean audio.

Audio-Technica AT2020 XLR Condenser Mic
Affordable studio condenser delivering clear, versatile sound for home recording.
$119
Noise Level20 dB SPL
Noise Level20 dB SPL
Pros
High SPL handling and wide dynamic range
Cardioid pattern reduces side/rear pickup
Durable metal construction, excellent value
Cons
Picks up background noise in untreated rooms
Customers find this microphone to be well-made with metal construction and appreciate its amazing sound quality and clear output. They consider it good value for money, with one customer noting it's well-constructed for its price range.
Customers find this microphone to be well-made with metal construction and appreciate its amazing sound quality and clear output. They consider it good value for money, with one customer noting it's well-constructed for its price range.
Q: "I've tried pop filters, but plosives still ruin takes. What's the real fix?"
A: Technique > gear. That $30 pop filter won't help if you're breathing directly into the mic. For step-by-step placement and angle tips, see our mic positioning guide. Try this:
- Angle your mic slightly off-axis (30 degrees away from your mouth). This redirects air blasts past the capsule.
- Lock distance with the fist-width trick: Place a closed fist between your lips and the mic grille. Too close = boominess. Too far = room noise.
- Set gain before you speak: Whisper into the mic. Adjust the gain knob until your whisper hits -30dB. Now speak normally; it should peak at -12dB. This is why USB mics with visible gain knobs (like the Samson Q2U) beat "set-and-forget" models for beginners.
I once watched a podcast host clutch a mic like an ice cream cone, peaking on every laugh. After these 3 steps? Her guitar outro stayed clean, and she stopped apologizing for "sounding amateurish."
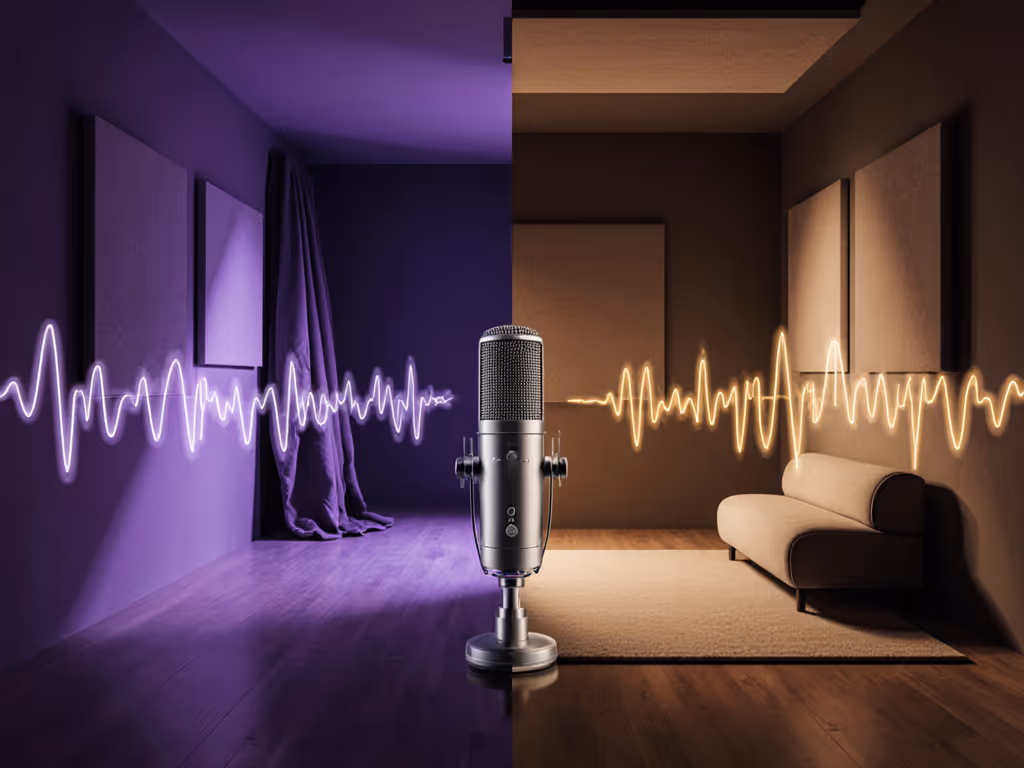
Q: "My room has echoes. Which mic types work best without treatment?"
A: Dynamic mics > condensers for untreated spaces. Condensers (like the AT2020) capture everything, including your room's personality. Dynamics (like the Shure SM58) are naturally less sensitive to reflections. But here's what reviews won't tell you: room choice matters more than the mic. Try these today:
- The closet test: Record a 30-second test clip inside a walk-in closet full of clothes. The fabric dampens reverb instantly. If it sounds better than your office, that's your recording spot.
- Cardboard hack: Tape moving blankets to walls behind and beside you, not in front. This traps reflections without making your space feel claustrophobic.
- Floor mat secret: Stand on a yoga mat if recording standing up. It kills floor vibrations from pacing.
Q: "How do I know if a mic suits my voice?"
A: Match your voice's quirks to the mic's weaknesses:
| Your Voice Trait | Avoid These Mics | Choose These Mics |
|---|---|---|
| Bright/sibilant ("s" sounds harsh) | Rode NT1, Blue Yeti | Shure SM57, RØDE PodMic |
| Nasal/monotone | Sennheiser e835 | Audio-Technica AT2040, Rode NT5 |
| Deep/boomy | Any large-diaphragm condenser | Shure MV7 (USB mode), Electro-Voice RE20 |
Pro tip: Record a 10-second clip saying "Peter Piper picked a peck of pickled peppers" into any mic. Listen for sibilance (hiss on "s"), nasality ("eh" sounds), or boominess ("p" sounds like a drum). That's your mic-voice compatibility test.
Q: "Should I get USB or XLR as a beginner?"
A: USB for day one. XLR for sustainable growth. Here's the real talk: For a deeper breakdown, see our USB vs XLR microphones guide.
-
USB mics win if you want to plug in today and hit record. They include direct monitoring (hearing yourself live, no lag!), built-in preamps, and simple gain knobs. For music-integrated podcasting, the RØDE PodMic USB or Shure MV7 (USB mode) handle guitar strums without distortion. No extra interfaces. No drivers. Just clean audio.
-
XLR mics win when you need to scale. That $100 Audio-Technica AT2020 you buy first? You'll reuse it forever, even when you add a second host. Its XLR cable connects to any future interface. USB mics become paperweights when you outgrow them.
Key rule: Your first mic must have a physical gain knob. No software adjustments. Why? Because editing time starts before you hit record. If you can't see your levels, you'll clip or add noise, and that's hours of editing you'll never get back.
Your Action Plan: 3 Steps to Zero-Editing Audio
- Test your room before buying anything: Close all windows. Record 30 seconds of silence. If you hear HVAC or traffic, all mics will capture it. Move to a closet or corner; your budget mic in a good spot beats a premium mic in a bad spot.
- Prioritize repeatable setup over specs: The mic you can use consistently is better than the "best" mic you fiddle with. Can you position it the same way every time? (Hint: Mark your desk with tape for mic height.)
- Try before you commit: Many retailers (like Sweetwater) offer 30-day trials. Test mics with your voice, your guitar, and your room. If it needs heavy editing, it's not the right mic.
The Bottom Line: Confidence Starts at Setup
You don't need the "holy grail" mic. You need a repeatable setup that sounds good now. The hosts I mentor don't obsess over frequency response charts; they know their fist-width distance, their off-axis angle, and their gain setting. That's how they ship episodes without editing panic.
Your next step: Grab whatever mic you have right now. Do this 5-minute test:
- Set direct monitoring on (if available)
- Place mic at fist-width distance, angled slightly away
- Adjust gain knob so speaking hits -12dB For consistent peaks without clipping, follow our podcast gain staging guide.
- Record 60 seconds of talking and strumming a guitar chord
- Listen back: Is it clean? Is room noise obvious?
If yes, you've got a winner. If not, you now know exactly what to fix (or upgrade). No guesswork. No editing marathons. Just you, your story, and audio that breathes.
Ready to trust your setup? Your first clean take is closer than you think.
Related Articles